

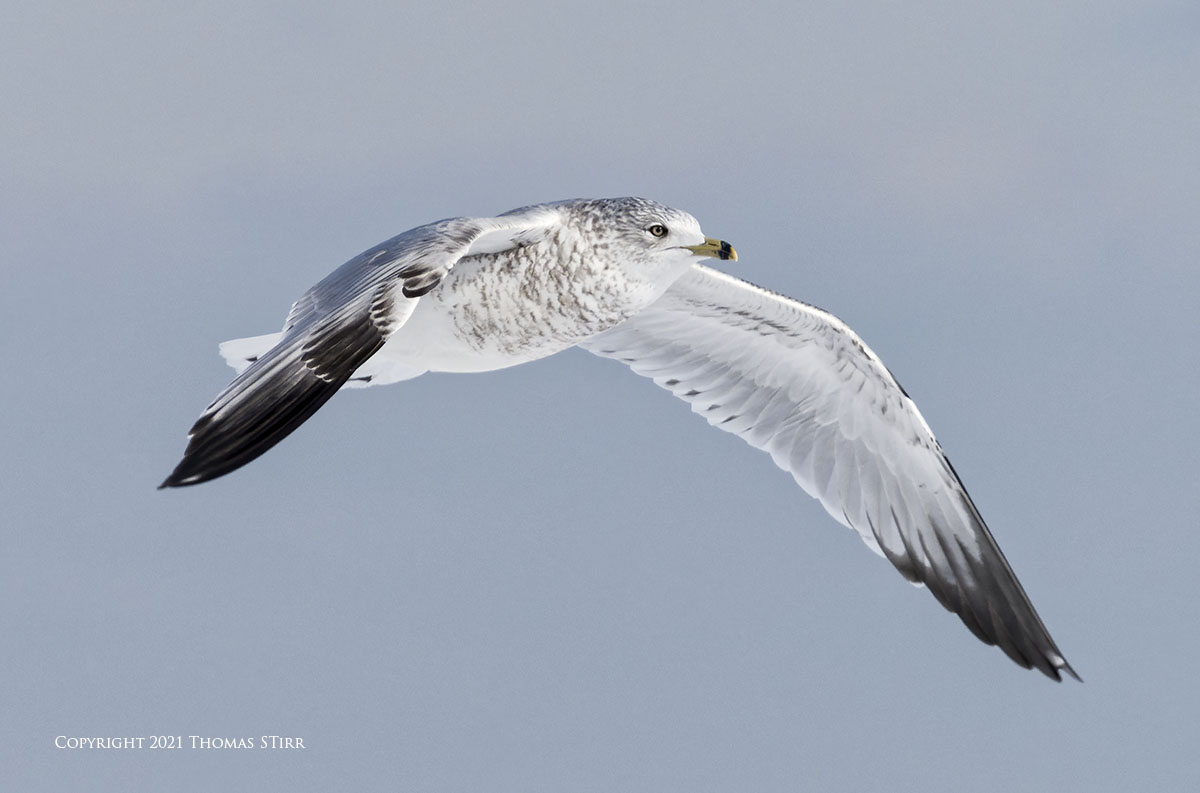
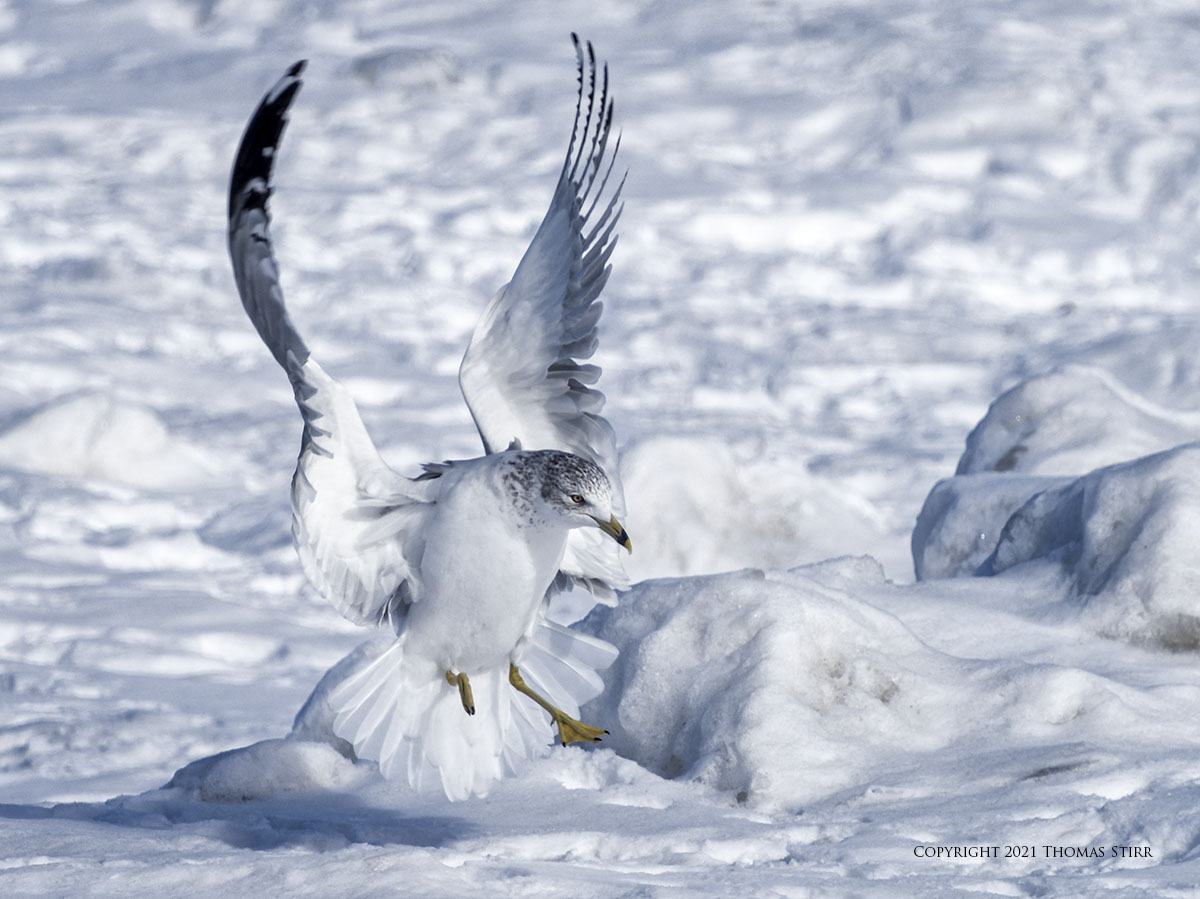
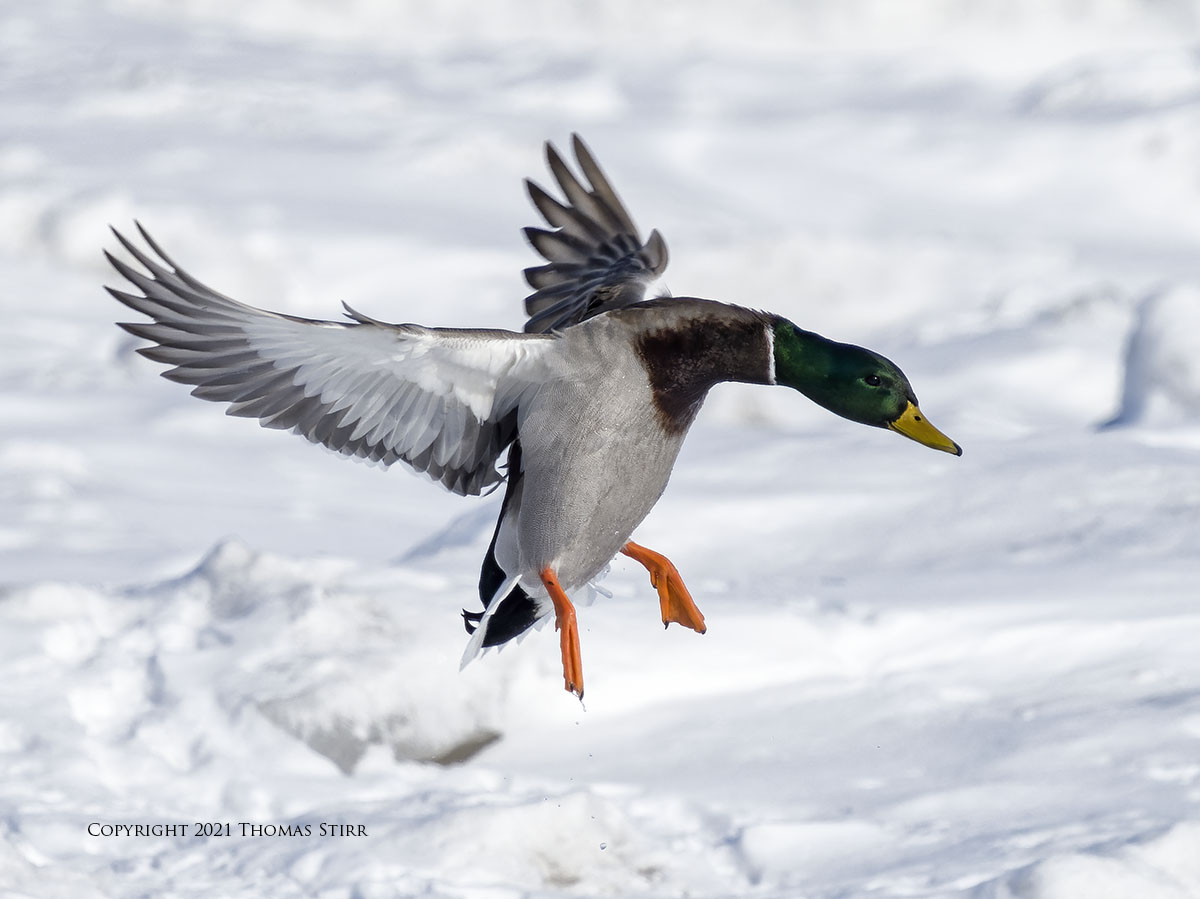
This article shares a selection of new images of various ducks and gulls in flight, and discusses the importance of adjusting to camera gear. Regardless of the camera format, brand and model that we use, these adjustments could involve a wide number of issues.
A few of them include physical layout and handling of our cameras. Learning and navigating menus. Understanding special features and how to best use them. And, working in post with different files than we’ve used in the past. It is also common that key functions like auto-focusing, metering, and white balance may perform differently between cameras.
NOTE: Click on images to enlarge.

Eight days ago I spent about an hour and twenty minutes photographing ducks and gulls in-flight at Grimsby Harbour. This is something that I have done regularly for many years.

It has been brutally cold for the past couple of weeks. This has resulted in large amounts of ice being blown into the harbour from Lake Ontario and piling up against the shoreline… completely blocking the harbour.

Past experience has taught me that these conditions have always drawn a large number of ducks. The birds fly in from Lake Ontario and land on the ice and snow that is jammed up against the shoreline. To feed, the ducks have to fly back out to the lake. This creates ongoing opportunities to photograph ducks in flight.

In previous years these conditions would typically allow me to come back from a short photography session at the harbour feeling confident that I’d get three to four dozen keeper images. It is quite a revelation when the number of keepers one gets during a brief bird photography session like this one, increases from dozens to hundreds of keepers.

In the case of this particular photography outing, I ended up with over 250 keepers. I actually had far more than that number of keepers, but I ended up deleting hundreds of totally usable photographs simply because I had more than enough images to meet my needs… and I didn’t have the time to process them all anyway.

This was easily the most productive winter photography session that I’ve ever had at Grimsby harbour. And, adjusting to camera gear played a role in that success.
The E-M1X is a superb camera… but its physical properties are locked in. The menu is what it is. All of the firmware is programmed to do what the engineers designed it to do. I can’t change any of that.

My E-M1X has no responsibility to me to adapt to my way of shooting. If I try to use it in the same manner that I used the full frame, APS-C, or Nikon 1 cameras I’ve used in the past I would get sub-optimal results.

If I want to make the most of the investment that I made in my E-M1X cameras it is up to me to learn the menu system. Understand the controls, and the special features that the camera offers. My most recent challenge was learning some of the nuances of the E-M1X’s Bird Detection AI subject tracking. This technology is incredible and is my ‘go to’ setting for all of my bird photography.

For me, using Bird Detection AI takes more shot discipline and patience than other E-M1X auto-focusing options. I learned that for best results I need to pick out an incoming bird as early as possible to allow the subject tracking to recognize the bird, and lock on to it.

At first I didn’t realize that I was rushing the process, and trying to fire off frames too early. I had to learn to pre-position a single AF point where I anticipated the head of the bird would be in my C-AF+TR run.

It took some additional concentration to not only watch the incoming bird and where it was positioned in my composition, but also stay cognisant of the size, shape and colour of the focusing box when using Bird Detection AI. Plus, I had to increase my eye/hand coordination so I could quickly find birds in my EVF when shooting at an equivalent field-of-view of 1120 mm. All of that can be a lot to ask of my old, porous brain!

I learned that photographing ducks in flight that were up against some busy backgrounds were easier for me to capture using Bird Detection AI than with other auto-focusing options. I needed to lock on the bird early enough, and stay focused with my panning… but those were my responsibilities, not the camera’s. When I did my part… the results were terrific.

Working in post with my Olympus files necessitated some changes. I crafted some custom presets in DxO PhotoLab 4 that were specific to my E-M1X bird photography, and for other subject matter. I now do less work in DxO PhotoLab 4 than I used to do in the past.

For example, I make almost no Selective Tone adjustments in DxO PhotoLab 4, choosing to do those adjustments in Photoshop CS6 instead. None of my PhotoLab 4 custom presets incorporate any Selective Tone adjustments.

I use the auto corrections in DxO PhotoLab 4 with all of my images. The DxO Smart Lighting Spot Weighted tool is used for every one of my images, as is DeepPRIME noise reduction. I reduced the Luminance setting from the standard of 40 to a maximum of 15 with DeepPRIME.

I view the corrections that I do in DxO PhotoLab 4 as absolutely essential as they form the foundation for what I do in post. Topaz DeNoise AI is an important final step in my process in post.
Overall, I’m spending less time in post that I did in the past, and I’m more satisfied with the results. Learning how to work with the additional dynamic range and colour depth of my E-M1X files (compared to Nikon 1 files) was a contributing factor.
Adjusting to camera gear does take some time and effort. If we want to get the most from our investments in camera equipment, it is a small, additional cost to pay.
Technical Note
Photographs were captured hand-held using camera gear as noted in the EXIF data. Images were produced from RAW files using my standard process. Cropping is noted as appropriate.
How you can help keep this site advertising free
My intent is to keep this photography blog advertising free. If you enjoyed this article and/or my website and would like to support my work, you can purchase an eBook, or make a modest $10 donation through PayPal. Both are most appreciated. You can use the Donate button below. Larger donations can be made to tom@tomstirr.com through PayPal.
Word of mouth is the best form of endorsement. If you like our website please let your friends and associates know about our work. Linking to this site or to specific articles is allowed with proper acknowledgement. Reproducing articles, or any of the images contained in them, on another website or in any social media posting is a Copyright infringement.
Article and images are Copyright 2021 Thomas Stirr. All rights reserved. No use, duplication or adaptation of any kind is allowed without written consent. If you see this article reproduced anywhere else it is an unauthorized and illegal use. Posting comments on offending websites and calling out individuals who steal intellectual property is always appreciated!
Thank you very much for such a fine article. I recently acquired a M1X and an struggling a bit with settings for birds. Your detailed explanations are much appreciated.
I made the change to Olympus from Canon as fading eyesight forced me to get something with an EFV.
Do you maintain DIFFERENT custom settings for perched birds vs BIF. If so could I impose on you to share your settings?
Another Lake Ontario kid on the opposite end of the lake……
Hi Eric,
If you haven’t already seen it, this earlier article may be of interest as it provides an overview of my bird photography settings as well as how I use my Custom Modes (C1 through C4): https://smallsensorphotography.com/bird-photography-settings
Unless I am using Pro Capture H or L I pretty much use my C4 Bird Detection AI Subject Tracking custom mode. The only thing that I would adjust is the shutter speed, based on either the size of the bird and its wing speed, or in terms of perched birds, the shutter speed I would need based on the lens focal length used.
Tom
Hi Tom, Thank you for your comments and link, which was one of the clearest explanations of color space I have read. Maybe PL will add ProPhoto capability in the future. I see several user comments requesting that. In the meanwhile, as you say, why change something that is working well for you. And it certainly is!
Colin
You’re most welcome Colin… always a pleasure to help when I can!
Tom
Another great post!
I’ve been inspired by your articles to add DxO PL4 as the first step in processing (particularly high ISO) images with great effect. I was surprised to discover today that PL4 uses sRGB as its workspace and not ProPhoto as an option. LR, NIK and Topaz all allow ProPhoto and most of the training material on the web recommends ProPhoto while post-processing. I was wondering if you had any comments about this. I realize the final step in viewing is always to convert to sRGB but having a larger color space seems to make sense to me while post-processing.
Hi Colin,
As we’ve often discussed in various articles etc., everything photographic comes with some kind of trade-off. There are a few things that I’ve always really liked about DxO… the major ones being the auto camera/lens corrections, PRIME/DeepPRIME noise reduction, and the DxO Smart Lighting Spot Weighted tool. I use these with all of my images regardless of the ISO value at which they were captured as I’ve always liked how my images look with these tools. I’ve never had any clients complain about prints or the files that I’ve provided to them from paid engagements. So… I really have no reason to change, complicate my process in post, or give up some of what I like about using DxO PhotoLab.
As you know from my various articles, I’m far from being a technically oriented photographer! Here is a link to an article from the good folks at Photography Life: https://photographylife.com/srgb-vs-adobe-rgb-vs-prophoto-rgb#:~:text=ProPhoto%20RGB%20may%20be%20%E2%80%9Cbigger,what%20color%20space%20it's%20in. This may provide some good information from a technical standpoint.
Tom