This article in our Photography Fundamentals series focuses on the exposure triangle.
In previous articles we have already discussed the three settings on your camera that make up the exposure triangle: ISO sensitivity, aperture and shutter speed.
As mentioned in previous articles, when you change one of those three settings it will affect one, or both, of the other elements in the exposure triangle. The key to using the exposure triangle effectively is to understand the main purpose of each setting and to determine which of those settings is the most important factor for the image you are trying to create.
Aperture: the creative setting
When you select an aperture you are directly impacting how much of your image will be in focus, or the depth-of-field of your image. This is a key, creative consideration which is why many photographers choose to shoot in aperture priority mode.
ISO: the image quality setting
As noted in our ISO sensitivity article, the lower the ISO at which you choose to shoot, the better the overall image quality will be. The sensors in all digital cameras, regardless of format, will lose dynamic range and colour depth as a photographer cranks up the ISO. So, if you want to capture the most details in your image all the way from the brightest highlights to the darkest shadows, as well as the broadest array and differentiation of colours, the key is to shoot at the lowest possible ISO. As ISO is increased so too does digital noise.
Shutter speed: the motion setting
Adjusting shutter speed will directly impact, and help control motion blur, or the lack of it, in your images. Shooting at the right shutter speed helps to create sharp, well-focused images.
Let’s look at a few images to see how the exposure triangle was used to determine what camera settings needed to be used.

The key to capturing this image was shutter speed as the butterfly was feeding and there was a reasonable amount of subject movement. Since the butterfly’s wings were not beating a shutter speed of 1/500 was selected as it was deemed fast enough to ‘freeze’ the motion.
A smaller sensor camera was used so aperture was kept at f/5.6 as this would create sufficient depth of field for the image. These two settings allowed the image to be shot at ISO-1100 which helped to maintain dynamic range and colour depth, while limiting digital noise in the image.

Shutter speed was also the most important factor in the above noted image so that the flapping of the goose’s wings could be ‘frozen’. An aperture of f/5.6 was used as it provided a sufficient amount of depth-of-field for the image. The subject was captured while in a shady area which helped the overall result even though the image was shot at ISO-4500. The fact that the subject was in shade helped to minimize the potential impact of bright, direct sunlight on a bird with white plumage in terms of dynamic range.

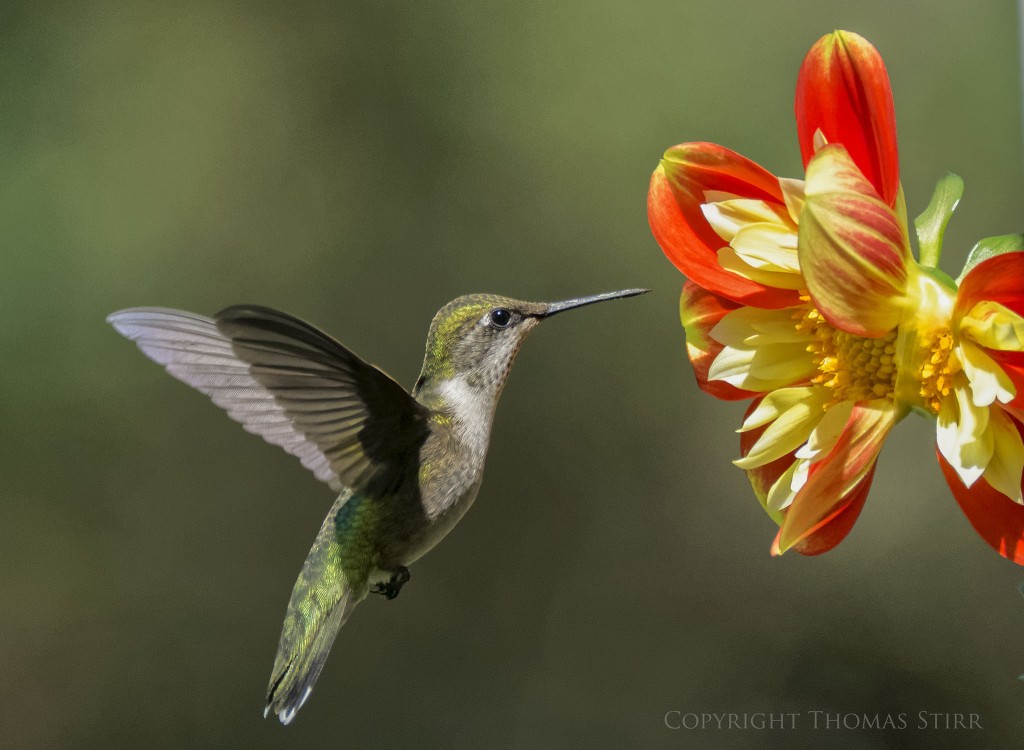
As with the previous two images, shutter speed was also the most important consideration for the image above. In this case a shutter speed of 1/3200 was needed to ‘freeze’ the incredibly fast movement of the hummingbird’s wings.

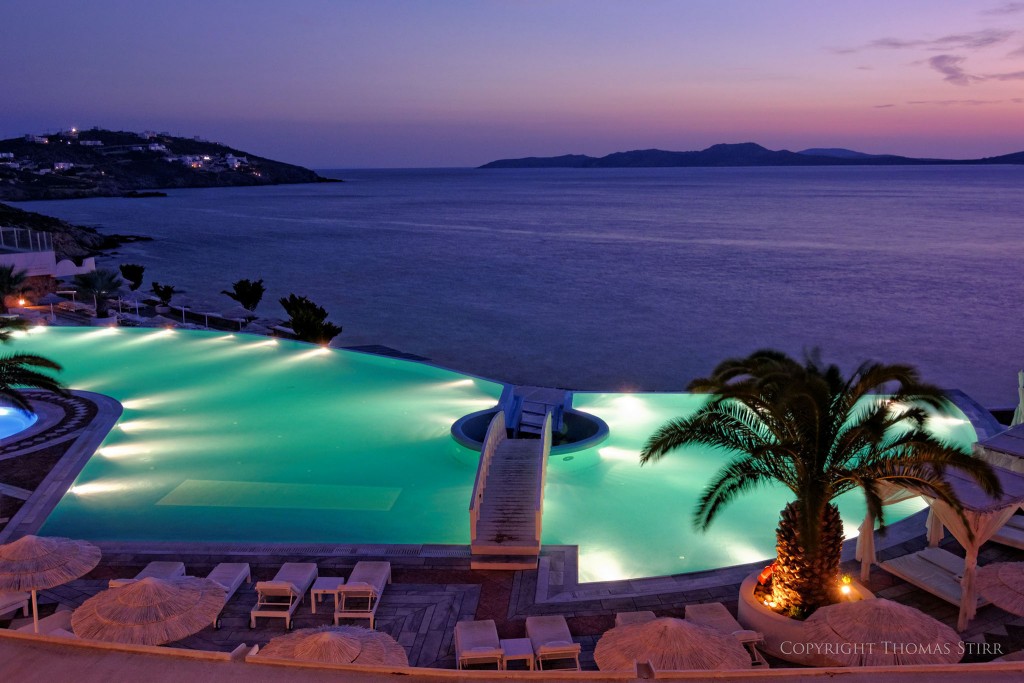
Often when shooting landscape images the most important consideration is ISO as the goal is often to maintain the highest amount of details in highlights and shadows as possible, as well as maintain as much colour range and differentiation as possible. The above image was purposely shot at the lowest native ISO available on my Nikon 1 V2 to help maintain as much dynamic range (e.g. subtle shading in the white stucco areas) and colour depth (e.g. bright colours of the fruits and vegetables) as possible.

When shooting sunsets often the lowest possible ISO is used so that subtle colour transitions in the sky can be captured.

The pheasant in the image above was in very dark shade when I was capturing this image at Bird Kingdom. I wanted to limit the amount of noise, especially in the shadow areas, and maintain as much of the colouring of the bird as possible. In order to shoot at the lowest ISO possible I had to use a very slow shutter speed when shooting this photograph hand-held.

The image above had two, competing considerations. The first was a bit more depth-of-field so more of the details of the flower would be in focus. This required me to ‘stop down’ my lens slightly to f/6.3. The second consideration was subject movement as this image was shot outdoors in very windy conditions. This resulted in a shutter speed of 1/1000. I was also using extension tubes which also cut down on the amount of light reaching my camera’s sensor. All of these factors resulted in an ISO sensitivity of ISO-3200 being used, even though the image was taken on a bright, sunny day.
In many situations a photographer will need to make trade-offs when capturing an image in terms of how the various elements of the exposure triangle (ISO sensitivity, aperture, shutter speed) are used. Understanding how these settings interact with each other and deciding which of them is the most important in terms of capturing the photograph that is in our minds helps each of us create better images.
My intent is to keep this photography blog advertising free. If you enjoyed this article and/or my website and would like to make a modest $10 donation through PayPal to support my work it would be most appreciated. You can use the Donate button below. Larger donations can be made to tom@tomstirr.com through PayPal.
Article Copyright Thomas Stirr. All rights reserved. No use, duplication of any kind, or adaptation is allowed without written consent.


Tom:
I have really enjoyed this series on the basics of photography. The topics have all been very well written and I have gleaned much from them. An old saying is “a teacher has not taught unless the student has caught”. Well, you have taught and I have caught. Thanks for laying out the fundamentals of our hobby and passion so well. It has been a pleasure to read and re-read them!
Thanks for your most gracious words Ray – much appreciated!
Tom