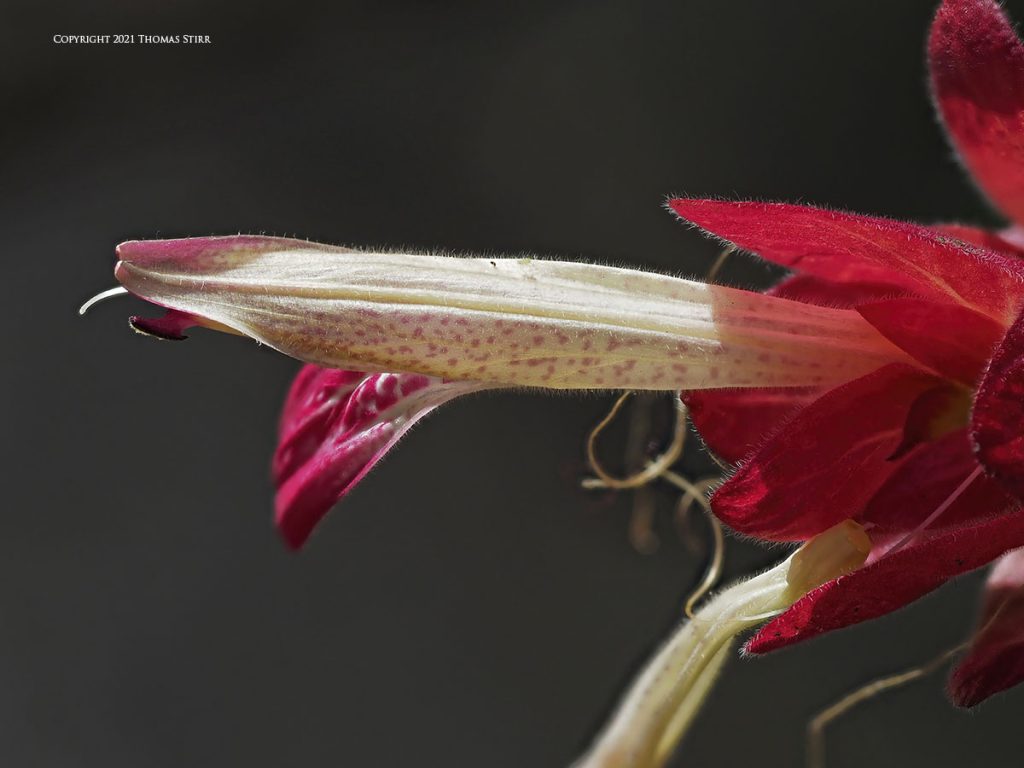
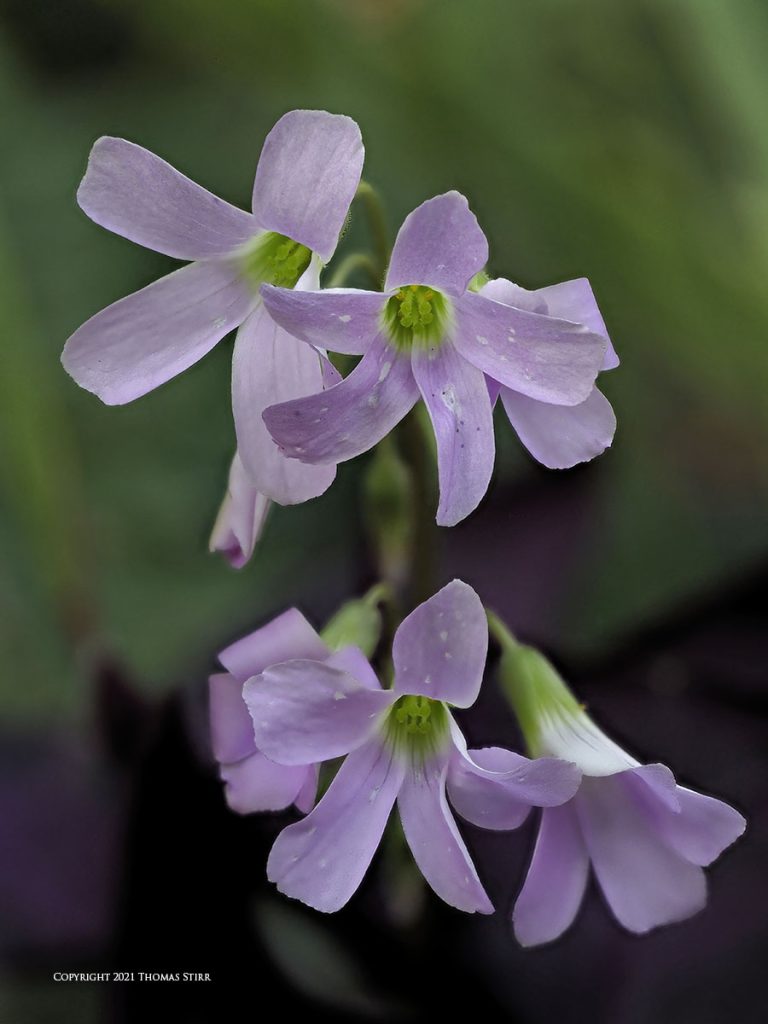
This article, Focus Stacking at RBG, shares a selection of handheld focus stacked macro images captured yesterday at the Royal Botanical Gardens in Burlington Ontario. I used the in-camera focus stacking function in my E-M1X to create all of the photographs in this article. All images displayed are out-of-camera jpegs that were tweaked a bit in post.
I haven’t been indoors photographing at the Royal Botanical Gardens (RBG) for over 18 months due to COVID-19 restrictions and my own safety considerations, so this was an enjoyable change of pace.
NOTE: Click on images to enlarge.

I had a couple of hours of on-site photography time in my schedule so I decided to make the trek to Burlington. Fortunately there were very few people at the RBG so I had much of the indoor facility to myself.

Knowing that many of the photographic opportunities are often found close to floor level at the RBG, I brought my photographer’s stool with me. This proved to be a wise choice as I used it for the majority of the images in this article.

When shooting at slower shutter speeds with a multiple exposure function like in-camera focus stacking, having a short stool can make capturing images at odd angles much easier.

If I had to choose between using a tripod, monopod or a stool, the stool would win every time. I now keep mine in the truck of my car and use it regularly. Especially for landscape, insect, macro photography, and perched birds.

🙂 It also has the added bonus of providing a comfortable resting position when waiting for some action to ensue. The older I get… the more important this has become.

Rather than change my in-camera focus stacking settings throughout my visit I decided to use the same settings for all of my focus stacking at the RBG. I usually find that this continuity helps me better understand how to use a particular approach with my camera.

All of the photographs in this article were captured handheld using a series of 10 consecutive images with a focus differential of 3. I used a single auto-focus point. The resulting out-of-camera jpegs were slightly adjusted using elements of my standard process as needed.

In the past I’ve not been much of a fan of using out-of-camera jpegs, but I must admit that some of the technology in my E-M1X has won me over. One of the biggest benefits of using a mirrorless camera is being able to see your exposure in real time, and not have to guess. The strongly backlit leaf in the image above was a classic situation where being able to see my exposure in advance was critical.

While doing in-camera focus stacking at the RBG I looked for subjects that provided a variety of shooting angles, backgrounds and lighting. This approach allowed for a fuller test experience, and can help integrate learning. Even in old, porous brains like mine!

To help maximize the available dynamic range and also reduce noise I set my camera to its base ISO-200. I used f/5 and f/5.6 apertures to give me reasonable depth-of-field and keep my shutter speeds to workable handheld levels.

My shutter speeds varied from a low of 1/8 of a second to a high of 1/640. That was predicated by lighting conditions rather than by subject movement.

Even though I was photographing in an indoor environment there was still some noticeable air movement in various areas of the facility. Knowing that I was using a multiple exposure technique, one of my selection criteria for subjects was their relative stillness.

When doing macro photography of flowers and foliage finding backlit subjects can really help accentuate small details like tiny filaments on the edges of petals stems. This can add some intriguing details to photographs.

Doing this type of handheld macro photography always seems to flip a switch in my brain and I tend to notice small details, points of light, and opportunities where monochromatic backgrounds highlight a subject blossom.

Many of the subject blossoms in this article were found very close to the floor level. The articulating screen of my E-M1X allowed me to easily compose my images, even at strange angles. Almost all of the photographs in this article were composed using my camera’s rear screen. This is my preferred approach for handheld macro photography.

When practicing macro photography it can be beneficial to look for very simple compositions. These types of images help focus a viewer’s attention and can help highlight tiny details.

I also look for complimentary colour pallets, being sure to consider the background colours as well as those of the subject. The choice of colours in your macro photographs can help create mood and emotion.

For example, many people find that muted colours and pastels to be very restful. Certain colour combinations such as lavender and green can create soft and subdued imagery.

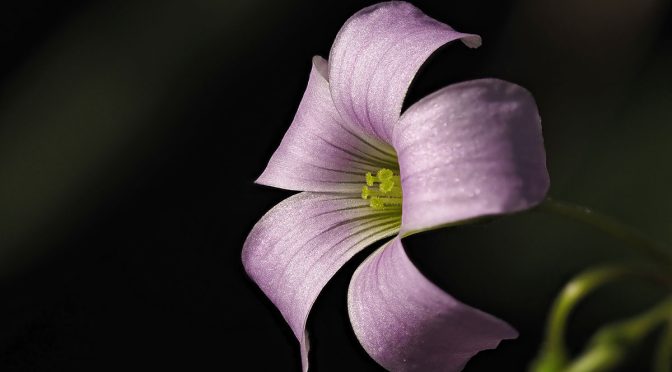
This may sound odd, but I also look for harsh light striking a potential subject blossom. Especially when that blossom is up against a dark, monochromatic background. The last three images in this article all had this type of harsh lighting.

As regular readers will know, I shoot in Manual mode. This gives me the most control of my exposure settings, allowing even very harsh light to be easily adjusted to create peaceful and serene images.
Technical Note:
Photographs were captured handheld using camera gear as noted in the EXIF data. Images were produced from RAW files using my standard process. Crops are indicated. This is the 1,087th article published on this website since its original inception.

How you can help keep this site advertising free
My intent is to keep this photography blog advertising free. If you enjoyed this article and/or my website and would like to support my work, you can purchase an eBook, or make a $10 CDN donation through PayPal. Both are most appreciated. You can use the Donate button below. Larger donations can be made to tom@tomstirr.com through PayPal.
Word of mouth is the best form of endorsement. If you like our website please let your friends and associates know about our work. Linking to this site or to specific articles is allowed with proper acknowledgement. Reproducing articles, or any of the images contained in them, on another website or in any social media posting is a Copyright infringement.
Article and images are Copyright 2021 Thomas Stirr. All rights reserved. No use, duplication or adaptation of any kind is allowed without written consent. If you see this article reproduced anywhere else it is an unauthorized and illegal use. Posting comments on offending websites and calling out individuals who steal intellectual property is always appreciated!


Hello, are you using the stool to put the camera on instead of a tripod, or are you sitting on the stool and holding the camera with your hands?
Thanks!
Hi Ed,
I sit on the stool and continue to shoot handheld.
Tom
Hi Tom,
I agree that the out of camera jpegs are more than adequate. But if you are shooting Raw, you always have the Raw images to post-process if necessary. Based on what I have seen, I doubt I would ever bother.
I just finished a macro photography class with my E-M1 mk iii and the 60mm Macro lens. One of the things I learned, after initially focusing incorrectly, was that in contrast to “focus bracketing,” where you focus on the nearest element of the subject and stack the resulting images during post processing, with “focus stacking” you need to focus on the midpoint of the subject. The camera images the midpoint, then focuses forward and images from the front to the back (skipping the midpoint which was captured first.
Hi Jack,
Thanks for adding to the discussion and sharing your training experience.
Tom
Always enjoy your articles, this one was fun , seeing you use the 60, as I have not gotten the 100-400 yet. Also wondering what type of stool you use?
Hi Steve,
I have a small, lightweight stool purchased from Bass Pro Shop… their Eclipse model. Suits my purposes very well.
Tom