
This article discusses some of my M.Zuiko 150-600 BIF first impressions, and shares a selection of bird-in-flight images captured handheld with this lens. Some of which were captured at 600 mm (efov 1200 mm). Also included are some perspectives on the weight of this lens.
NOTE: Click on images to enlarge.

Size, weight and handling.
The M.Zuiko 150-600 mm f/5-6.3 IS weight is shown as 2,065 grams (~4.55 lbs.) on the OMDS website. This weight does not include the lens hood. As reported by OM Ambassador Petr Bambousek, the weight including the lens hood is 2,243 grams ( ~4.94 lbs.).
The obvious question that many readers will have is whether this lens in handholdable for any length of time when photographing birds-in-flight. I use the M.Zuiko 150-600 with an E-M1X. This combination (with lens hood) weighs 3,240 grams (~7.14 lbs.). For some folks this may be beyond the weight with which they would be comfortable using handheld for several hours or more.

When I was shooting with full frame gear I used a Nikon D800 with a Tamron 150-600 mm f/5-6.3 zoom. This combination weighed about 2,850 grams (~6.28 lbs.). I could use that set-up non stop for about 3 hours before fatigue would begin to set in with my left arm. If I pushed myself too far, I would sometimes get some shoulder and neck discomfort as well. After particularly intense sessions my left arm would feel like over cooked spaghetti.

Knowing that I had these physical limits with my full frame gear, it was important for me to assess whether I could use the M.Zuiko 150-600 handheld for a reasonable duration of time. Especially since it would weigh about 400 grams (~0.88 lbs.) more than my previous full frame set-up. And… I’m now nine years older!

Changing my shooting style, and using a tripod or monopod, was a non-starter for me. If the M.Zuiko 150-600 proved too heavy for me, I was prepared to keep shooting with my existing M.Zuiko 100-400 as this is a terrific lens in its own right.

I decided that the best way to assess my current physical limits was to put the tripod foot back on my M.Zuiko 100-400. This brought the weight of the lens up to about 1400 grams (~3.1 lbs.). I figured that if I could add another kilogram (~2.2 lbs.) to my current E-M1X set-up, it would approximate the weight of the potential M.Zuiko 150-600/E-M1X combination.
Luckily my second E-M1X with batteries weighs 997 grams (~2.2 lbs.) so all I had to do was handhold my current E-M1X/100-400 set-up and attach my second E-M1X to my left arm. So… I used the camera strap of my second E-M1X to attach it tightly to my left wrist. Then, I walked around the house for over an hour holding all of the gear, constantly moving it up and down from waist height, then up to my eye.

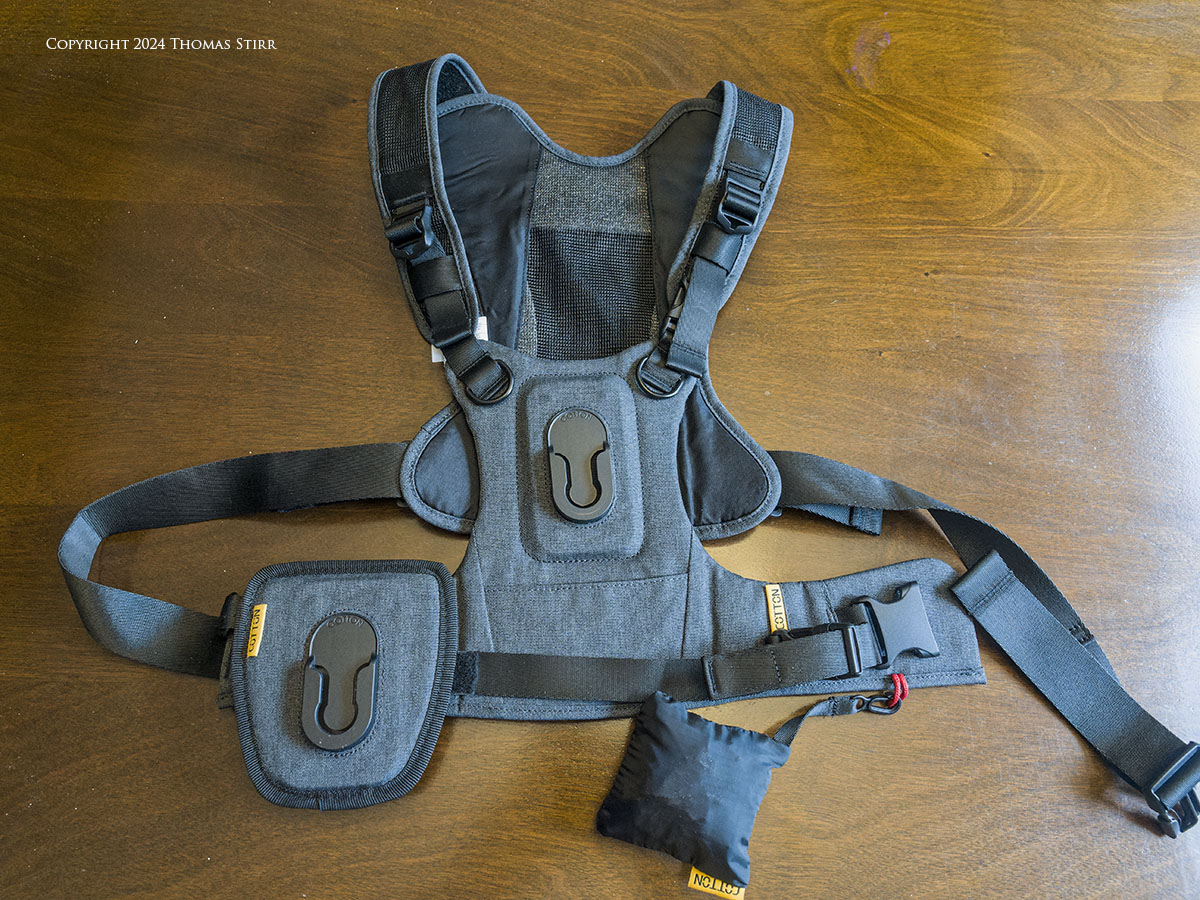
After this test I assessed my level of arm stress, and decided that the 150-600 would be doable for me. To be on the safe side I investigated some camera supports, and acquired the Cotton Carrier G3 Harness. You can read my earlier review on this harness with the link provided.

If I could give readers one piece of advice about the size and weight of the M.Zuiko 150-600 mm f/5-6.3 IS, it would be to consider your overall handheld set-up… not just the weight of this lens. Pay a lot of attention to your camera body and how you feel physically after using it for extended periods of time with heavier lenses like the M.Zuiko 100-400 or M.Zuiko PRO 40-150 mm f/2.8.

If you are experiencing any significant pain, discomfort, or fatigue when using your existing camera body for extended periods of time with a heavier lens, the M.Zuiko 150-600 will likely amplify those feelings.

There are some potential solutions if you are a handheld shooter. If you currently do not have a grip for your existing camera, adding one could be the difference between being able to use the M.Zuiko 150-600 mm f/5-6.3 IS handheld for extended periods… or not. You can also consider purchasing a camera support of some kind so you don’t have to keep holding the lens during lulls in the photographic action.
There’s no doubt in my mind that I will be clipping my M.Zuiko 150-600/E-M1X set-up onto my Cotton Carrier G3 Harness on a regular basis during lulls in the action. Once the spring birding season is in full swing I’ll out with my birding kit for 6-8 hours at a time.

I’ve been pleasantly surprised with how the M.Zuiko 150-600 mm f/5-6.3 feels when mounted on an E-M1X. Yes… it does feel somewhat heavier than the M.Zuiko 100-400 but not dramatically so. The balance and weight distribution of the M.Zuiko 150-600, coupled with the superb comfort of the E-M1X makes this combination a very handholdable combination. At least for me.
On a personal basis I could not use the 150-600 with my wife’s E-M1 Mark III (she does not have a grip on her camera). I have large hands and I find the E-M1 Mark III quite uncomfortable to use. Even when using the M.Zuiko PRO 12-40 mm f/2.8 for over an hour at a time with her camera, I get some cramping in my right forearm.

I’ve shot with the M.Zuiko 150-600 uninterrupted for a number of three-hour periods, without any hint of arm, neck or back fatigue. In my experience, the E-M1X/M.Zuiko 150-600 set-up is far more comfortable to use than was my full frame set-up. In fairness I should mention that I did not have a grip for my D800.
Even though the M.Zuiko 150-600 mm f/5-6.3 IS is larger and heavier than the M.Zuiko 100-400 I find that I much prefer the handling of the larger lens. Using the push/pull zoom motion is much more intuitive and responsive. When photographing birds-in-flight this does make a significant difference.
Subject Acquisition
One of the challenges that photographers face when using long telephoto lenses is simply finding a target bird in their viewfinder. The longer the focal length range, the more challenging subject acquisition becomes. One can imagine how difficult it could be to find a distant bird when using an equivalent field-of-view of 300-1200 mm. By adjusting my shooting technique, I’ve found that using the 150-600 actually makes subject acquisition simple and easy.

My technique begins by only using the ‘S’ zoom setting. This is the ‘standard’ tension setting and makes changing the zoom range extremely quick and easy… especially when holding the end of the lens and using a push-pull action. The mini manual for the M.Zuiko 150-600 states: “Zoom by rotating the zoom ring or holding the front (a) of the lens and moving it forward and backward.” So, using push/pull technique with this lens is suggested by OMDS.
I start my subject BIF acquisition with my lens set to 150 mm. This allows me to quickly identify distant birds. Then I quickly push the zoom out enlarge the target bird in my viewfinder. The Bird Detection AI Subject Tracking function of my E-M1X quickly identifies birds so I don’t have to muck around with clusters of AF points.

Once sufficiently extended to get the bird a good size in my viewfinder, I half-depress my shutter release to acquire focus on the subject bird, and often fire off an initial image run. As the bird draws in closer I can capture successive bursts of images using Pro Capture L. It feels simple and natural to keep pulling back on the zoom while continuing to photograph an incoming bird.

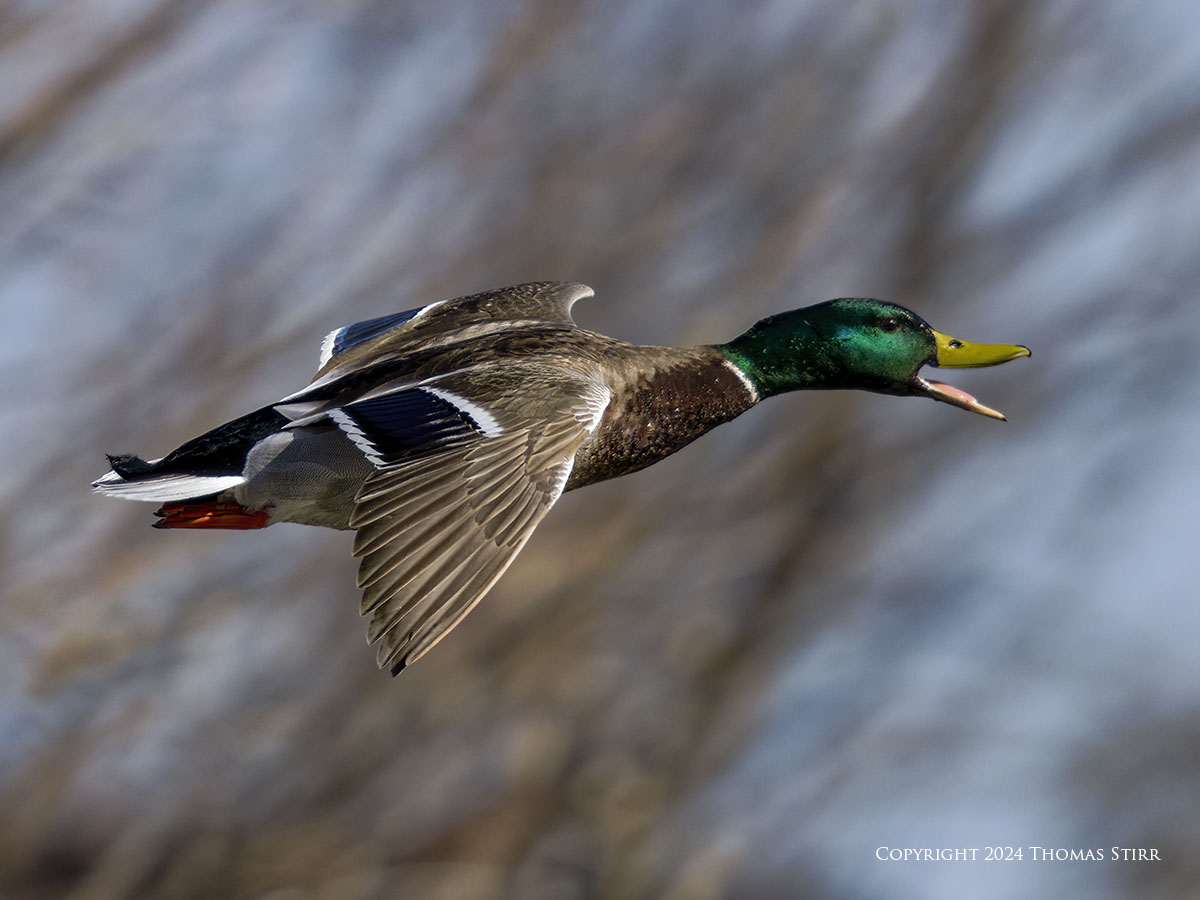
Auto-focus
Thus far I’ve been pleased with the speed and accuracy of the auto-focus of the M.Zuiko 150-600. Using Pro Capture L and Bird Detection AI Subject Tracking in tandem works very well with this lens. The photograph above was one of those “turn and shoot” moments.
I noticed a bird-in-flight from the corner of my eye and wheeled around to capture a quick image run. Since the raptor was going to quickly disappear behind some trees, all I had time to do was bring my camera up to my eye and fire off a quick image run. I wasn’t expecting to get anything even in focus as I didn’t take enough time for Bird AI to acquire initial ‘green box’ focus.
The resulting image required a severe crop which also didn’t help overall quality. I decided to use the image in this article as an example of quick response capability.

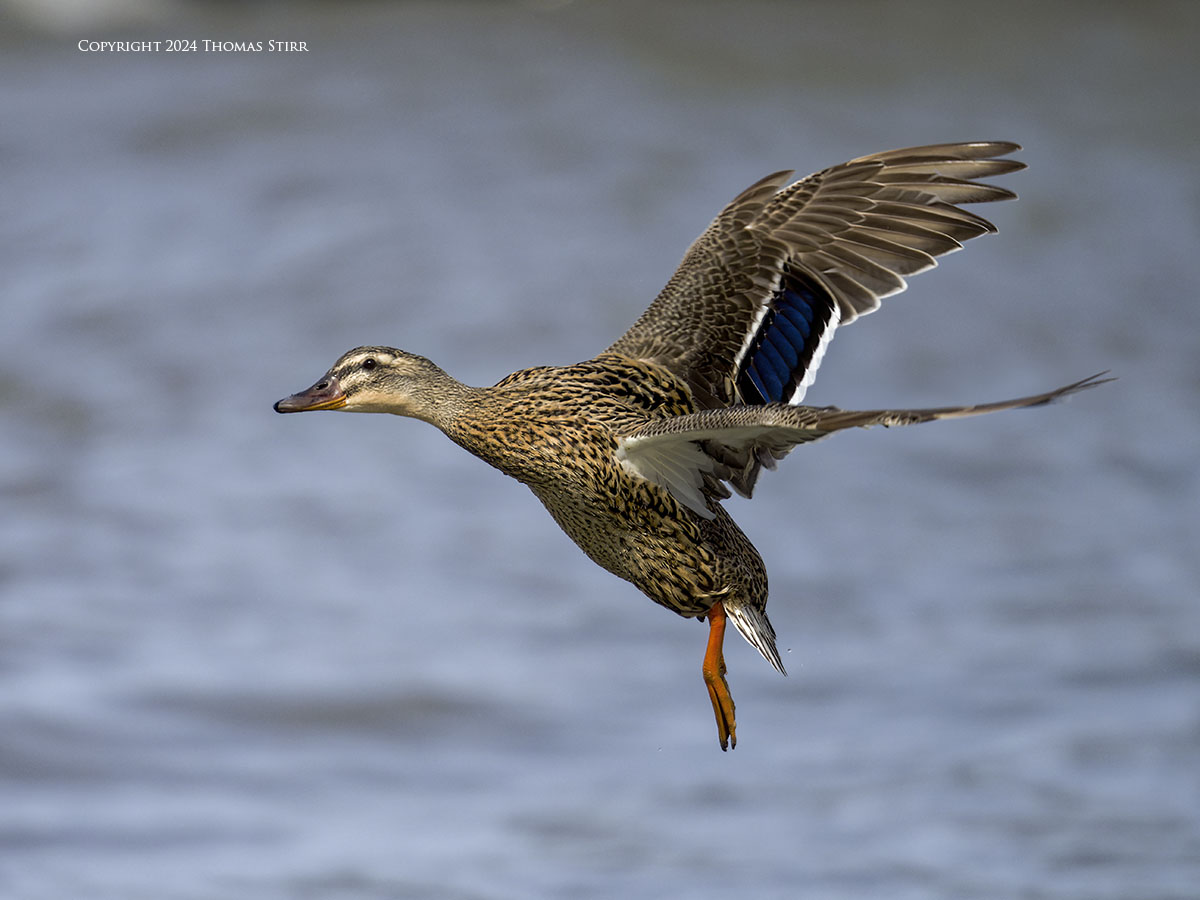
Focus Limiter
The focus limiter on the M.Zuiko 150-600 has a breakpoint at 10 metres, rather than at 6 metres with the M.Zuiko 100-400. This takes some adjustment, especially when visiting birding spots that are very familiar. Changing one’s physical shooting position may be required when photographing birds flying in and landing, in close proximity.

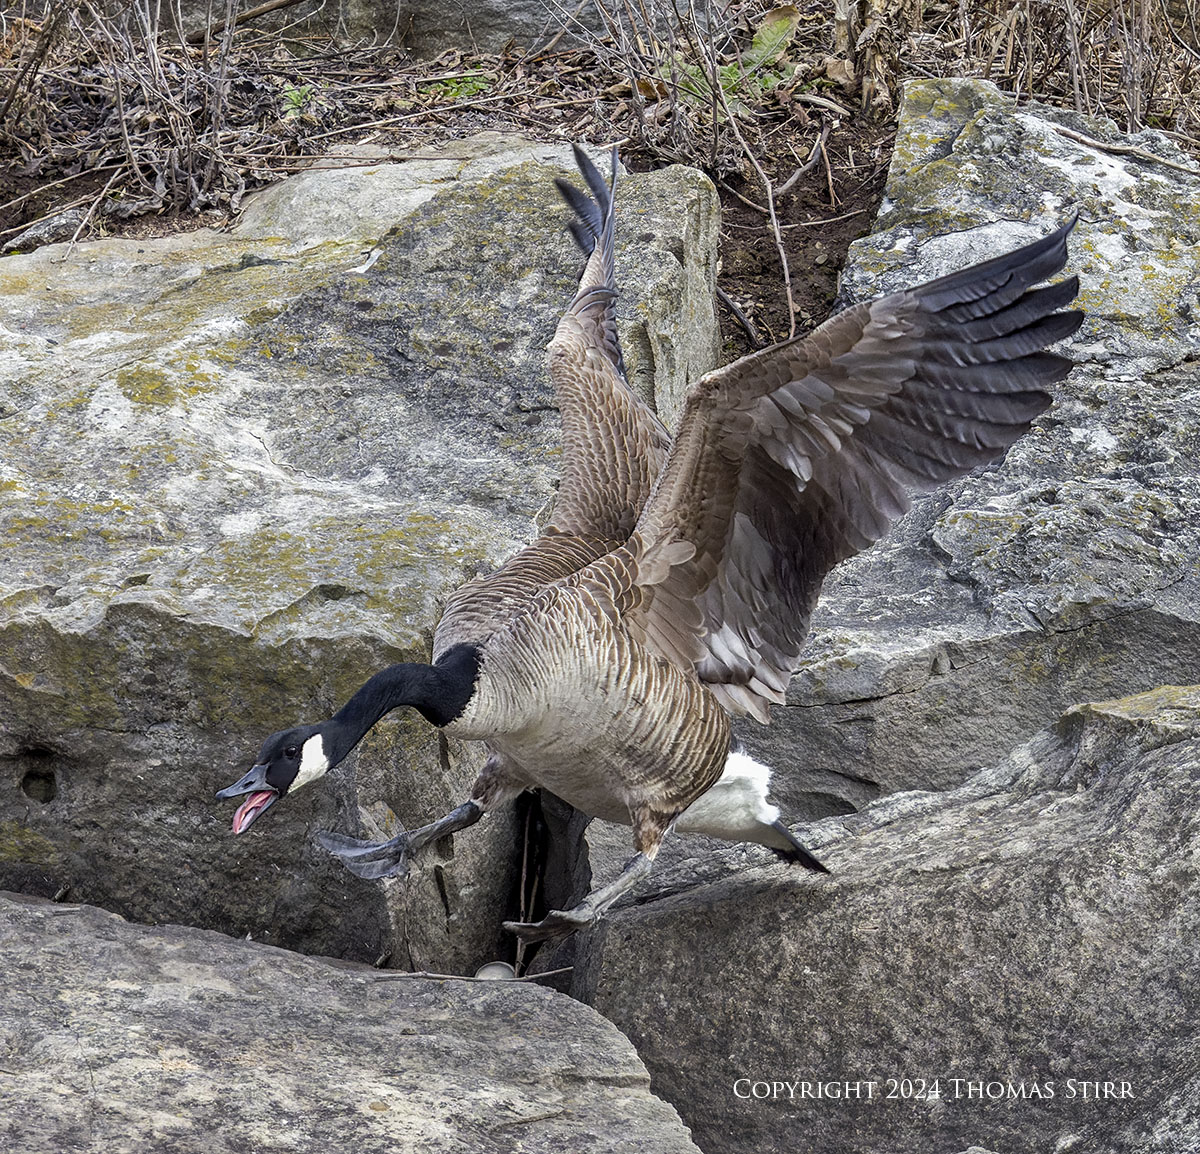
As you can see with the image above, the subject bird was 10.5 metres away and was just outside the minimum focusing distance I had set for my lens (i.e. 10 M – infinity). There is a focus limiter switch on the left hand side of the barrel so the focus limiter can be adjusted fairly quickly. This switch is in the top position on the barrel which is not as convenient as it could be.

My preference would have been to have this switch in the middle position so it would be easier to reach with my left thumb. On a personal basis I would never turn the IS off or use manual focus with this lens, so either of those switches would have been better placed in the top position for my specific needs.

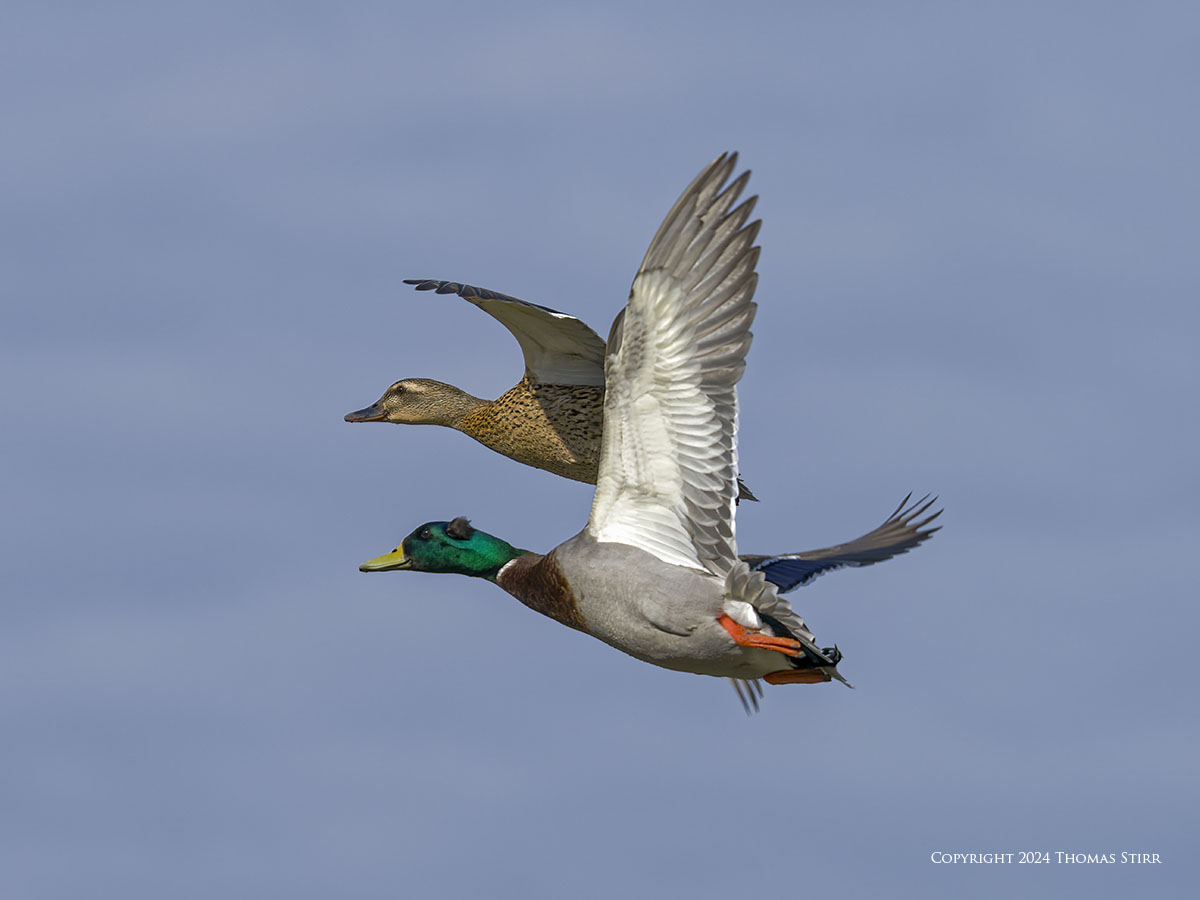
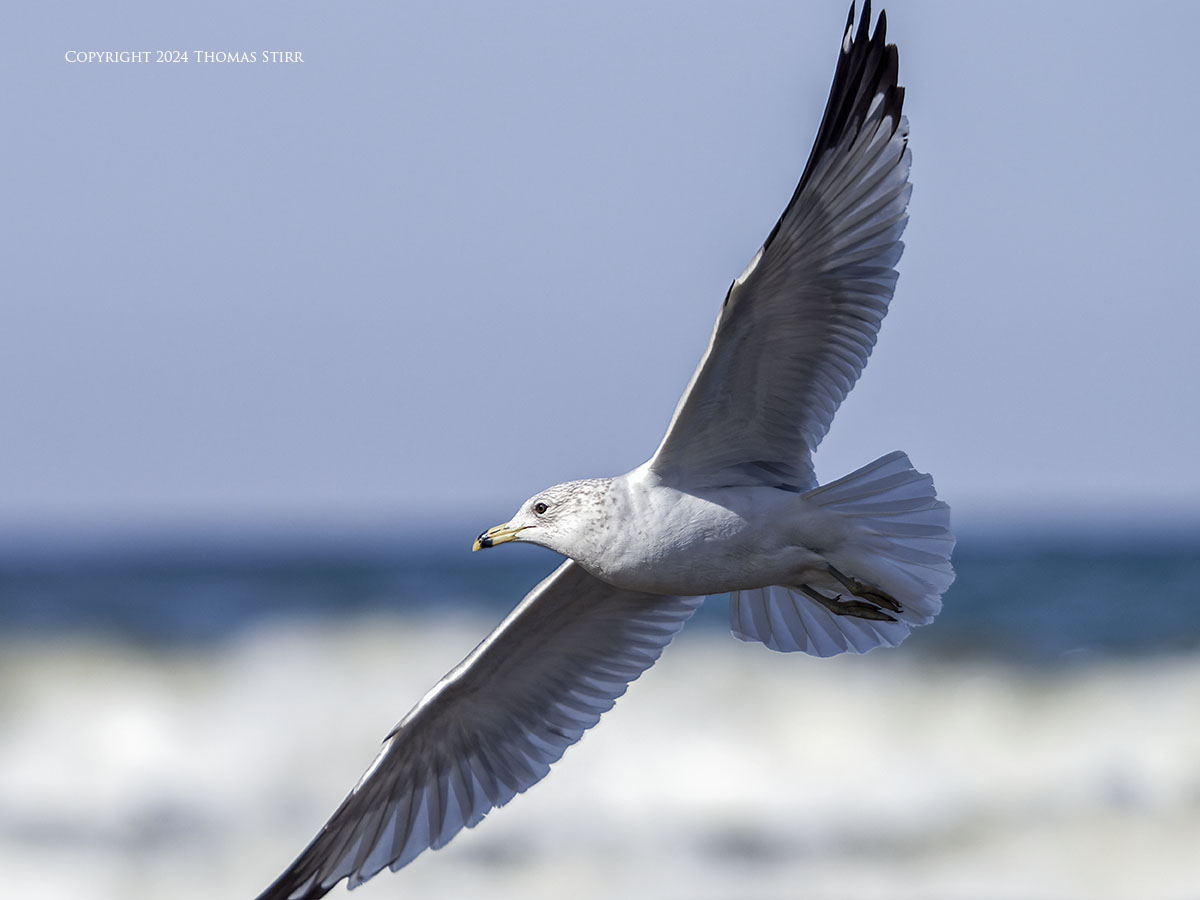
Zoom Range
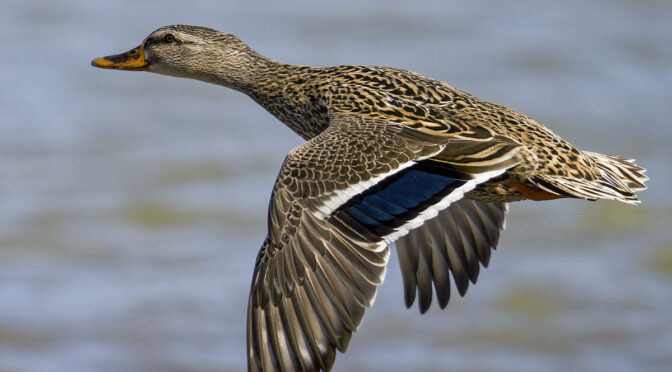
The increased photographic potential of this lens becomes immediately obvious when one starts using the available zoom range. Going from 400 mm to 600 mm on the long end of the zoom doesn’t sound like that much until you actually start using it. Out of habit I initially found myself stopping short with my zooming in on subject birds-in-flight. I needed to remind myself that I had a lot more zoom range available to me. The ducks in the image above were 69.8 metres (~229 feet) away from me.

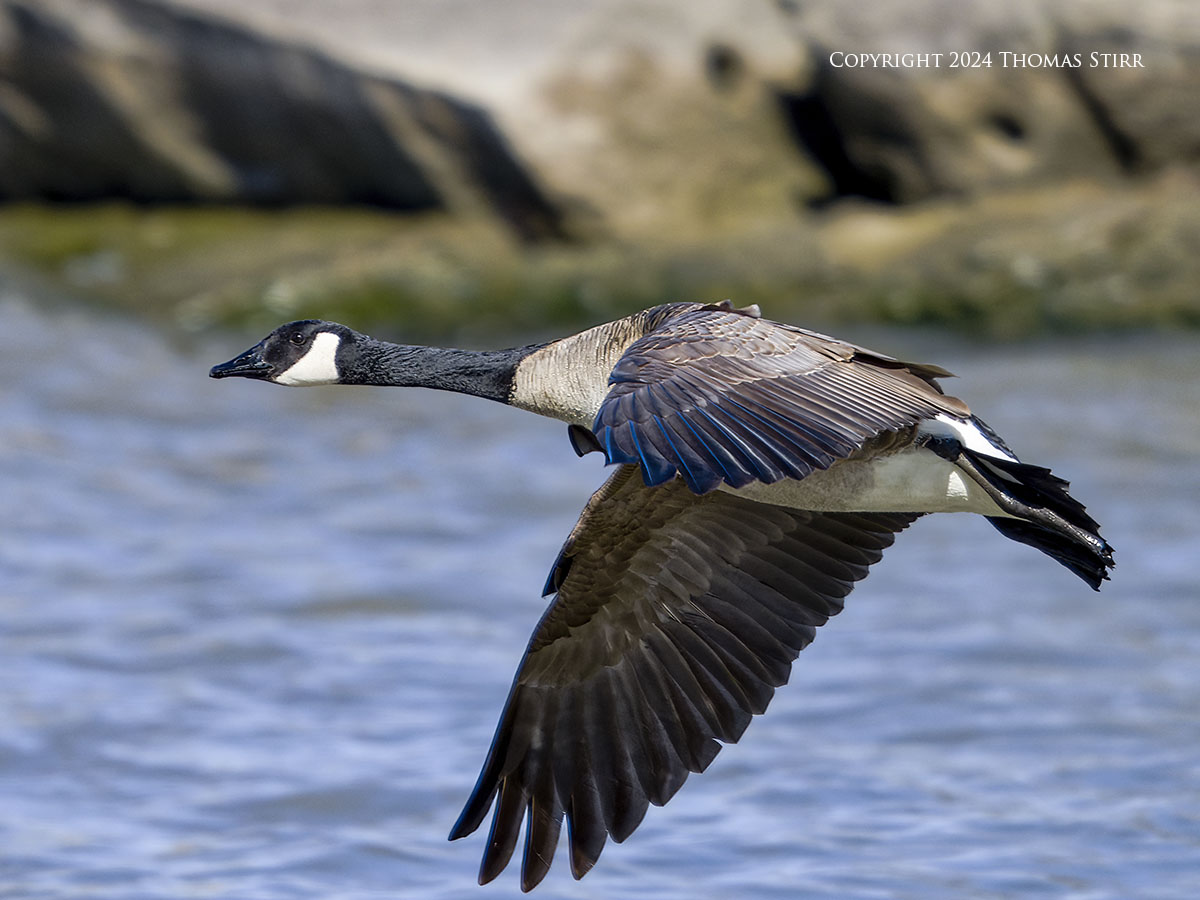
I captured a nice image run of a pair of distant mallards in flight. The birds in the above image were 108.7 metres (~357 feet) away from me. That’s a distance greater than between the goal lines on a football field, or roughly equivalent to a soccer pitch. Being able to capture birds-in-flight at these distances opens up more photographic potential. Folks will need to be aware of the presence of atmospheric particulates and heat haze, when photographing at these distances, as these factors can soften or distort images.

Summary
Thus far I am more than pleased with the performance, handling and image quality of the M.Zuiko 150-600 mm f/5-6.3 IS. This is not a lens that people can pick up and expect to immediately master. There is simply so much photographic potential in this lens that it will likely take most photographers some time to reap its full benefits. I know that I have a lot of experimentation ahead of me to get the most out of this gem.
Technical Note
Photographs were captured handheld with the equipment noted in the EXIF data. All images were created from RAW files using my standard process. This is the 1,365 article published on this website since its original inception in 2015.
How you can help keep this site advertising free
My intent is to keep this photography blog advertising free. If you enjoyed this article and/or my website and would like to support my work, you can purchase an eBook, or make a donation through PayPal. Both are most appreciated.
Sometimes all we need as photographers is a bit of inspiration. We hope you can find some of that inside Finding Visual Expression II.

Finding Visual Expression II is available for download for an investment of $11.99 CDN. The best viewing experience of this eBook will be at 100% using Adobe Acrobat Reader.
You may be interested in all of the 30 concepts covered in both of these related eBooks. If so, you may want to also consider Finding Visual Expression.

Finding Visual Expression is available for download for an investment of $11.99 Cdn. The best viewing experience of this eBook will be at 100% using Adobe Acrobat Reader.
Our other eBooks include Images of Ireland, New Zealand Tip-to-Tip, Nikon 1: The Little Camera That Could, Desert & Mountain Memories, Images of Greece, Nova Scotia Photography Tour, and a business leadership parable… Balancing Eggs.
If you click on the Donate button below you will find that there are three donation options: $7.50, $10.00 and $20.00. All are in Canadian funds. Plus, you can choose a different amount if you want. You can also increase your donation amount to help offset our costs associated with accepting your donation through PayPal. An ongoing, monthly contribution to support our work can also be done through the PayPal Donate button below.
You can make your donation through your PayPal account, or by using a number of credit card options.
Word of mouth is the best form of endorsement. If you like our website please let your friends and associates know about our work. Linking to this site or to specific articles is allowed with proper acknowledgement. Reproducing articles, or any of the images contained in them, on another website or in any social media posting is a Copyright infringement.
Article and images are Copyright 2024 Thomas Stirr. All rights reserved. No use, duplication or adaptation of any kind is allowed without written consent. If you see this article reproduced anywhere else it is an unauthorized and illegal use. Posting comments on offending websites and calling out individuals who steal intellectual property is always appreciated!
Great write up, thanks. One thing I could not get used to on my 100-400 was the slop. Every time I zoom in or out the lens moved a bit at the mount point. Does this happen with the 150-600?
Hi Mladen,
My 100-400 also has a sloppy mount. It bothered me for the first few months… then I just ignored it. Since I’ve been using the push/pull zoom adjustment I haven’t noticed anything with the 150-600. Your comment prompted me to put some sideways torque on the lens/camera combination. The 150-600 is much tighter than the 100-400. I don’t think it is as tight as a lens like the PRO 40-150 f/2.8 though.
Tom
Thanks for sharing your experience and photos!
I’m especially impressed with the improved bokeh in your sample photos. The subjects are also crisp and have good color.
I wonder how you’re dealing with the tripod foot when shooting with this lens. Do you hold the lens by the tripod foot or just bypass it to hold the front of the lens for zooming purposes? If you’re bypassing the tripod foot, does it get in the way of your grip on the lens?
I’m planning to buy a vertical grip for my OM-1 and to put the tripod mount back on my 100-400, as a way of doing a preliminary evaluation of the extra weight on the 150-600. The grip will help me take vertical portrait shots better, whether I buy the 150-600 or not.
Hi Steve,
I have the Cotton Carrier fitting mounted on the tripod foot of the 150-600 which makes the overall shape a bit odd. I typically just hold the end of the lens and avoid the tripod foot altogether in term of how I hold the 150-600.
Tom