
As photographers it can sometimes be an interesting creative experiment to shoot to a theme. Before we left for our recent trip to New Zealand I decided to include some images of roads as a part of our field work for our upcoming photography e-book. For those of us that enjoy driving holidays, roads can tell us a lot about a destination. In many ways they are the soul of a country. Let’s take a look at some New Zealand roads…mainly on the North Island. This is Part 1 of a two part article.
NOTE: Click to enlarge images.

Once you are outside of major cities most of the bridges you will find in New Zealand are one lane. This one is located on the north end of the town of Paihia on the North Island.
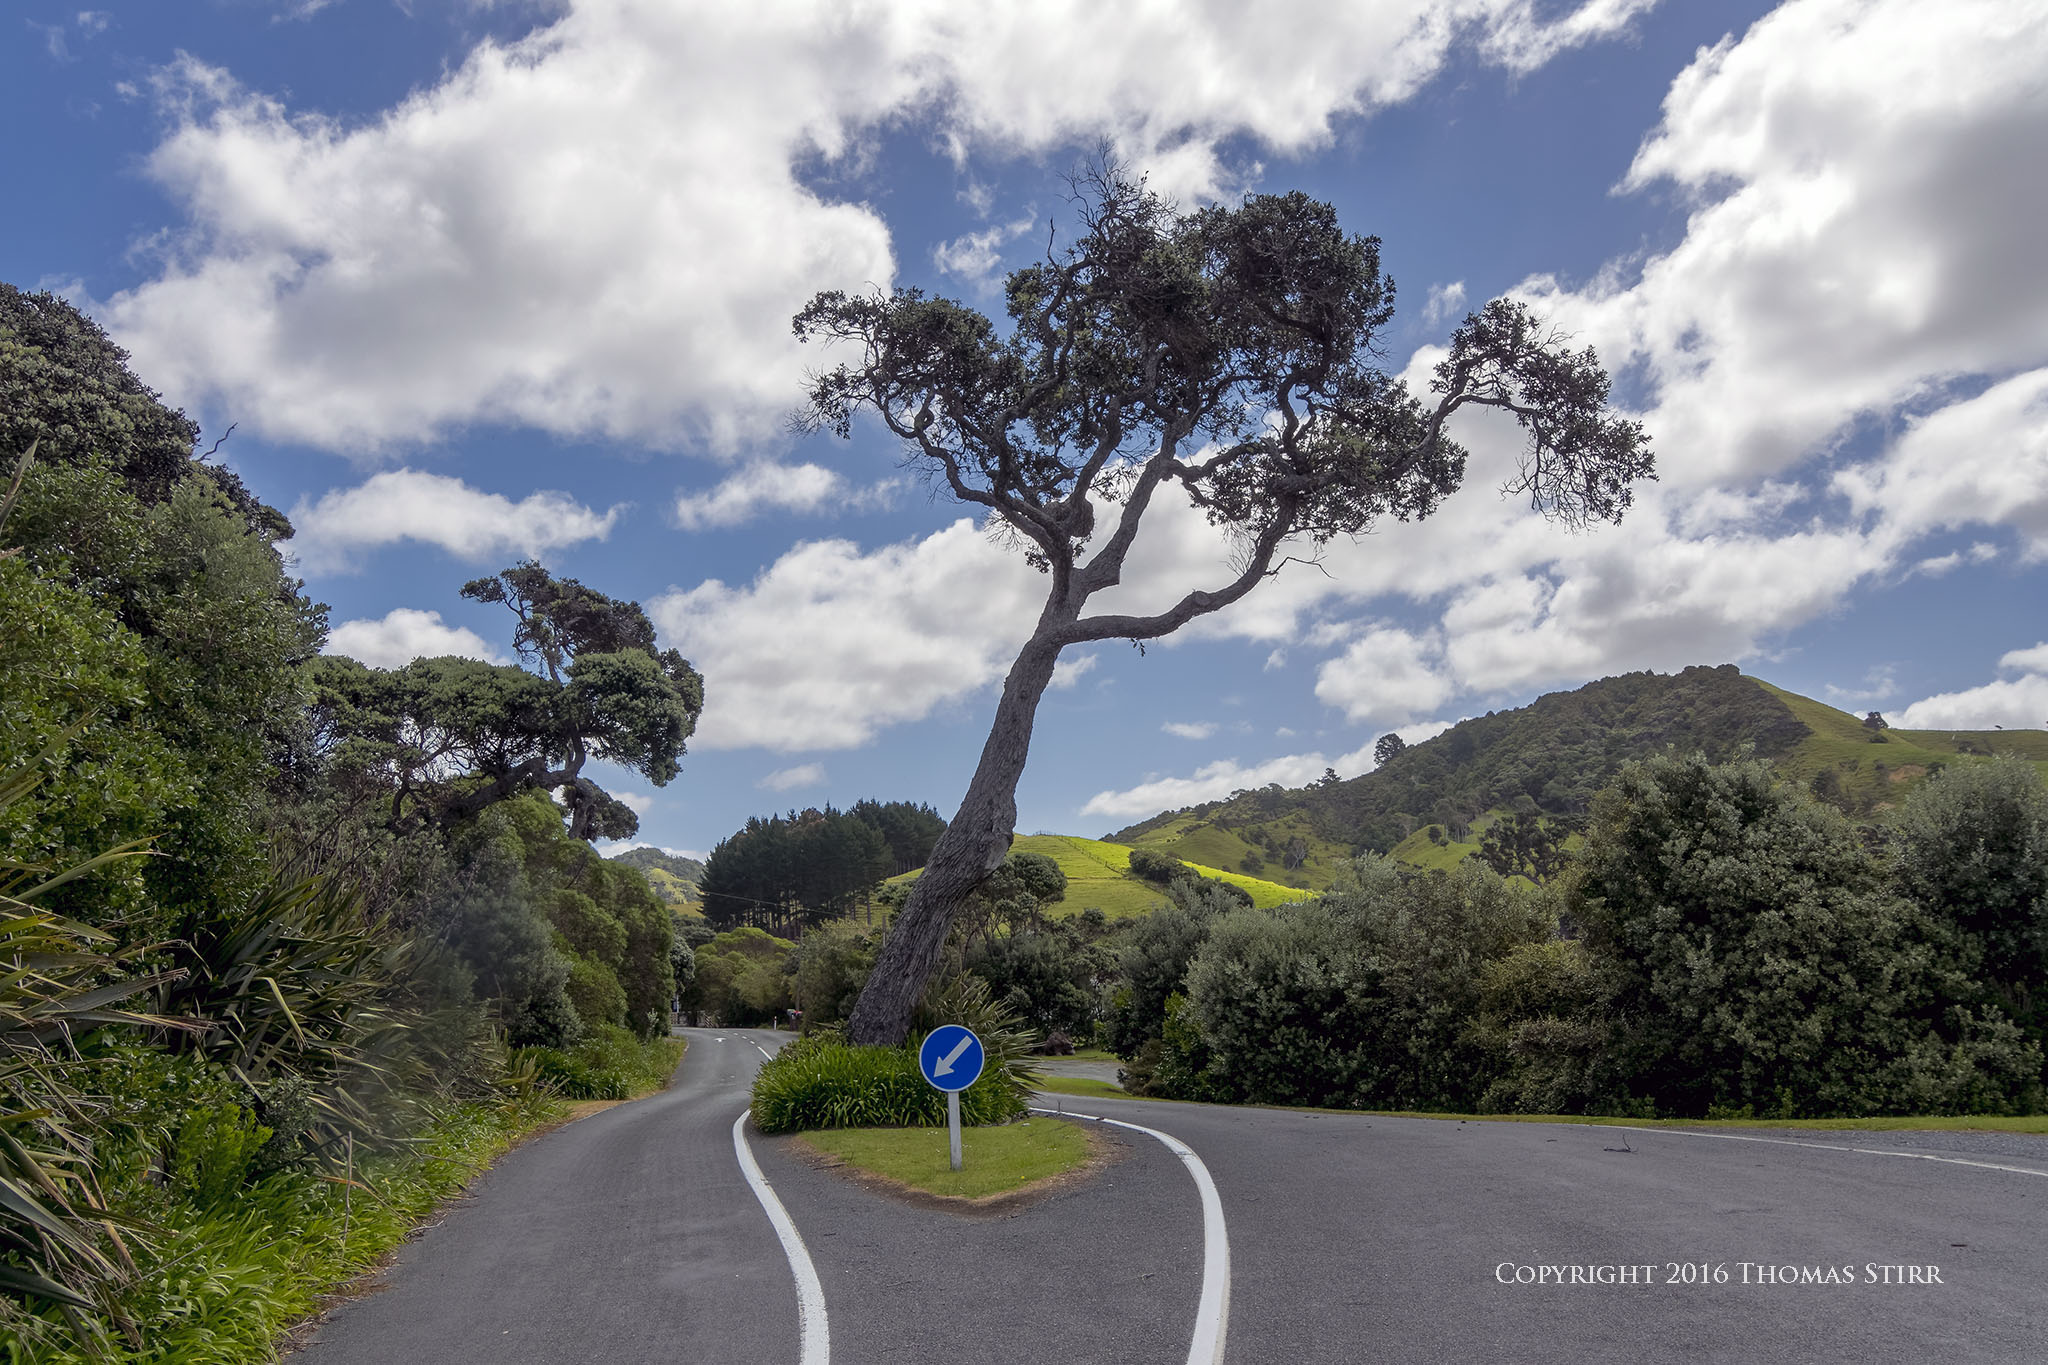
New Zealand is a country that is very environmentally conscious and preserving its natural heritage is a priority. This tree is located on the east coast of the North Island.

This is the road leading to the Te Paki Sand Dunes on the North Island.

The Coromandel Peninsula on the North Island has some spectacular scenery as the images above and below help to illustrate.

The photograph below could have been taken in countless locations in New Zealand.

The road below takes visitors who have signed up for the Hobbiton Movie Set Tour to the staging area at the site.

One of the most spectacular drives we had during our recent trip to New Zealand was on the Whangaehu Valley Road and Field Track, pictured below. The ridges on the hillsides are paths caused by the grazing sheep.

Many times to reach various beach locations you will travel on some interesting roads, like the one in the image below. This road leads to Whitecliff Walkway.

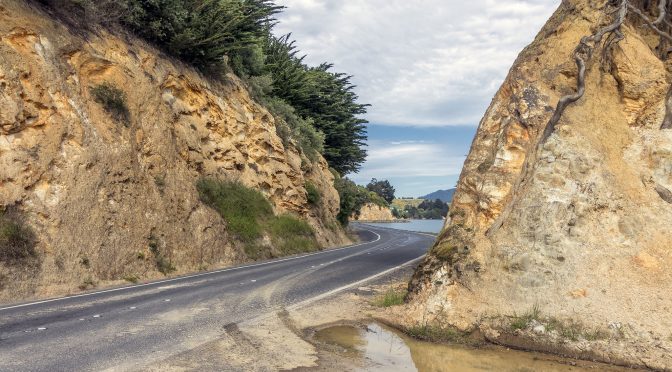
Just outside of Dunedin on the South Island you’ll find the Otago Peninsula. This is a gorgeous drive with lots of beautiful coastal views and some interesting rock formations, as pictured below.

In Part 2 we’ll view some additional road scenes captured on the South Island of New Zealand.
If you enjoyed this article you may want to have a look at New Zealand Tip-to-Tip. This 250 page eBook features 89 locations in New Zealand and over 400 original photographs. You can use the link to see more detailed information about the eBook. The cost of New Zealand Tip-to-Tip is $12.99 Canadian.

My intent is to keep this photography blog advertising free. If you enjoyed this article and/or my website and would like to make a modest $10 donation through PayPal to support my work it would be most appreciated. You can use the Donate button below. Larger donations can be made to tom@tomstirr.com through PayPal.
Article and all images are Copyright 2016 Thomas Stirr. All rights reserved. No use, duplication or adaptation of any kind is allowed without written consent. If you see this article reproduced anywhere else it is an unauthorized and illegal use.
Hi Tom,
I enjoyed your beautiful pictures.
It’s possible to have nice pictures even during the day and even when the sun light is not friendly.
I am an amateur photographer, I take raw + jpeg pictures and uses rawtherapee to edit them (somewhat like light room but free).
The jpeg compression not only reduces my ability to recover exposure mistakes but also makes
it harder (at least for me) to edit the “proper” exposure ones and I can clearly see that editing
raw pictures is easier and yields better results.
I’m glad you enjoyed the images Moshe! You are absolutely right that editing RAW files yields much better results than working with jpegs. There is about triple the amount of digital information contained in a RAW file.
Tom
Hi tom.
I’d like to ask you, did you use any filter for those picture?
What filter did you use? (If you used it). Thx.
Hi Edwin,
Other than using a variable neutral density filter when capturing some slower shutter speed waterfall images I did not use any filters at all during the New Zealand trip. I did use the Polarizing function in Color Efex Pro in Nik Suite on some of the images to give the sky some additional depth and ‘pop’.
Tom
If i don’t have any program to edit the photos, ( i only shot in jpeg and edit with lightroom apps from my smartphone) do you think it is essential to have a cpl filter for landscape photography? Thx
Hi Edwin,
Using filters can certainly help capture better quality images. Many folks use polarizing filters and graduated neutral density filters for landscape photography. Only shooting in jpeg will limit the quality of your images and you’ll have far less digital information with which to work in post.
I purposely didn’t use these filters during our recent trip to New Zealand as the purpose of the e-book that we’re putting together is to illustrate the type of scenes and image quality that is possible shooting between 9AM and 5PM while on a driving holiday. We’re also keeping the amount of time we’re spending on each RAW file in post to a minimum.
Tom