Ospreys are found in various locations around the globe and have fascinated photographers and bird watchers alike for many years. This species is one of my favourite birds to photograph due to its ability to dive into water to catch live fish.
NOTE: Click on images to enlarge.

My first experiences photographing Ospreys go back almost a decade ago when I would go to Mountsberg Conservation Area in Halton Region. My photographic skills were lacking… but I was intrigued by these birds.
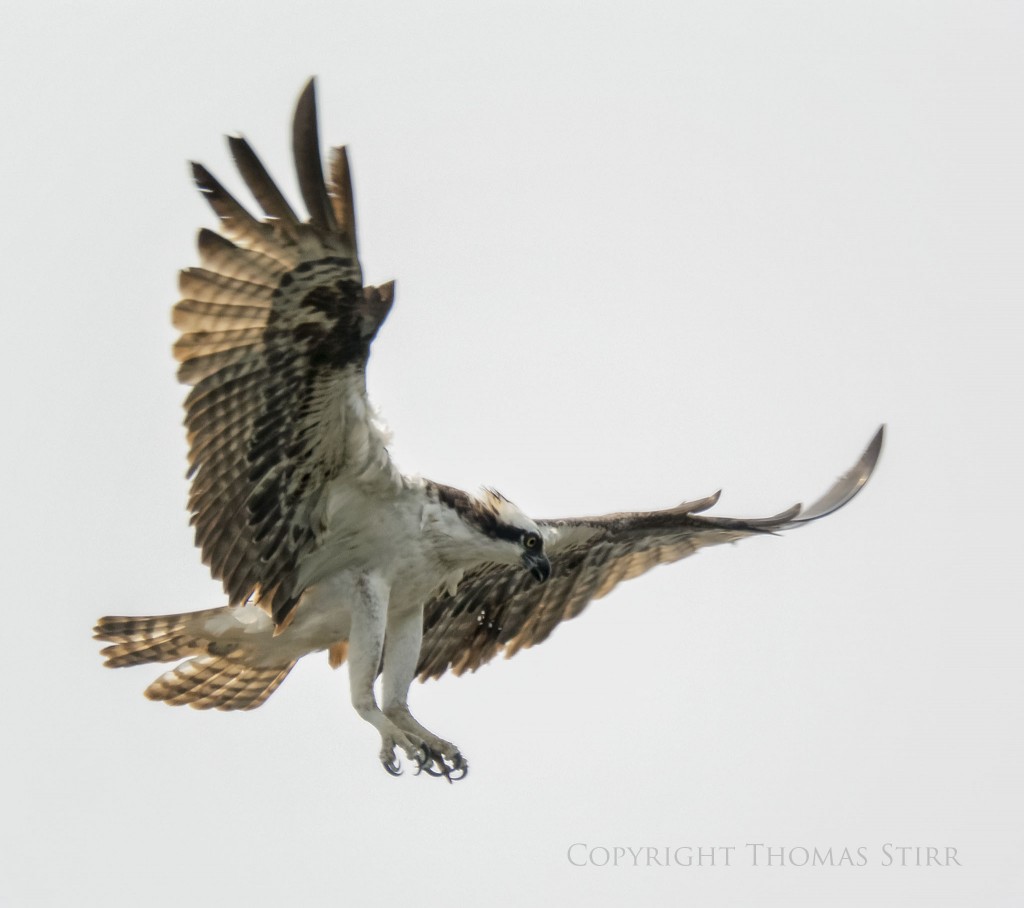
At the time the facility had a nesting platform that Ospreys would use to build a nest. It was adjacent to a shorefront hide that was a great viewing platform.
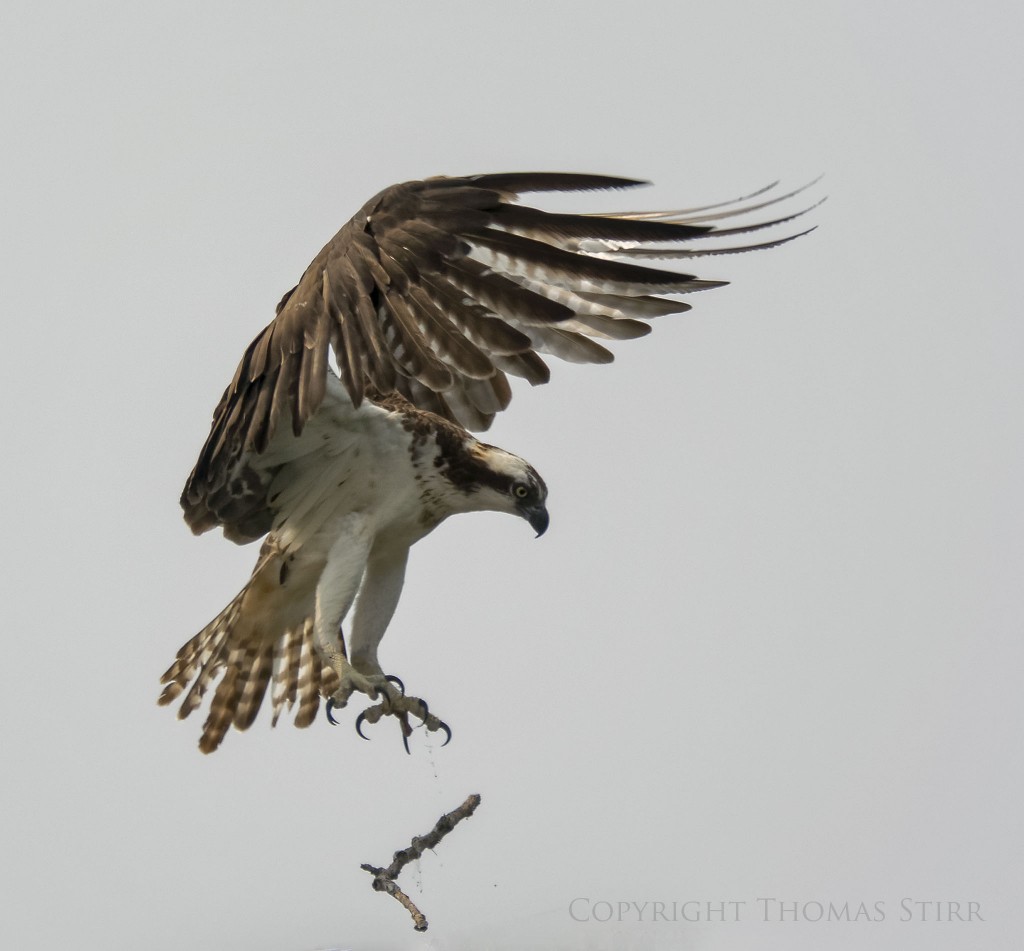
During the nesting season it was possible to get some images of Ospreys flying with small branches which they would often drop to their mate as they flew over the nesting box. The location of the nesting platform never afforded me any opportunities to photograph the birds fishing.

On one of our trips to South Carolina I was able to photograph an Osprey that was housed at a raptor conservation site. My appreciation for this unique bird increased over time.
If you live within the range of Ospreys and near water, and want to attract a breeding pair you may consider building a nest box. This is a complex structure so it is best to obtain proper plans. Make sure to build this structure well before nesting season.

Given the size and height of this structure I would imagine that local planning permissions may be required.

A seminal moment for me occurred back in 2017 when I was at Hendrie Valley and an Osprey flew out from behind some trees with a large fish in its talons.

All I had time to do was wheel around a grab a few quick images. I didn’t even get the Osprey framed very well in my composition… but I was hooked nonetheless.

Like many other photographers in the area I try to visit Hendrie Valley on a regular basis during the season, with the hope of capturing one of these magnificent birds fishing.
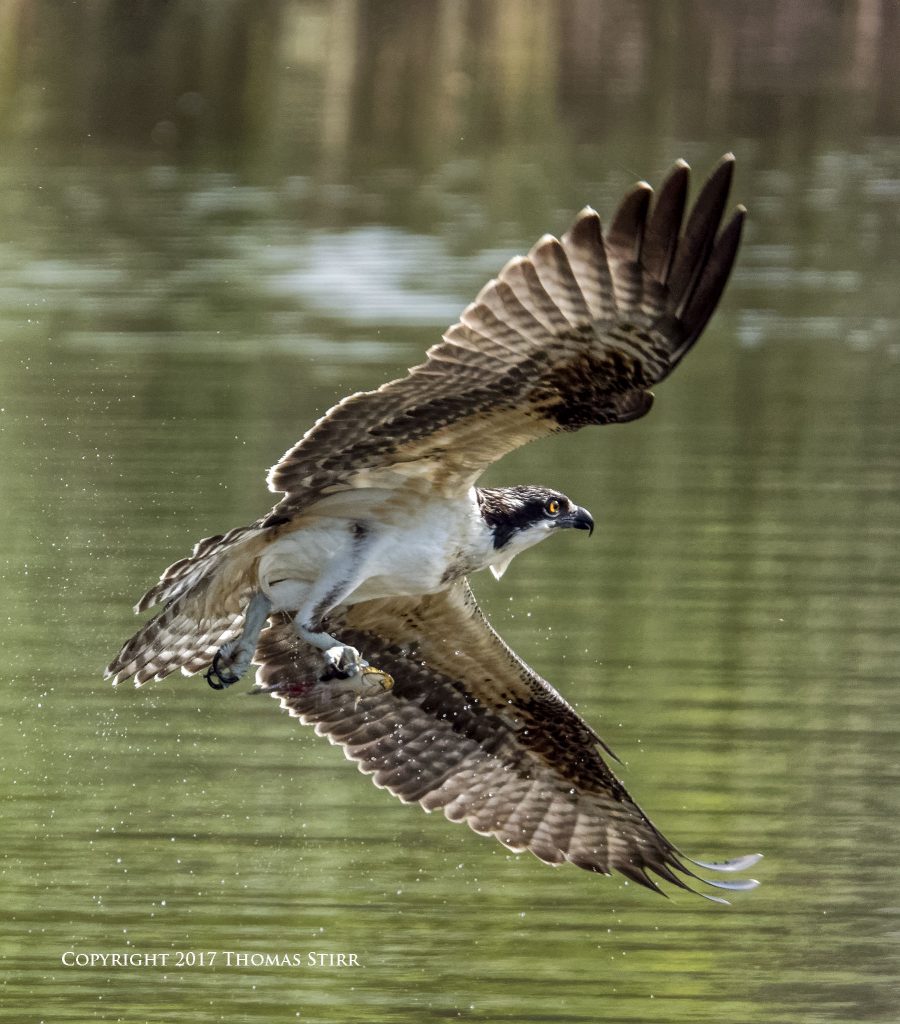
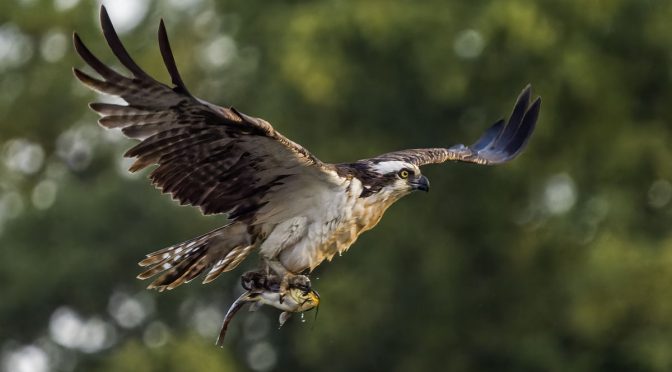
Capturing an Osprey in flight after it has caught a fish is still as exciting today as it was the first time I managed to do so. Ospreys have a reversible outer toe. This allows them to grasp a fish with two toes in front, and two behind.

When flying with a fish Ospreys typically line up its catch head first to reduce wind resistance. Some birds catch fish so large it is a wonder they can even get airborne.

The majority of my success photographing Ospreys has been at the ponds at Hendrie Valley. The birds usually fish some distance out so using a longer focal length is needed.

Ospreys are very good anglers and scientific studies have shown that they are successful with at least one in four dives.

Studies have shown that on average an Osprey only spends about 12 minutes before making a catch.

Many photographers like to capture an Osprey as it is hitting the water as it is making a dive. My preference is to capture them as they exit the water and take flight as I find this action more dramatic.

Ospreys that have been successful hunting are often pursued by other raptors. Sometimes even gulls will pursue them in an attempt to steal their catch.

Ospreys often live 15 to 20 years. The oldest known Osprey was one that lived in Virginia… it was over 25 years old based on banding information.

One of my most unique moments photographing an Osprey was capturing one doing a mid-air shake to dispel water from its feathers.


Using a combination of Pro Capture L and Bird Detection AI Subject Tracking were ideal technologies to use for this type of action.

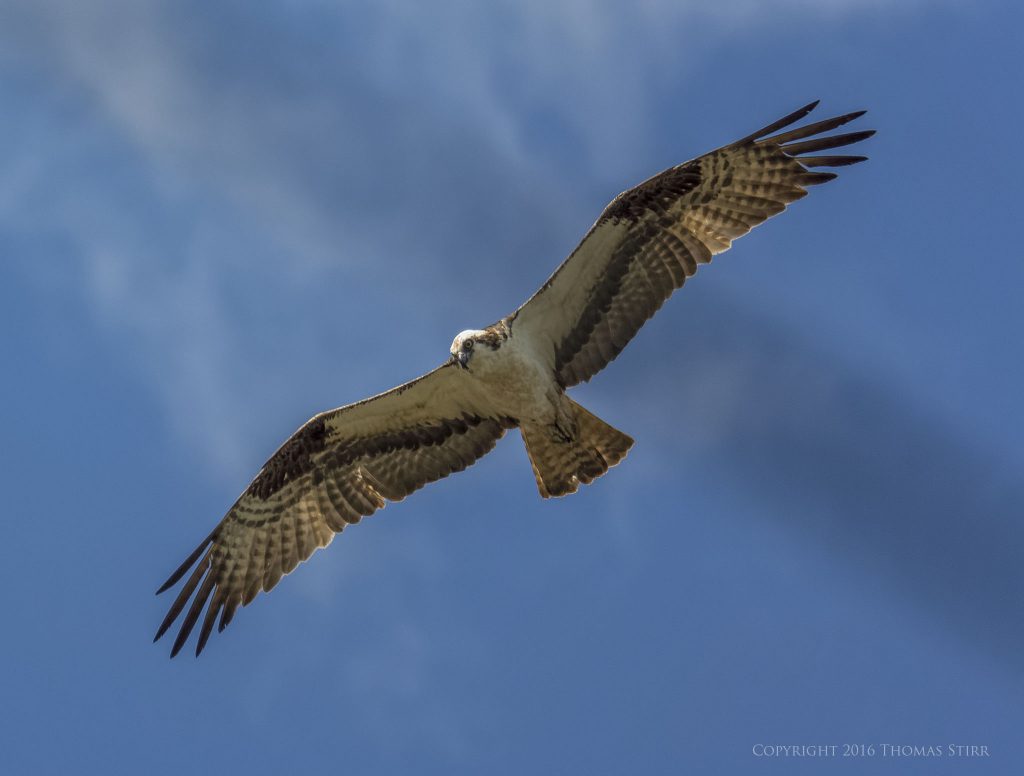
Ospreys will often soar along shorelines and patrol various waterways. When an Osprey hovers in mid-flight and drops its legs and talons down… it is usually a signal that a dive is about to occur.

Unfortunately, this year circumstances were such that I didn’t get out as often as I would have liked with my camera gear, so I missed much of of the Osprey season in Southern Ontario.

Rest assured that I’ll be out again next spring to watch and photograph these wonderful birds!
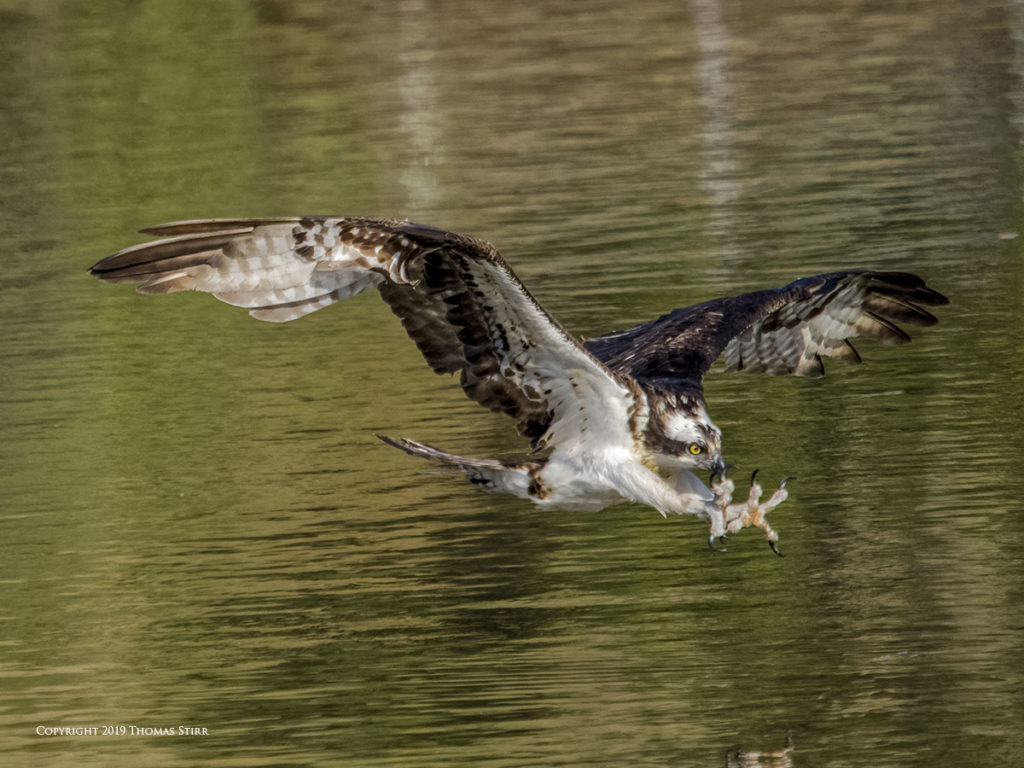
Few things in nature look as intense and focused as an Osprey flying in to catch a fish.

Technical Note
Photographs were captured handheld with the camera equipment noted in the EXIF data. All images were created from RAW files using my standard process in post. This is the 1,416 article published on this website since its original inception in 2015.

How you can keep this website advertising free
My intent is to keep this photography blog advertising free. If you enjoyed this article and/or my website and would like to support my work, you can purchase an eBook, or make a donation through PayPal (see Donate box below). Both are most appreciated. Sometimes all we need as photographers is a bit of inspiration. We hope you can find some of that inside Finding Visual Expression II.
Finding Visual Expression II is available for download for an investment of $11.99 CDN. The best viewing experience of this eBook will be at 100% using Adobe Acrobat Reader.
You may be interested in all of the 30 concepts covered in both of these related eBooks. If so, you may want to also consider Finding Visual Expression.
Finding Visual Expression is available for download for an investment of $11.99 Cdn. The best viewing experience of this eBook will be at 100% using Adobe Acrobat Reader.
Our other eBooks include Images of Ireland, New Zealand Tip-to-Tip, Nikon 1: The Little Camera That Could, Desert & Mountain Memories, Images of Greece, Nova Scotia Photography Tour, and a business leadership parable… Balancing Eggs.
If you click on the Donate button below you will find that there are three donation options: $7.50, $10.00 and $20.00. All are in Canadian funds. Plus, you can choose a different amount if you want. You can also increase your donation amount to help offset our costs associated with accepting your donation through PayPal. An ongoing, monthly contribution to support our work can also be done through the PayPal Donate button below.
You can make your donation through your PayPal account, or by using a number of credit card options.
Word of mouth is the best form of endorsement. If you like our website please let your friends and associates know about our work. Linking to this site or to specific articles is allowed with proper acknowledgement. Reproducing articles, or any of the images contained in them, on another website or in any social media posting is a Copyright infringement.
Article is Copyright 2024 Thomas Stirr. Images are Copyright 2014-2023. All rights reserved. No use, duplication or adaptation of any kind is allowed without written consent. If you see this article reproduced anywhere else it is an unauthorized and illegal use. Posting comments on offending websites and calling out individuals who steal intellectual property is always appreciated!



Very little image quality is lost using the 100-400mm lens wide open. I have measured the resolution of this lens and found that at 400mm focal length peak resolution occurs at f/8 without a teleconverter. But the resolution curve is fairly flat and does not drop below 95% of peak between f/6.3 and f/11.
Hi Richard,
Thanks for adding information to the discussion.
Tom
Again, just an amazing set of photos with striking IQ and consistency. I’m learning a lot from you and others generous enough to share thoughts and techniques. I us an OM-1 with a 100-400mm M.Zuiko and MC-14. I notice that you shoot mostly at f/9 with that combination and your shots are very clear. I’ve read other posts about this lens not being its best wide open, but apparently you have no problems with that. Do you recommend shotting at f/9 (wide-open) whenever necessary or have you found that stopped down a stop or two is even clearer? giving up the wide open aperture is a real penalty and I would rather shoot at f/9 most times. Otherwise, I’m just bumping ISO which is not terrible, but always a bit of a penalty when I have to go to 3200 or 6400. Topaz works well, but I’d rather shoot at a lower ISO if I can use f/9. My experiments with different apertures isn’t complete enough yet for me to have confidence and hence, would like your opinion based on your obvious skill and long experience.
For a different discussion sometime, I’m very interested and persuaded by your comparison of the 150-600mm with the 100-400mm and am only really just waiting for my cheapskate tendencies to allow me to buy the longer lens! Thanks.
Hi John,
Thank you for your supportive comment… it is most appreciated!
My wife and I own a total of 11 M.Zuiko lenses and we’ve never stopped any of them down to increase image sharpness. And, that includes all of our 8 zoom lenses when they are fully extended. I also don’t remember having to stop down any of our 1 Nikkor lenses to increase sharpness when we used to shoot with the Nikon 1 system. The only lens that I had to regularly stop down to f/8 to increase sharpness was the Tamron 150-600 that I owned about 10-12 years ago. That lens was noticeably soft at the longer end of the zoom.
I’m perfectly comfortable shooting all of my M.Zuiko lenses that accept the MC-14 and MC-20 teleconverters, wide open. This includes the PRO 40-150, 100-400, 150-600 and 90 macro.
It is possible that how we handle files in post may be having an impact. We’ve been using DxO as our main RAW file processer for many years. I find that the software does a good job with its automatic camera/lens corrections. As soon as I open a RAW file the software will automatically make adjustments. I do create and use custom presets in DxO. These are usually camera, lens, and subject specific. Sometimes I may make a custom preset that also includes lighting, or variations with subjects. For example, when Nikon 1 was my main birding kit I had separate presets for “standard birds”, “white birds” and “dark birds”. The presets would have been built around using either V2 or V3 bodies with the 1 Nikkor 70-300 mm zoom.
I do have a number of DxO presets that I use with my Olympus/OM kit but I found that I did not need as wide an assortment of them. For some lenses, like the M.Zuiko 150-600 IS, I currently only use one preset. I may expand this if I find it is needed but thus far one basic preset seems to work well.
For bird photography my DxO presets have some minor sharpness related settings, and I often use the Microcontrast function after my files have gone through a preset. I also use a ‘double barrelled’ approach to noise reduction with my RAW files. Every file (regardless of ISO value) has DxO DeepPRIME applied to a maximum value of 15. I find this does some initial clean-up of my files without hurting image sharpness. I also use the DxO Smart Lighting Spot Weighted tool with all of my files regardless of subject matter. I find this helps me better balance out my exposures. If needed, I’ll apply Topaz DeNoise AI and/or Topaz Sharpen AI… these programs are the second half of my “double barrelled” approach.
This reply mad be a bit more detailed than you were anticipating, but I thought it may be helpful to share an overview of my approach in post… i.e. DxO as my initial RAW processor… then export a DNG file into an old copy of PhotoShop CS6, then use Topaz DeNoise AI and/or Topaz Sharpen AI as needed. If needed, I also have an old copy of the Nik Collection for very limited and occasional tweaks.
I should mention that when it comes to working in post I’m very lazy and almost never spend more that 3-4 minutes with a specific file. I hate working in post to the extent that if a file is taking too long to process… I just stop and move on to another file.
In summary, I have no hesitation shooting all of my M.Zuiko lenses wide open, even when fully extended, and when used with teleconverters.
Tom
Excellent info, Tom. Thanks for taking the time. I appreciate both your lens comments and Post-Processing comments.
NP John… always a pleasure to try to help a reader…
Tom