In many ways Nikon 1 gear is ideally suited to taking photographs of captive reptiles because of its light weight, portability, and the comparatively short minimum focusing distance of 1 Nikon lenses. In this article I’ll be discussing some of the things you can do to create some interesting images when using this equipment.
(NOTE: click on images to enlarge them)
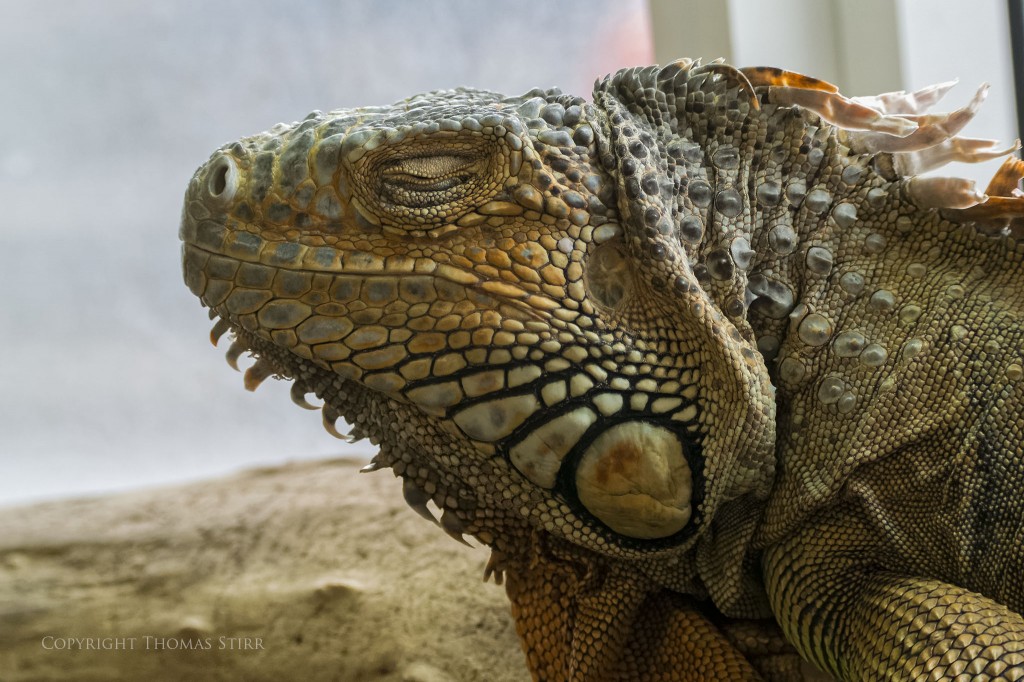
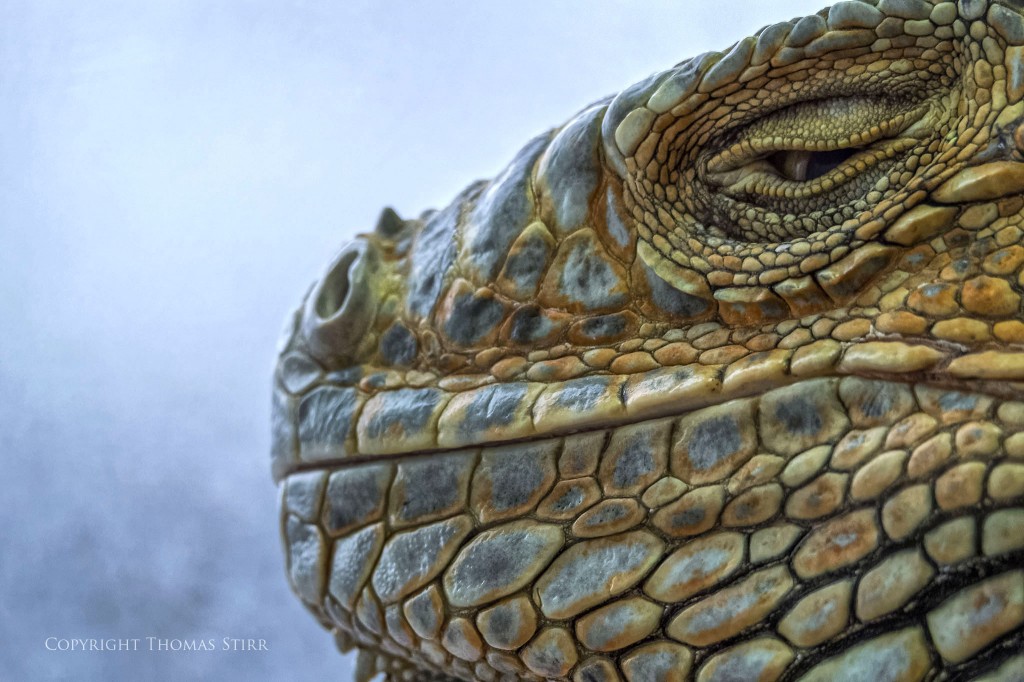
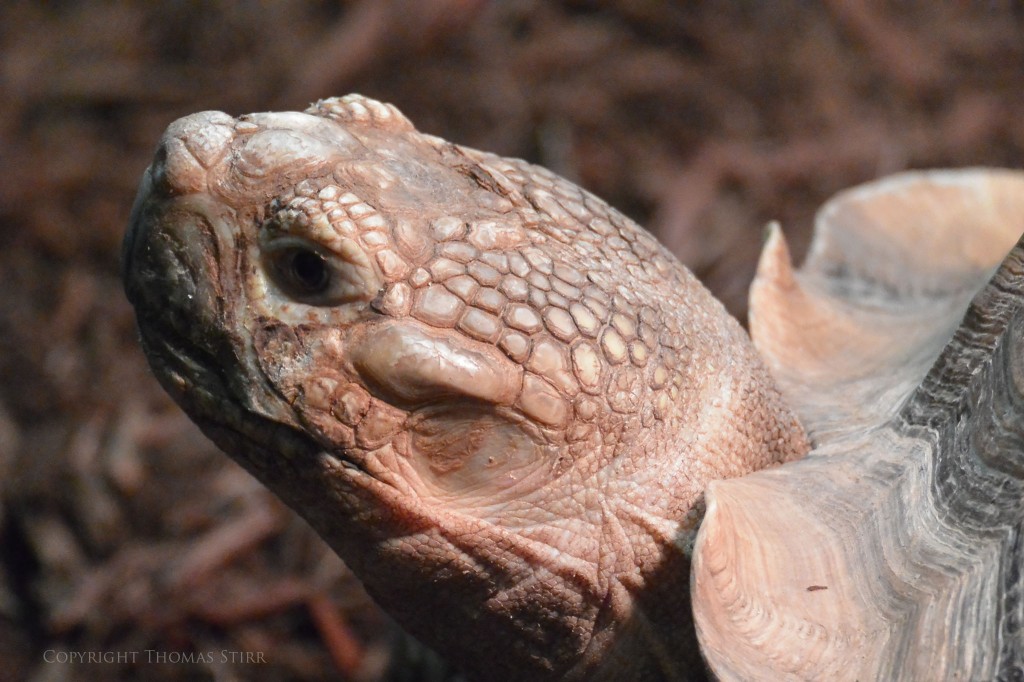
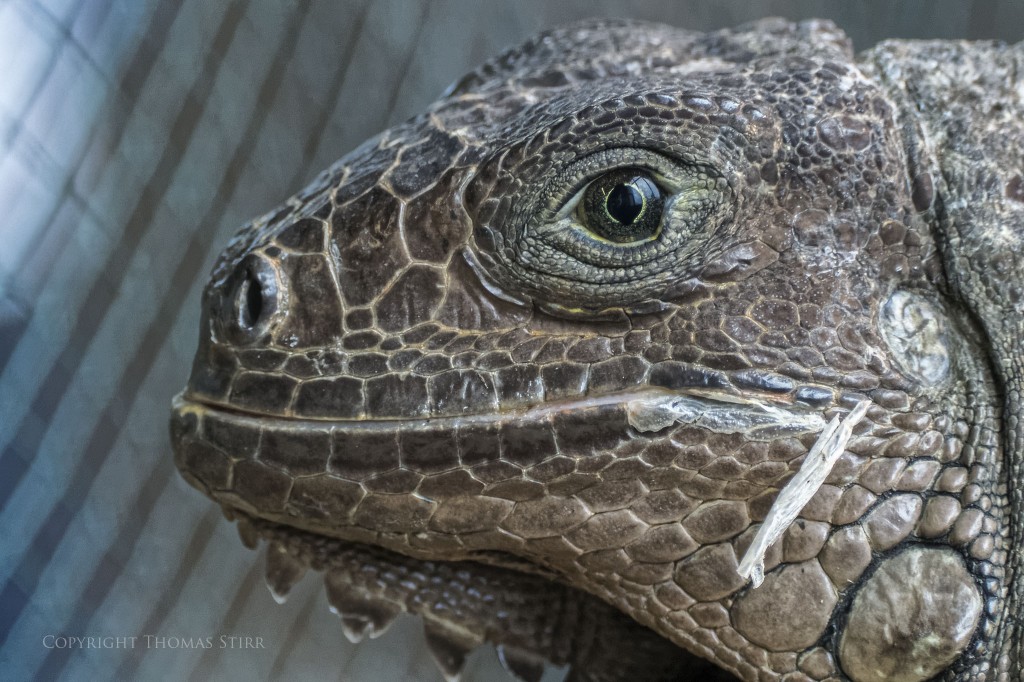
One of the most outstanding features of reptiles is the texture of their skin. For this reason some of the most arresting images of reptiles are often close ups. I think these types of pictures stimulate deeply rooted human fears of monsters and dinosaurs when we view them. To capture these kinds of photographs we need to get as up close and personal as we can with our subjects.
Often when visiting zoos and other exhibits containing captive reptiles we are faced with some challenging photographic conditions. These include having to shoot through glass partitions or wire mesh. Many times the size of an exhibit area is quite small. This makes it difficult to acquire focus with a typical DSLR equipped with a telephoto lens and still eliminate obstructions in the foreground. In addition, many reptile exhibits are either poorly lit or are subject to high contrast lighting.
The first challenge we face is to eliminate distractions in the foreground. To accomplish this we need to press the hood of our lens right up against the glass partition or mesh so that our lens will focus past the wire obstruction or any dirt/glare on the glass.
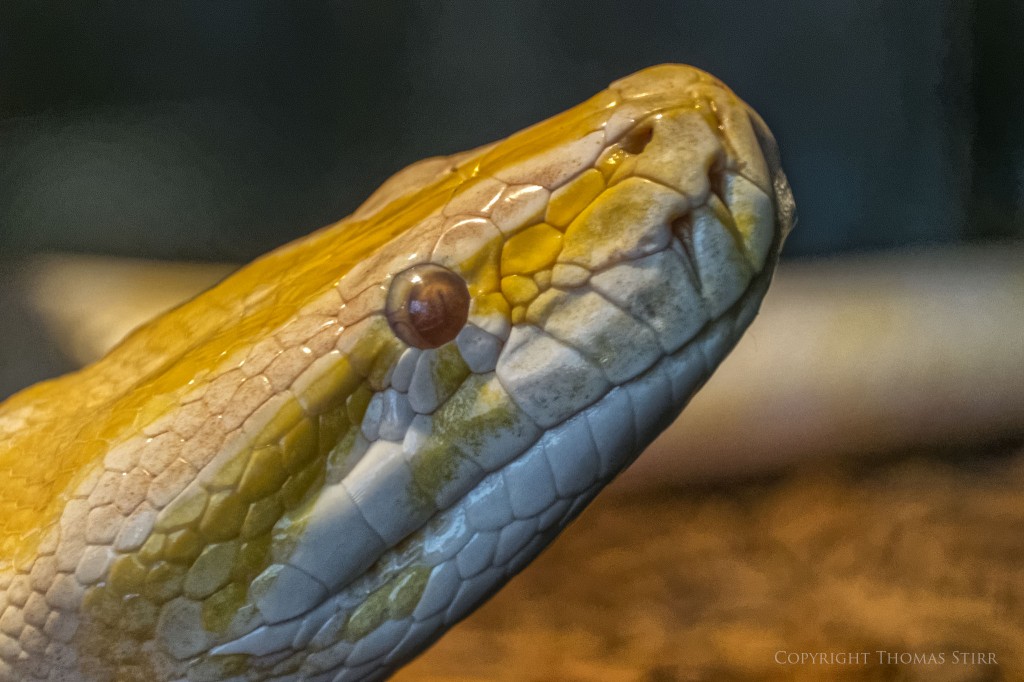
The next critical factor is to frame our subject. Try to capture images without having to crop them at all if possible. This will give you more useable details in your images. As you are planning your shot pay attention to background elements, and when possible position your subject against a neutral or muted background if possible. This will help your subject really pop in your frame.
Don’t be afraid to frame in really tight on just the head of the reptile, or even just a portion of its head. Remember that full body images of a snake or lizard are common place. If you want to capture something different go in tight with your framing. This also helps to accentuate the texture of the skin of the reptile.
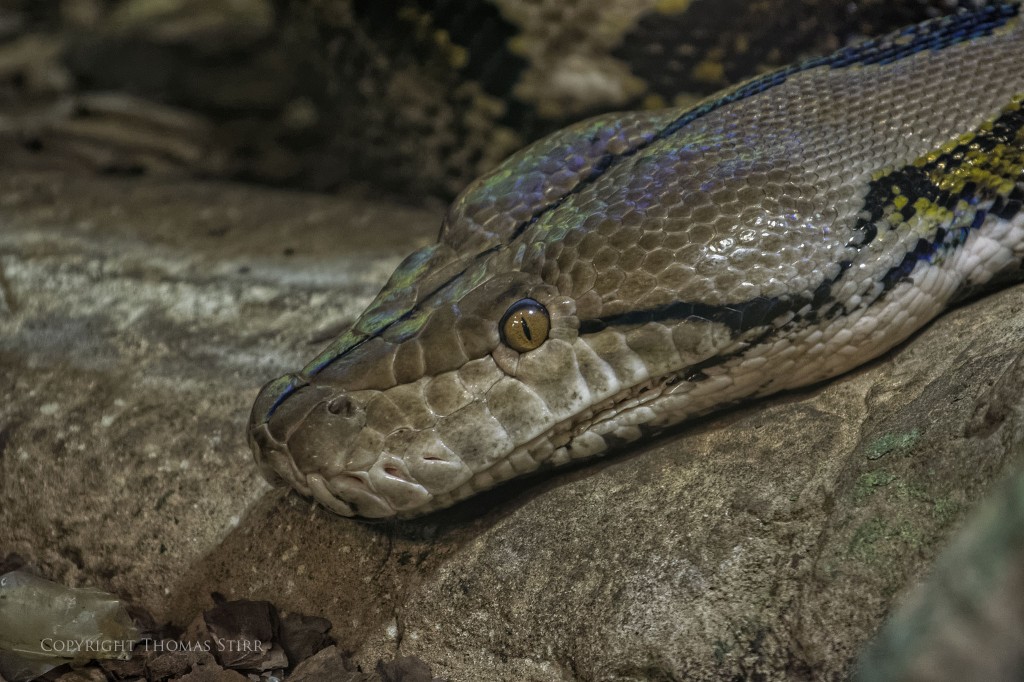
Change your angle in relation to the subject. Shots looking down on reptiles tend to show human superiority over them. If you want to add drama to your image position yourself at the same eye level as your subject. The more intimidating your subject – the more powerful being at the same eye level will be in your photo.
Use single point auto focus with your Nikon 1 camera, and place that single point on the most important part of your image – the eye of the reptile. To get the sharpest images possible, shoot at a maximum of f/5.6, thus avoiding the potential impact of diffraction.
I appreciate that some Nikon 1 owners are a bit intimidated when it comes to shooting in RAW. If you are only comfortable shooting in jpeg, then try to do some basic adjustments to highlights, shadows etc. to make the most of your images. If you’re worried about losing your original jpeg, then make a copy of it and add ‘adjusted’ after the file name so you can keep your original file. To illustrate this point, the following image is an out-of-camera jpeg with no adjustments at all.
Here is the exact same image with some simple adjustments done to the jpeg in CS6. You can use LightRoom or many other programs to do the same things. Adjusting highlights, shadows, contrast and sharpness can add a lot to your jpegs.
Here is the same image that was processed from the RAW file. I ran the file through DxO OpticsPro 10 with its automatic adjustments. Then, I added some lens softness adjustments, some micro contrast, and PRIME noise reduction. A DNG file was exported into CS6 with adjustments made to highlights and shadows. Finally, Viveza 2 was used for slight adjustments to structure and contrast.
Every image will be different, so the processing description above is simply to illustrate how a few adjustments were done to enhance one specific image.
As far as choice of lenses to use with your Nikon 1 camera, it comes down to personal preference and practical considerations regarding the position of the subject reptile in relation to the glass partition or mesh/bars. For best results try to use long focal length lenses with comparatively short minimum focusing distances.
I’ve used my Nikon 1 V2’s with native 1 Nikon lenses as well as with my FT-1 adapter and some of my FX glass. Lenses to consider if you’re going the FT-1 adapter route include zoom lenses like the 55-200 mm f/4-5.6, 55-300 mm f/4.5-5.6, 70-300 f/4.5-5.6, or 70-200 f/2.8 or 70-200 f/4. If you also want some capability to shoot subjects that are closer to the front of an exhibit you can also include some fast primes like 50 mm, 85 mm and 105 mm Micro.
As far as 1 Nikon lenses go, I prefer to use the CX 70-300 mm whenever possible as I love the focal length range, especially when I have my Vello extension tubes with me. This lens has comparatively short minimum focusing distance and also has very good corner to corner sharpness.
Extension tubes put extra distance between the lens and the sensor in your camera which has the effect of decreasing the minimum focusing distance of your lens. This enables you to fill more of your frame with your subject. The downside is that you lose some light and extension tubes can sometimes make auto-focusing slower.
I also like to have my 1 Nikon 10-30 mm non-PD and 30-110 mm zooms in my camera bag as these lenses can help capture subjects that are closer to the glass partition or mesh. Given the relatively short minimum focusing distance of the 1 Nikon 10-30 lens I usually don’t bother taking any of my 1 Nikon primes with me.
Photographing captive reptiles with your Nikon 1 camera can be a very enjoyable pastime that can also lead to some very interesting images.
My intent is to keep this photography blog advertising free. If you enjoyed this article and/or my website and would like to make a modest $10 donation through PayPal to support my work it would be most appreciated. You can use the Donate button below. Larger donations can be made to tom@tomstirr.com through PayPal.
Article and all images Copyright 2014, Thomas Stirr. All rights reserved. No use, reproduction or duplication including electronic is allowed without written consent.


