Capturing landscape images can be a challenge when using many cameras with smaller sensors like the Nikon 1 system or M4/3. Rather than go into specific details with a step-by-step approach this article is intended to provide some general thoughts on post-processing of landscape images taken with small sensor cameras.
NOTE: Click on images to enlarge.
As with all landscape photography using polarizing filters and graduated neutral density filters can help capture better initial files. This obviously creates more potential for better downstream post-processing results as the use of these filters can help compensate for the limited dynamic range often associated with cameras that utilize smaller sensors.

If you’re like me, most of my landscape images tend to be spontaneous rather than planned and are often travel related. I must confess that I am a rather lazy landscape photographer. I can count on one hand the number of times over the past 40 years that I’ve set the alarm early so I could capture a ‘magic hour’ image at sunrise or waited patiently for the ideal sunset.

Most of the time I’m simply ‘in the moment’ shooting hand-held with no filters during the worst time of the day – from mid-morning to late afternoon. It’s likely that many of you probably are as well.
I use an eclectic mix of software when processing my RAW files (DxO OpticsPro 10, CS6, Nik Suite). I will reference some specific functions in the software programs I use as that may be of some help to a number of readers. You may have a different set of software than I use, or you are focused on using a single program so you’ll have to determine where a similar adjustment is found in the software you use.
So, what follows are some general thoughts about how I tackle landscape images taken with small sensor cameras like my Nikon 1 V2 in post. Hopefully this will allow you to consider how this could apply to the software you use.
It is important to remember that how we individually choose to interpret one of our landscape images is purely subjective. What I like, or what you like, can be completely different. Neither one of us is wrong – we just see the world around us differently.
Lens Corrections
The first thing that I always do is use my primary RAW processor to adjust my RAW files to match the camera/lens combination that I used to capture the image. These auto-type corrections save a lot of time as they make adjustments for vignetting, distortion, and chromatic aberrations. In some programs you will need to do some manual clicks to engage these corrections. Other programs like OpticsPro 10 will automatically do them as soon as you open a RAW file. Regardless of how these initial corrections are done, they are always a great first step.

Avoiding ‘incrementalism’
I need to state right up front that my approach processing files from smaller sensor cameras is not one based on incrementally adjusting an image and slowly working it towards a visual goal. I’d be the first to admit that my approach is rather unorthodox. I regularly push my RAW files ‘over the edge’ and then bring them back again during my post processing.
I tend to be very aggressive with many of my adjustments, especially early on in my process when dealing with dynamic range issues, then use other adjustments to bring the image back into a better overall alignment visually. I purposely push my Nikon 1 files beyond where most folks likely go.
This is not something that I did when shooting with full frame cameras like the D800. ‘Incrementalism’ seemed to work really well with those files since there was so much dynamic range and colour depth with which to work. To my eye, taking an incremental approach with my Nikon 1 files always led to less-than-optimal results.
Adjust for Dynamic Range
Physics being as they are, the smaller sized sensors in cameras like M4/3 and the Nikon 1 system simply can’t compete with the performance of full frame and many APS-C sensors in terms of dynamic range.
When initially capturing landscape images we all do our best to try to avoid clipping highlights, since once they’re blown out they can’t be recovered. Even if we’ve done a credible job maintaining as many highlights as possible we’re still dealing with files with less overall latitude than those shot with larger sensors.

As a result I tend to be fairly aggressive when adjusting my files in terms of highlight and shadows. For example, I almost always take highlights in OpticsPro 10 to -10 or -20. Depending on the file I may take black to -5 or -10. I seldom adjust shadows in OpticsPro 10 and if I do it is very minor – perhaps +5 or +10.
After exporting a DNG file into CS6 I take a very aggressive approach with highlights and shadows. I often will take highlights to -100 immediately in CS6 and adjust shadows to +50 – sometimes even to +100. Then I will use the black and white sliders to get the colours and overall balance looking close to what I want in terms of ‘density’. I’ll then typically use CS6 to adjust the overall levels until I arrive at something that I find pleasing.

Adjusting for Colour Depth
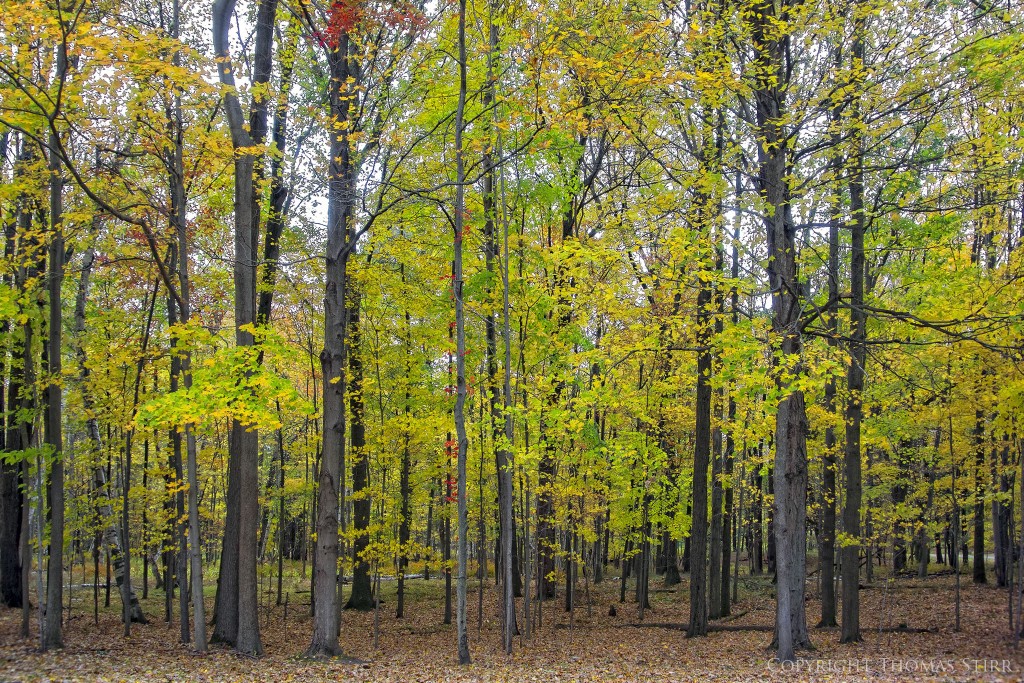
Since I have typically been very aggressive with highlights and blacks this can have a negative effect on saturation levels. I quite often need to reduce the overall saturation of the image to tone everything down. If needed I have no hesitation reducing saturation at both the CS6 and Viveza 2 stages of my process. Then, depending on the image I may go in and adjust individual hues in the image with CS6 to put some ‘zip’ back in. I find that I most often do this with images captured in the fall when the range of colours is at their peak.

With fall images I typically increase saturation with reds and yellows, and reduce it slightly with greens until I get the colour pallet I like in the image.
Contrast
Throughout the entire process I may tweak contrast a bit at various stages. I very seldom use any contrast in OpticsPro 10 with landscape images as I find I prefer using both CS6 and Viveza 2 for this type of adjustment. And, while I always use micro-contrast in OpticsPro 10 with bird images I almost never use it for landscape images as I find it can make them look at bit too ‘crisp’ for my liking.

Sharpness and Clarity
Other than applying a bit of Global and Detail sharpness in OpticsPro 10 (maximum of 1.20 with Global and 70 with detail) I never use any additional sharpness adjustments with landscape images. Some programs like CS6 have a clarity adjustment, or something similar, that can also help create the perception of additional visual sharpness and I do use these from time to time.
Polarization and Dynamic Contrast
I’m not sure which other software programs have got adjustments for polarization and dynamic contrast, but these do exist in Color Efex Pro 4. I use these to do some final tweaks with my landscape images, especially with the overall look of the sky. Dynamic contrast can also help improve overall balance with an image.
While landscape images taken with small sensor cameras do not have the dynamic range and colour depth of those taken with full frame and many APS-C cameras being a bit creative with post-processing can help produce very pleasing final results. And, this need not take very much time. I typically spend less than 3 minutes on one of my Nikon 1 landscape images.
My intent is to keep this photography blog advertising free. If you enjoyed this article and/or my website and would like to make a modest $10 donation through PayPal to support my work it would be most appreciated. You can use the Donate button below. Larger donations can be made to tom@tomstirr.com through PayPal.
Article and all images Copyright Thomas Stirr. All rights reserved. No use, duplication of any kind, or adaptation is allowed without written consent.

Your Blog is just a gold mine for me 🙂
That’s great to hear Zoltan!
Tom
Great stuff Tom I really appreciate the dive into your processing. You get so much from these little sensors and it really highlights just how good they can be.
I too start by shooting RAW + JPG. I love the latitude RAW processing gives me. I also frequently look at the camera processed JPG image for some guidance and direction. I really like Nikon JPG processing and tweak the settings in my camera to get the results I like.
Since your recommendation my process has been modified. I use DXO 10 to start all my processing. I like the lens corrections BY FAR in DXO for the N1 cameras and lenses.
I use the standard preset for most images. Then I skip right past Temp and Tint. I usually use DXO Smart Lighting but keep the changes to Slight or below most of the time. Then I go to Microcontrast – my favorite DXO setting. I really like what it does, especially with critters. 🙂
I use Clearview with landscapes and sky and water shots. It is powerful so be very careful. I leave tone settings alone in DXO I think they are too aggressive, for the most part.
Then on to Prime NR. I use it for some images – including ALL indoor shots. Well lit outside with under 800 ISO no need. It takes a good long time to process these so you need to want that!
For people – I use portrait Presets in DXO (I LOVE THEM!) and get excellent skin and results. I save those images from DXO with no further processing.
For everything else (non people) I export off to LR. I have most of my heavy lifting presets there. 🙂 I love presets as they save so much time.
After I apply the right preset for the type of photo, I make my minor tweaks with Temp/Tint (normally spot on with Nikon), adjust exposure if needed (usually the DXO is spot on) mess with contrast, highlights and all shadow, black, whites and specific colors. I am light with the global settings like clarity, sat and vibrancy. I like messing with the individual colors more.
I do my cropping, horizon and file save settings from LR just a personal preference.
Funny how we all get in a swing of what we like using the programs we like. I NEED to get better at post processing. But I don’t like to spend hours on post processing but likely spend 5 minutes or so on normal stuff and 10 minutes on challenging stuff (people/skin are tough!).
Animals and critters are easy and changes really make a huge difference. I will never forget how you taught me to lighten the eye’s in some of my critter shots. Makes a huge difference!
I wish I was better at post processing!
Mike
Hi Mike,
Thanks for sharing a lot of your post processing details with OpticsPro…I will need to try some of those out, especially the portrait presets. I haven’t tried them so it will be a good learning experience. We can all get better using these programs. My old brain finds it hard enough to experiment with just the ones I have some basic knowledge 🙂
Tom
Hi Thomas
Great article. I now shoot my landscape at 0 Ev & -3 Ev and use LR 6 (Ctrl+H) to make an HDR (natural), with V.G. results (D750 & D7100).
But I just found another way to improve DR for any image when you don’t have two or more images. The results should be excellent for low dynamic cameras, but it requires you use ON1 V9.5 software with its new feature “Luminosity mask”. You can try the software during a period of time…. If you want to see this simple technique here is the link:
https://www.on1.com/training/perfect-inspiration-mount-rainier-national-park/
Luc
Hi Luc,
Thanks for sharing the link so readers can check this out to see if this approach makes sense for them.
I took the time to watch the video and not being a LR user (I’ve never used LR at all) it was ‘all Greek to me’. An experienced LR user would very likely have a much different reaction than I did. I really don’t see any way that I would ever use this program. Working with masks and having to create additional image layers is not anything that I’d ever spend time to do. If I can’t get an image to look the way I want in a couple of minutes I just move on.
This program and approach is just far too complicated for me and my rather short attention span and limited skill set…but other folks, especially experienced LR users, may really like it. It has taken me quite a while to develop my current approach and my old, tired brain isn’t technically oriented enough to focus on something like this…nor would I have the time and the motivation to learn a lot of new software.
Tom
Sir;
What would be interesting to see is JPGS step by step. For example: Take the original NEF file, process into JPG#1 in DxO without any corrections, then process into JPG#2 in DxO with the corrections that you make there, then from CS6, process JPG#3 with the corrections made there, and then finally let us see the final JPG (#4), with the last corrections made in Nik Suite.
Personally all I use is DxO, so I can not make the # of corrections that you do, and I would not be surprised if a majority of readers only use one program (though several may have add-ons of other programs installed). DxO, to my knowledge, currently does not allow any add-ons (though it does an option to export to Lightroom).
WEJ
Hi William,
Thanks for the suggestion! I will certainly consider this down the road to see when I can fit in some time to do all of the individual steps, do screen captures, and then document the changes so I can create a useful article for folks. I’ve done a couple of articles like this in the past and they take this tired, old brain quite a bit of extra time to create.
Tom