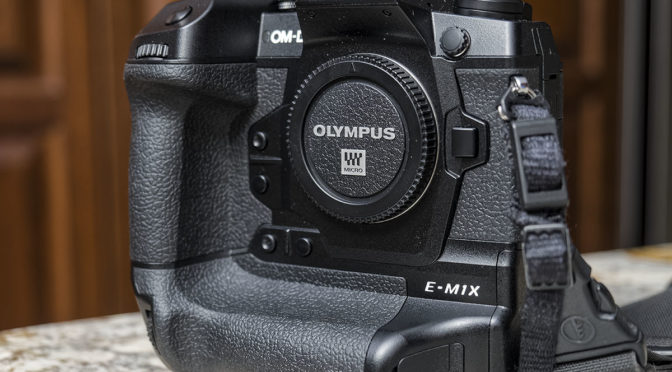
Regardless of the brand or format of camera that you may own, you may want to do a progressive ISO test with it. This allows a photographer to compare the performance of a particular camera and lens throughout its ISO range.
The basic approach is to mount your camera on a tripod, then capture a series of images at increasingly higher ISO values… then compare jpeg output.
Let’s have a look at a series of out of camera jpegs captured with an Olympus OM-D E-M1X from ISO-200 through to ISO-25600.
NOTE: Click on images to enlarge.


Examining the jpeg output from their specific camera gives a photographer a good idea of where their ISO limit is for the image quality they require.
Since I do not use jpegs very often I prefer to do a progressive ISO test using RAW files. I typically start with a RAW file at base ISO. Then, I make some standard adjustments in post to arrive at a pleasing image. I keep these same adjustments for post processing for the balance of my progressive ISO test.
Our next series of images were created from RAW files captured from ISO-200 through to ISO-25600. The same adjustments in post were made to each image.


Examining the RAW files that have had identical work done to them in post enables a photographer to identify their ISO limits.
It can also be helpful to experiment with changes in post processing as higher ISO values are used.
Just for fun, let’s compare some ISO-25600 images. The first is an out of camera jpeg. The second was produced from a RAW file using standard adjustments in post as per the other images in this article. The final image had some additional adjustments done in post… which to my eye came out better than I had expected.


Taking some time to do a progressive ISO test with your camera can help you determine how to get the best performance from it.
Technical Note:
Photographs were captured handheld using camera gear as noted in the EXIF data. Some images are out of camera jpegs while others were produced from RAW files using my standard process.
How you can help keep this site advertising free
My intent is to keep this photography blog advertising free. If you enjoyed this article and/or my website and would like to support my work, you can purchase an eBook, or make a modest $10 donation through PayPal. Both are most appreciated. You can use the Donate button below. Larger donations can be made to tom@tomstirr.com through PayPal.
Word of mouth is the best form of endorsement. If you like our website please let your friends and associates know about our work. Linking to this site or to specific articles is allowed with proper acknowledgement. Reproducing articles, or any of the images contained in them, on another website or in any social media posting is a Copyright infringement.
Article and images are Copyright 2020 Thomas Stirr. All rights reserved. No use, duplication or adaptation of any kind is allowed without written consent. If you see this article reproduced anywhere else it is an unauthorized and illegal use. Posting comments on offending websites and calling out individuals who steal intellectual property is always appreciated!


Thank you for this Thomas. I am waiting for my Mk iii to be delivered. I presume you used no, or a standard setting for PRIME noise removal in DxO for the RAW series. This is definitely another “little camera that can”!
My best,
Glen
Hi Glen,
I used one of my existing E-M1X custom presets in DxO PhotoLab 2. That preset does include an ‘auto’ PRIME noise correction. The E-M1X is absolutely a ‘camera that can’!
Tom