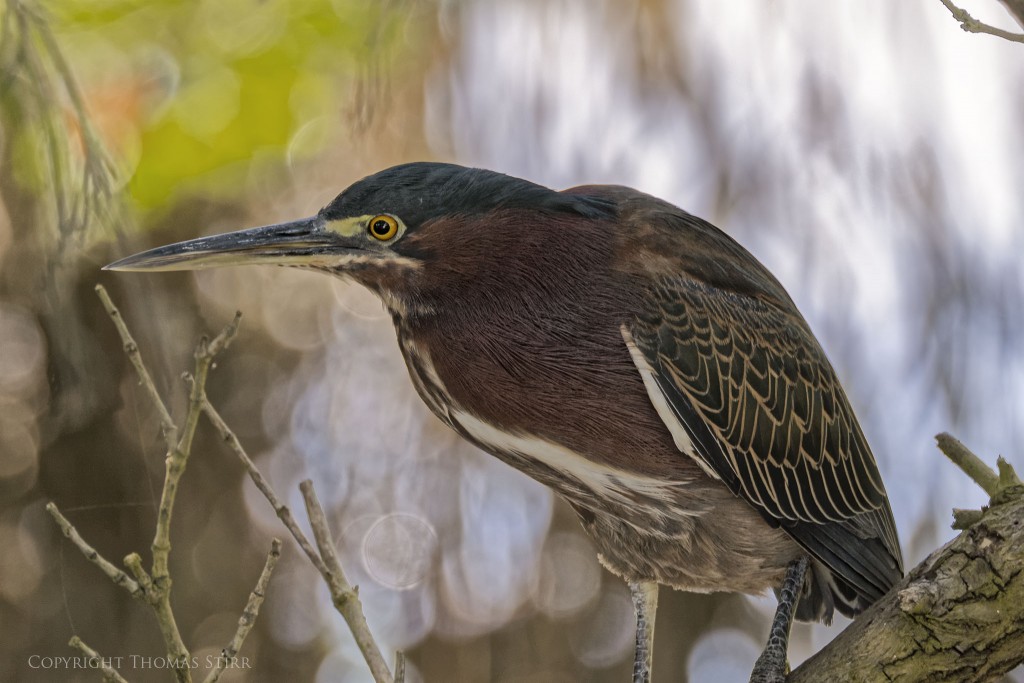
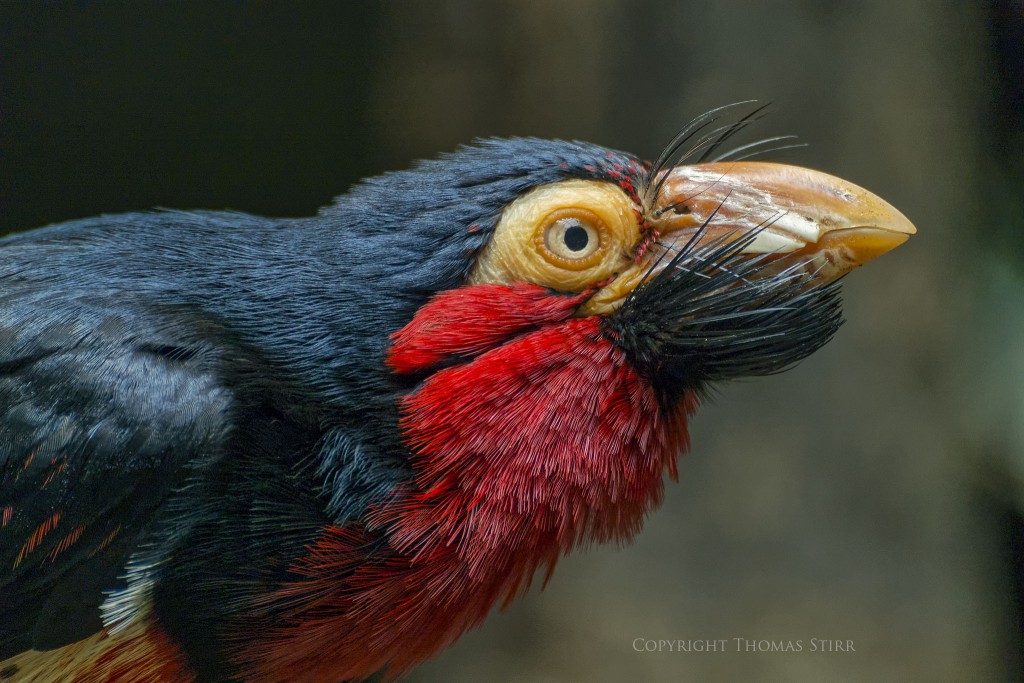
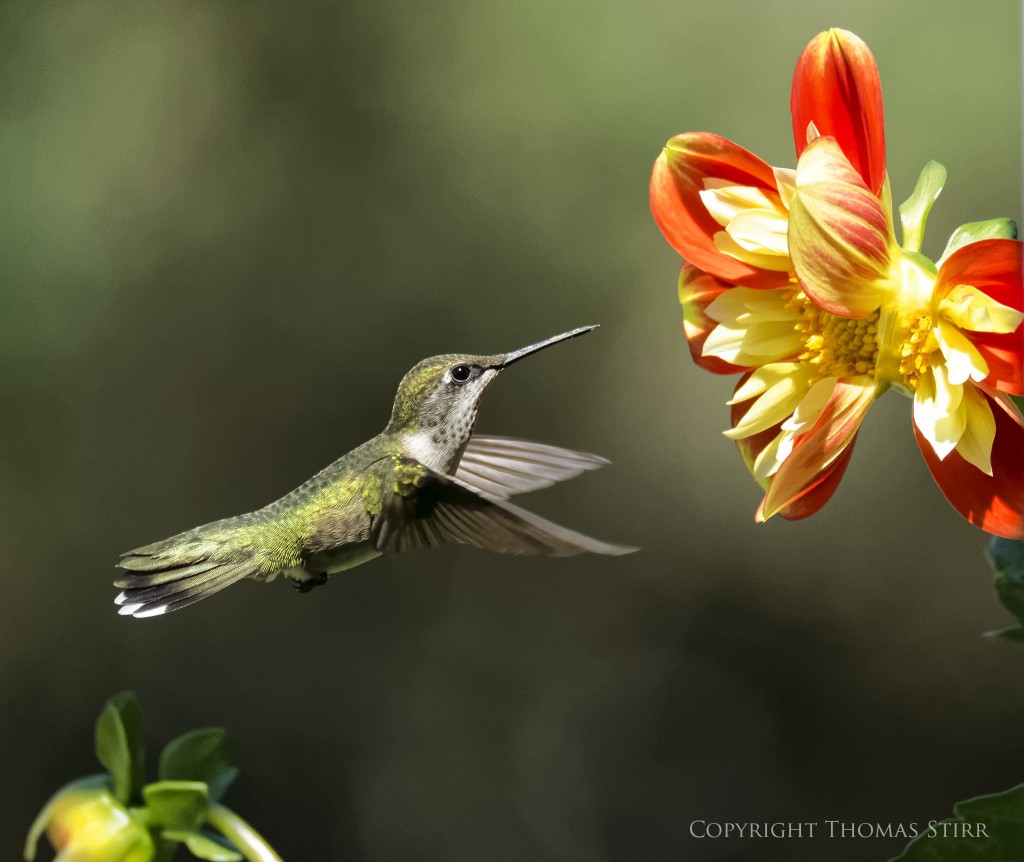
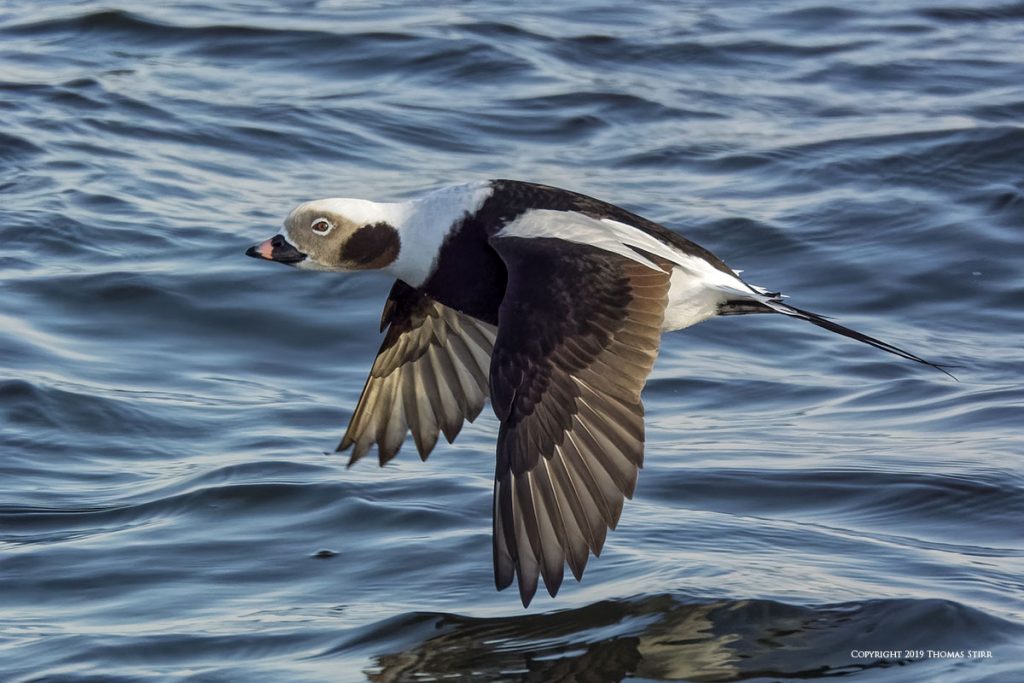
There are a wide range of factors that can contribute to soft bird photographs. Some are equipment related, while others are associated with technique.
NOTE: Click on images to enlarge.

Lens Optical Performance
Not all lenses are created equal when it comes to their optical performance. While branding can affect lens pricing, to a large degree you get what you pay for when it comes to lenses. When purchasing a long focal length lens for bird photography you will be faced with a wide range of options. The price for some of these speciality telephoto prime and zoom lenses can be in nose bleed territory.

Most of us are not independently wealthy and budget very much plays a part in our purchase decision. It is unrealistic to expect a modestly priced lens to perform as well optically as professional grade lenses that may cost 5 or 10 times more money.

Back in my full frame days I owned a 150-600 mm zoom that did quite a good job for me. When shot wide open at its longest focal length the lens had a hint of softness. It just was what it was. To compensate I usually stopped the lens down to f/8 when shooting the lens fully extended. This produced images of acceptable sharpness. We all need to find the right balance of price/lens optical performance that fits our available budget.

Regardless of the camera format and brand of equipment that we may own, it is important to spend time in the field capturing a variety of bird images. This allows us to determine where the ‘sweet spots’ are for our gear in terms of image sharpness.

Filter Use
Like many photographers I use filters on all of my lenses, primarily to protect the front element from potential scratches and other damage. When it comes to filters, you get what you pay for. Using cheap filters can cause noticeable image softness and are best avoided. From a practical perspective we need to consider how much trade off is acceptable when using filters. To me, spending $100 on a good quality filter to protect a lens investment of $1500 to $2000 makes sense. Saving $50 on a filter if it contributes to soft bird photographs is false economy.

Auto Focus Performance
How well camera bodies and lenses auto focus can directly contribute to soft bird photographs. Differences in auto focus performance are often most clearly demonstrated when attempting to capture images of birds-in-flight or under low light conditions. Given that birds do not stay put for very long, both auto focus speed and accuracy are important.

Most cameras provide a selection of different auto focusing options. It is worth the time to experiment with your camera by shooting in various types of situations so you can learn which auto focusing options work best for you. Some cameras have a wide range of auto focusing adjustments available. It can be confusing to work through all of these settings to determine the best settings for your particular shooting style.
When in doubt refer to your camera’s manual and information on the camera manufacturer’s website. You can also refer to online articles and videos that contain suggestions for your particular camera. These suggestions likely won’t be perfect for your needs, but may be good starting points.

Using teleconverters
The optical performance of teleconverters can vary significantly. Generally speaking the higher the magnification the teleconverter offers, the more risk that it could negatively impact image quality and contribute to soft bird photographs. For many manufacturers their 1.4X teleconverters are the best choice in terms of getting additional reach with minimal loss of image quality.

It is also important to remember that using a teleconverter can impact image stabilization effectiveness of your camera body, or in-lens stabilization. Read your owner’s manual to learn how teleconverters may affect the image stabilization performance of your gear. Then, adjust your shooting technique accordingly.

Tripods and Heads
While I don’t personally like to use tripods for my photography many folks prefer this approach for bird photography. When selecting a tripod make sure it is weight rated to handle the camera gear and tripod head you intend to mount on it. Make sure that it is of a sufficient height so you can use it comfortably without having to extend the centre column. Extending the centre column increases the risk of camera gear movement. Tripods with fewer leg segments are usually more stable. The trade-off is additional transport length.

Don’t skimp by buying a cheap tripod head. They often do not provide solid support for the heavier gear used for bird photography. Like tripods, heads are weight rated, and it is important to buy a correctly rated tripod head for your gear.
If you will be using your tripod gear to photograph birds-in-flight make sure that the horizontal and vertical movements of your tripod head are smooth. Gimbal heads and video heads are most often used for birds-in-flight. Ball heads and pistol grips are often used for stationary subjects.

Tripods can be affected by wind so many photographers attach weights or small sandbags to their tripods to make them more stable. When doing bird photography it may also make sense to choose carbon fibre tripods as they are lighter and easier to transport. They often will more quickly return to their stable position if inadvertently bumped.
Turning off the image stabilization in your camera body and/or lens can be important when using a tripod to help reduce the risk of soft bird photographs.

Hand Held Technique
Using long focal length lenses for bird photography takes significantly better hand held technique than with most other genres of photography. Many folks starting out with bird photography blame their gear for soft bird photographs. Usually the real reason is their technique.
The image stabilization performance of your camera gear does directly impact the shutter speed at which images of stationary birds can be captured. But, image stabilization is not a magic bullet that will overcome poor hand held technique. There are three key words when it comes to improving hand held technique. Practice. Practice. Practice.

Auto Focus Points
Most cameras offer a range of auto focus points that can be used. Depending on the article you read or video you watch, you will be exposed to a range of opinions about what is best. The most common result of all of this is confusion. The most important detail in any bird photograph is the sharpness of the bird’s eye. If it’s not sharp, nothing else much matters.
For perched birds I’ve always used single point auto focus as I found that it gave me the most consistent results. Depending on the camera used, a photographer may need to move a single auto focus point slightly to a spot of high contrast, for their camera to really lock focus. Again, experimenting with your camera is needed for you to determine what works best for you.

Birds-in-flight represent their own challenges. Some photographers like to use continuous auto-focus with tracking. Others choose continuous auto-focus. The number of auto focusing points can vary significantly. Some people use a single auto focus point, while others use various groupings of auto focus points, with 5-point and 9-point being very commonly used.
Sometimes a camera’s auto focusing system will choose an AF point on a bird that’s not right on the bird’s eye. This can make the image look soft, even though the actual focusing point that was acquired on the bird is in sharp focus.

Your camera body may have unique auto focus technology that deserves investigation. For example my OM-D E-M1X has Cluster Area continuous auto focus as well as Bird Detection AI Subject Tracking. For birds-in-flight I found that both of these technology options perform better than continuous auto focusing with a single AF point, or group of AF points.
After several months of experimenting and practice I now use single point AF when shooting with Pro Capture H. For all of my other bird photography needs I use Bird Detection AI Subject Tracking. The choice of auto focus points is really a personal decision and there is no ‘one size fits all’ solution. It depends on the camera gear used, as well as the shooting style and preferences of an individual photographer.

Camera Shake, Motion Blur and Shutter Speed
Camera shake and motion blur are both related to the shutter speed that a photographer chooses for their images. Quite simply an appropriate shutter speed is one that will be sufficiently fast to compensate for any camera shake caused by the photographer. Or, freeze the movements of a subject bird as to avoid motion blur.
The shutter speed needed to avoid camera shake will be dependent of the skill of the photographer and their choice of camera gear. The general rule of thumb is 1/lens efov… for example using a 500 mm equivalent-field-of-view lens would require a shutter speed of 1/500. This could be reduced by the effectiveness of the image stabilization of the camera and/or lens.

A 500 mm efov used with a camera that has 3 stops of image stabilization would result in an acceptable shutter speed of 1/60. Assuming appropriate skill of the photographer and the absence of subject movement.
Freezing the movements of a subject bird can be a more complicated issue. For perched birds many photographs use a minimum shutter speed of 1/200 or faster. Birds that are stoic in nature can be photographed at slower shutter speeds as long as the hand held technique of the photographer is sufficient to do so. Shutter speeds as slow as 1/10 are possible under specific conditions.

The appropriate shutter speed for birds-in-flight depends on the size of the bird and the speed of its wings. Large birds like herons with slower wing movements can be photographed using shutter speeds of 1/1250. Small birds with fast wings may need shutter speeds of 1/2500, 1/3200 or even faster. Another factor that enters into choice of shutter speed is the amount of wing blur that a photographer finds pleasing.
Choice of shutter mode can also contribute to soft bird photographs. Using an electronic shutter can sometimes cause blurred wing movements when compared to the same species of bird captured at the same shutter speed using a mechanical shutter. This is due to the effects of rolling shutter.

Pixels on Subject
To capture a nicely detailed image we need to put a sufficient number of pixels on a subject. We can end up with soft bird photographs when we severely crop our images.
Preoccupation with ISO Value
While shooting at the lowest ISO possible is always something to keep in mind, sometimes we can become preoccupied with ISO values to our detriment. Getting a good, sharp image shooting at 1/800 with ISO-3200 is far better than shooting at 1/50 with ISO-200 if the resulting ISO-200 image is out-of-focus due to camera shake or motion blur of the subject bird.

Shooting with Short, Continuous Auto Focus Bursts
Birds seldom stay still for any amount of time. Many species are quite jittery and have almost constant, small movements. As a result, shooting with short, continuous auto-focus bursts can often produce better results than capturing single frames.

Choice of Aperture
We need to understand how our choice of aperture can contribute to soft bird photographs. Diffraction, seen as a noticeable softening of the details in an image, can occur if we stop our lens down too far. This is related to the size of the pixels on the sensor in our cameras. For example a M4/3 camera shot at f/16 will show signs of diffraction. A Nikon 1 camera with a 1″ sensor will show signs of diffraction at f/11. Full frame cameras are not immune from the effects of diffraction as sensor pixel size can vary depending on the sensor’s pixel density.
Our choice of aperture also affects depth-of-field. Depending on the size of the bird, our choice of aperture (i.e. towards the wide open end), and our choice of focusing point, we may end up with only a portion of a bird’s head in focus. This is most often noticed when a bird with a large beak is facing the camera, rather than being captured as a profile image.

Heat and Atmosphere
Soft bird photographs can also be caused by heat distortion and haze in the atmosphere. It is prudent to consider our shooting position vis-a-vis a subject bird. If there are bare rocks, pavement or other surfaces between us our our subject bird, they can absorb and radiate heat and cause distortion in our photographs.
If we are photographing near industrial areas, highways and other sources of air-borne particulates, these can also cause a degree of softness in our photographs. This is especially true when photographing distant birds.

Post Processing
Virtually every photograph can benefit from some post processing work. There is a plethora of software choices available and all of them will have some kind of sharpening function. Taking the time to experiment with your software and learn how to best use it with your images is always beneficial.
Rather than just rely on the sharpening function in your software, also experiment with improving edge acuity in your photographs by using contrast, micro-contrast, and the black and white sliders.

Summary
These are a few of the issues that can contribute towards soft bird photographs. Understanding our camera gear, the limits of our hand held skills, our subject birds, and the environment in which we are trying to create our photographs can help minimize soft bird photographs.
Technical Note
Photographs were captured hand-held using camera gear and technology as noted in the EXIF data. Images were produced from RAW files using my standard process.

How you can help keep this site advertising free
My intent is to keep this photography blog advertising free. If you enjoyed this article and/or my website and would like to support my work, you can purchase an eBook, or make a modest $10 donation through PayPal. Both are most appreciated. You can use the Donate button below. Larger donations can be made to… tom at tomstirr dot com… through PayPal.
Word of mouth is the best form of endorsement. If you like our website please let your friends and associates know about our work. Linking to this site or to specific articles is allowed with proper acknowledgement. Reproducing articles, or any of the images contained in them, on another website or in any social media posting is a Copyright infringement.
Article is Copyright 2021 Thomas Stirr. Images are Copyright 2015-2021 Thomas Stirr. All rights reserved. No use, duplication or adaptation of any kind is allowed without written consent. If you see this article reproduced anywhere else it is an unauthorized and illegal use. Posting comments on offending websites and calling out individuals who steal intellectual property is always appreciated!


Thanks very much for this tutorial and overview.
Glad it was helpful Miguel!
Tom
Très intéressant comme article. Merci
De rien Philippe!
Tom