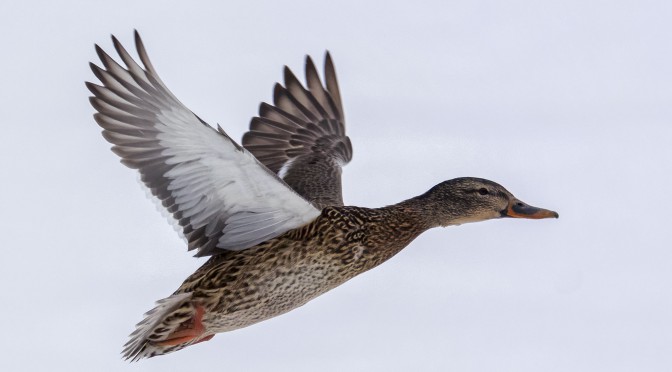
After writing my recent article Birds-in-Flight Images with Nikon 1 V3, it occurred to me how helpful using DxO OpticsPro 10 was in processing the RAW files for the article, and specifically the DxO Smart Lighting function. The DxO Smart Lighting function is designed to adjust the dynamic range in an image. This brief article shows a quick example of the impact of using DxO Smart Lighting. Let’s start with an out-of-camera jpeg of an image that I did not use in my recent V3 article.
Note: click on images to enlarge

This is a typical jpeg result when working with a Nikon 1 camera (and many others for that matter) trying to photograph birds-in-flight when the lighting is grey and overcast. You can see how ‘muddy’ the image looks and how hard it is to discern shadow details.

In the above screen shot you can see how DxO OpticsPro 10 has applied its automatic corrections to the image based on the camera and lens originally used to take the image. One of those automatic adjustments is applying ‘Slight’ Smart Lighting to the image. You can see that this has already improved things noticeably. Let’s see what happens when the DxO Smart Lighting is changed to ‘Medium’.

You can see in the image above that the adjustment has lifted more shadows and created better balance with the dynamic range in the image. I would likely move forward at this point, but rather than do that let’s look at what happens if the DxO Smart Lighting is adjusted to ‘Strong’.

Examining the image you can see that moving to ‘Strong’ has hurt the image as it now looks ‘thin’. If we used this version it would likely cause downstream problems with the balance of our post processing on this image.
Whenever I process Nikon 1 files, or when I use DxO Smart Lighting or the DxO ClearView function I always apply DxO PRIME noise reduction to try to ensure a smooth image.

The screen shot above shows the PRIME noise reduction activated and typical settings that I often use in terms of DxO Lens Softness. This is often all I do in DxO OpticsPro 10 and then I export a DNG file into CS6 and Nik Suite for adjustments as needed.

You can see in the screen shot above how DxO OpticsPro 10 has processed the file file, then exported it into CS6, ready for additional adjustments.

The screen shot above shows a comparison of the image after some slider adjustments were made with the ‘Basic’ tools in CS6 and a couple of very minor tweaks were done in Nik. Now let’s have a look at the finished image after it was cropped and some dust was removed from it.

For photographers looking for more control of the DxO Smart Lighting function, it can be adjusted manually. I find that one of the presets usually does the job for me.
My intent is to keep this photography blog advertising free. If you enjoyed this article and/or my website and would like to make a modest $10 donation through PayPal to support my work it would be most appreciated. You can use the Donate button below. Larger donations can be made to tom@tomstirr.com through PayPal.
All images and article are Copyright Thomas Stirr. No use, duplication or adaptation of any kind is allowed without written permission.


Hi Thomas
When I have seen your DXO results, I have bought DXO Pro Elite today.
I am very enjoying with my new tool.
Many thanks for your review.
BR
Pierre from Switzerland
Hi Pierre,
I’m glad you’re enjoying DxO OpticsPro!
Tom
Thank you for doing this. I have been meaning to ask you for a step by step in DXO. I am a LR guy but with N1’s in my future I need to look at getting that.
Does Elite ever go on sale? 🙂
Thanks again Tom – you really make the N1 cameras sing.
Mike
Hi Mike,
There is a lot more capability with DxO OpticsPro 10 than what I use so this is only scratching the surface of what the program can do. I’ve never liked to spend a ton of time in post with my images so my basic flow of OpticsPro 10, DNG into CS6 and Nik seems to work well for me without taking a lot of time. I know a lot of people wouldn’t like jumping from one program to another, but I’d rather use what I feel are the best adjustments that a piece of software has to offer and in the long run get better finished images.
Tom
Hi Mike,
Sorry that I forgot to answer your question re: OpticsPro going on sale. It does the odd time but not very often. When an update comes out the existing users have the chance to upgrade at very favorable pricing which is what I did with version 9 and 10.
Tom