As a follow up to my recent article Images of Bryce Canyon National Park, this piece shares some thoughts about using the new DxO ClearView function when processing images of animals. While the primary intent of DxO ClearView is the elimination of haze in landscape and cityscape images, I’ve found that this function can also be used to good effect when processing certain types of animal images.
The DxO ClearView function is designed to address haze issues by recovering and reconstituting the black point within the elements of an image. It then uses that to help improve contrast, details and hues in the image. The results can be quite dramatic. Since this one slider makes a range of coordinated adjustments it needs to be applied with some care, and in my view should not be considered to be ‘standard’ adjustment that a photographer would apply to all images.
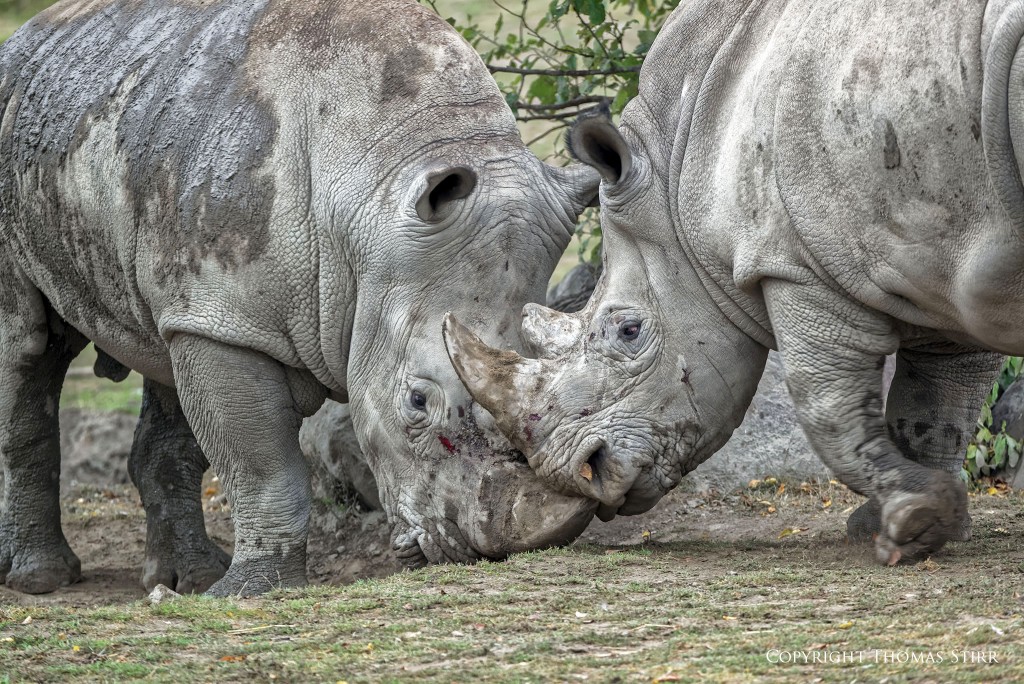
I’ve found it can be a very helpful tool when processing animal images that are suffering from a haze-like appearance in terms of weak blacks, low contrast, poorly defined details, and weak colour saturation. This out-of-camera (OOC) jpeg of two rhinoceros shows a typical image that would have me moving my mouse to the DxO ClearView slider when processing a RAW file. (Note: images in this article were taken hand-held with a Nikon D800 and Tamron 150-600 f/5-6/3 VC)
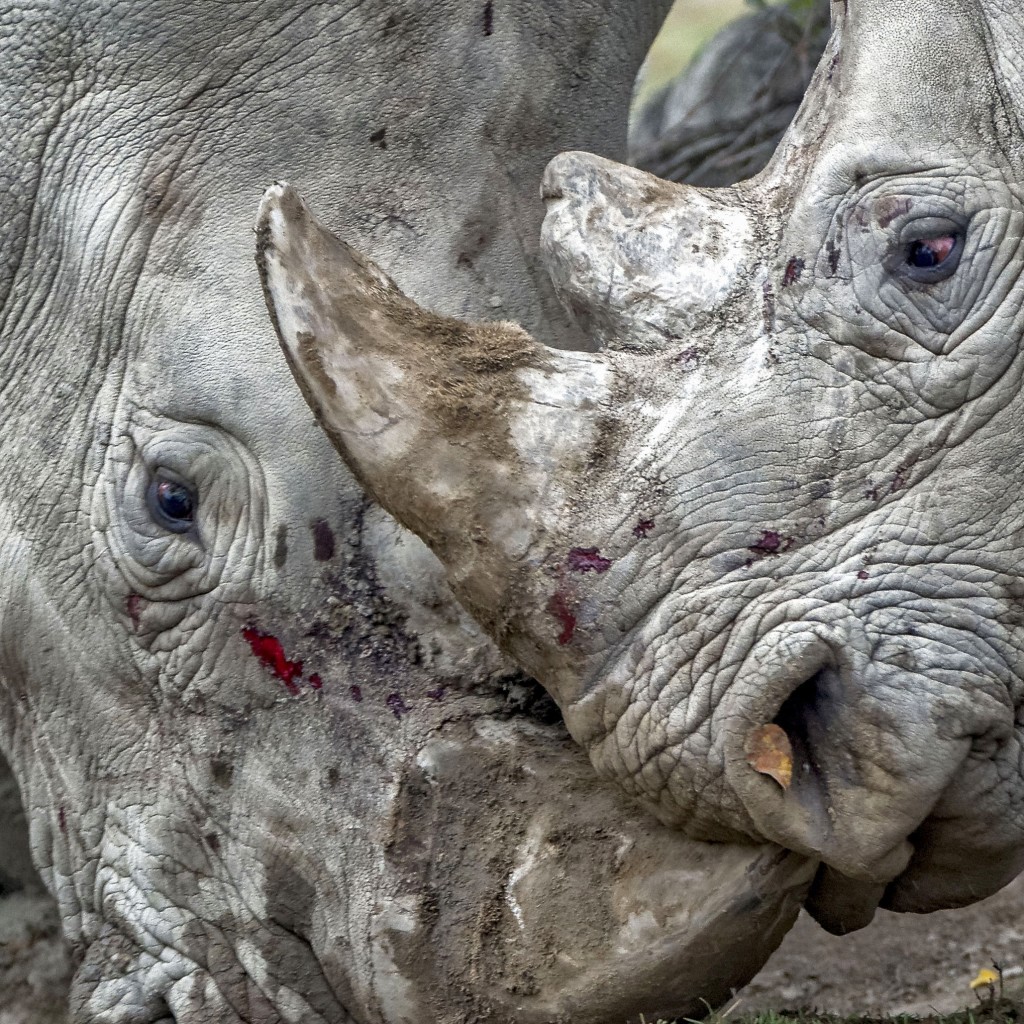
Here’s the same image as a finished file processed from the RAW version through my typical approach of OpticsPro 10 (this time using the DxO ClearView function), then exporting a DNG file into CS6 and Nik Suite for some final tweaks.
Here is a 100% crop of the original OOC jpeg.
And, here is a 100% crop of the finished image produced using the RAW file and using the DxO ClearView function.
What I like about DxO ClearView is that it allows me to make dramatic improvements to images suffering from haze-like problems, and also reduce my time in making these types of adjustments.
Let’s get back to how to apply this function to an image. When you open up a RAW file in DxO OpticsPro 10 the program makes some automatic adjustments including tone (DxO Smart Lighting), noise reduction, and the protection of saturated colours. In addition, if your lens is covered by the DxO Lens Softness function it will also make some automatic adjustments there as well.
Before applying DxO ClearView you’ll need to either make the above noted adjustments manually or in Auto mode. I always run my RAW files through Auto mode as I find this quick and easy.
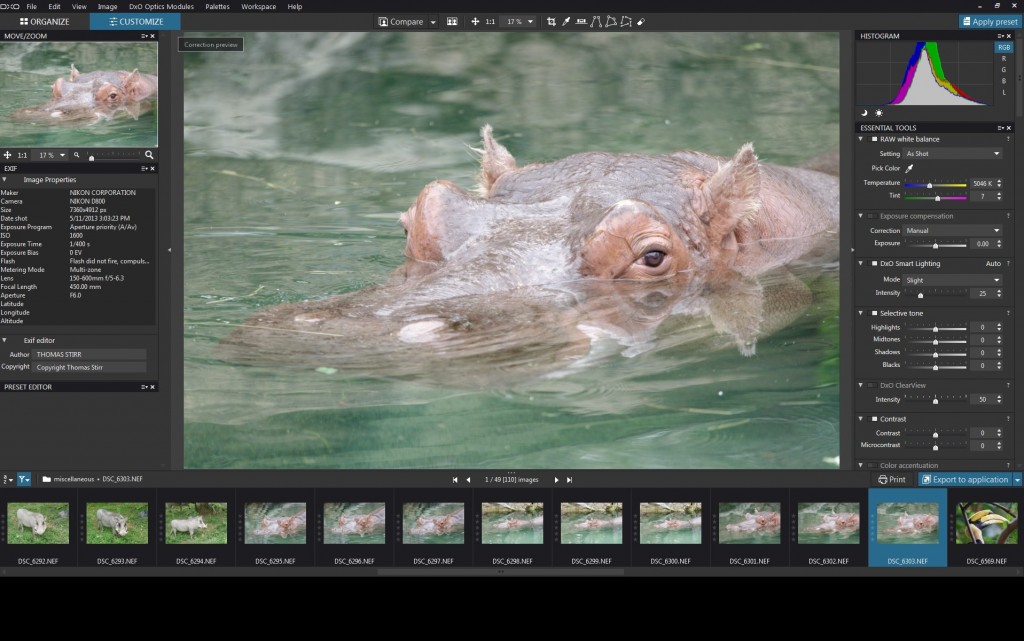
As you can see in the screenshot above the default setting for DxO ClearView is ‘50’ (the slider is towards the bottom of the right hand column). If I decide to use this function on an image I always move the slider over to the far left and drop it, then start making some incremental adjustments by moving the slider to the right. Since a number of attributes to the image are being adjusted simultaneously I find it helpful to zoom in and out and inspect various areas of my image before finalizing the DxO ClearView adjustment value.
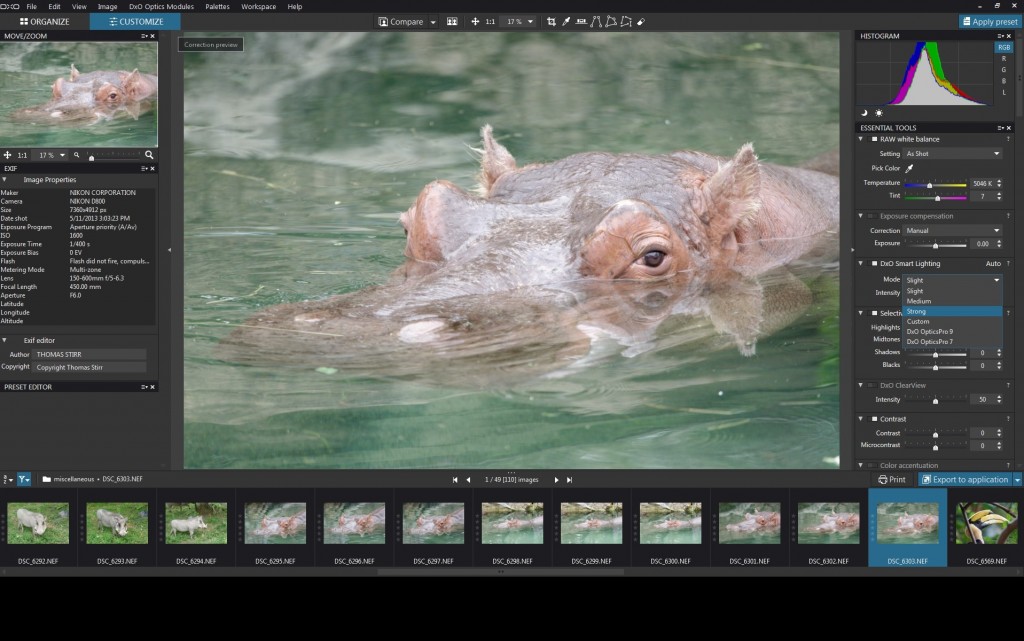
I’ve also found that using the DxO Smart Lighting function after I have selected my DxO ClearView value can be very helpful to create my ‘foundation’ look. The algorithms for DxO Smart Lighting have changed from one version of the software to the next. In OpticsPro 10 you can choose from 3 presets (Slight, Medium and Strong) of the current algorithms, as well as options for the versions used in OpticsPro 7 or 9. Custom adjustment is also available.
After setting DxO Smart Lighting, I usually make some additional adjustments to Tone and Lens Softness to fine tune my image in DxO OpticsPro 10. Adjustments to other aspects like Contrast, Lens Softness, Sharpening, Saturation, Vibrance etc. should only be done after you have set DxO ClearView. After making all of my adjustments in DxO OpticsPro 10 I export a DNG file into CS6, then into Nik for final tweaks.
I’ve prepared a small series of images to help you see how an image can progress into a finished state when incorporating the DxO ClearView function. First, let’s look at an out-of-camera jpeg of the entire image.
Now, let’s look at a 100% crop of the OCC jpeg…
Below is the same 100% crop after the ‘Auto’ DxO OpticsPro 10 corrections have been done to the RAW file…
The following image is the same 100% cop taken part-way through the processing of a RAW file. I’ve set DxO ClearView to ‘70’ and DxO Smart Lighting to the ‘Strong’ preset.
You can see in the image above that just these two slider adjustments have made significant difference to the image.
In the next version, I’ve added some additional adjustments to the RAW file including Lens Softeness (Global to 1.21, Details to 70), and a couple of Tone adjustments (Highlights to -20 and Black to -15).
You’ll notice that the changes to the image are much more subtle. Finally, I exported a DNG file into CS6 for some final tweaks in CS6 and Nik Suite. Here is how the final image looks at the same 100% crop…
And, finally here is the final image, full frame, after processing has been completed.
Just as a reminder, here is the original OCC jpeg…
It is also important to keep in mind that digital noise in your image can increase quite a bit when using DxO ClearView and any dust specs on your camera’s sensor can become much more noticeable. I always use the DxO PRIME noise reduction function for any images on which I’ve used DxO ClearView, regardless of the ISO at which they were originally shot. It is also a good idea to give your images a once over looking for dust specs that may not have been visible previously.
I’ve also noticed that if DxO ClearView is applied to aggressively some faint, circular banding can appear on images.
I’m certainly not any kind of expert in the use of DxO OpticsPro 10 and interested readers can find additional information and a number of tutorials on the DxO website. (Note: this is not a sponsored link) At the time of writing this article a free trial download of OpticsPro 10 was available on the DxO website.
I started out using DxO OpticsPro 8, then paid to upgrade to 9 in order to get the PRIME noise reduction function, then upgraded again to OpticsPro 10 in order to get speed improvements with PRIME, some enhanced Smart Lighting preset options, and the new ClearView function. With each upgrade I felt my money was well spent.
Technical Note:
All images were taken hand-held using a Nikon D800 and Tamron 150-600 f/5-6.3 VC lens at the Metro Toronto Zoo.
The rhinoceros image was taken at f/6, 1/125, ISO-1600 400mm at a distance of 26.6m.
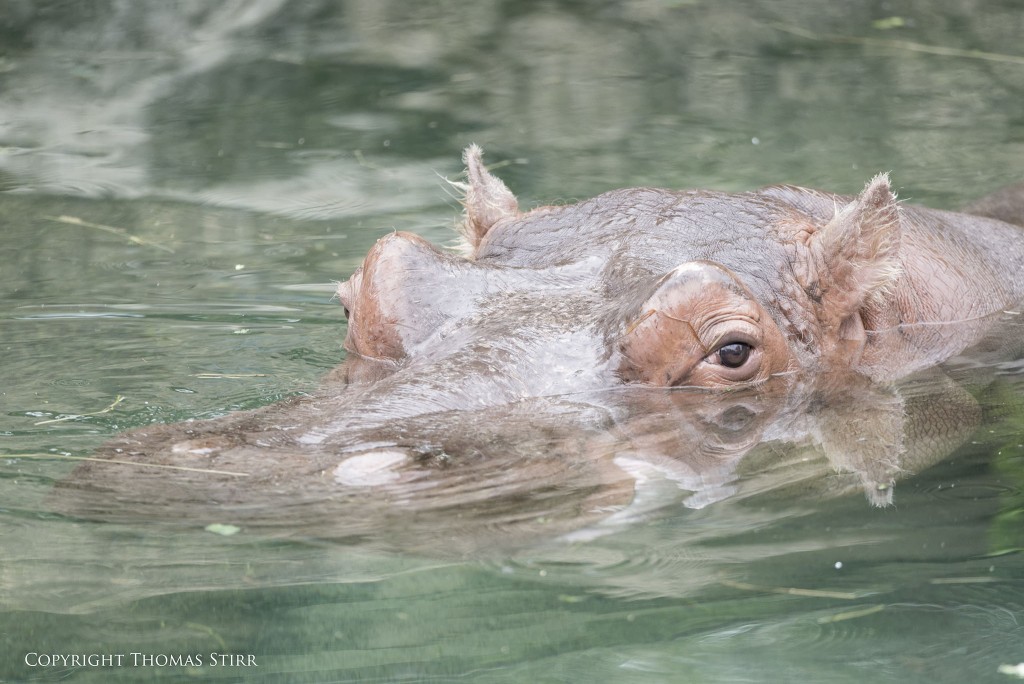
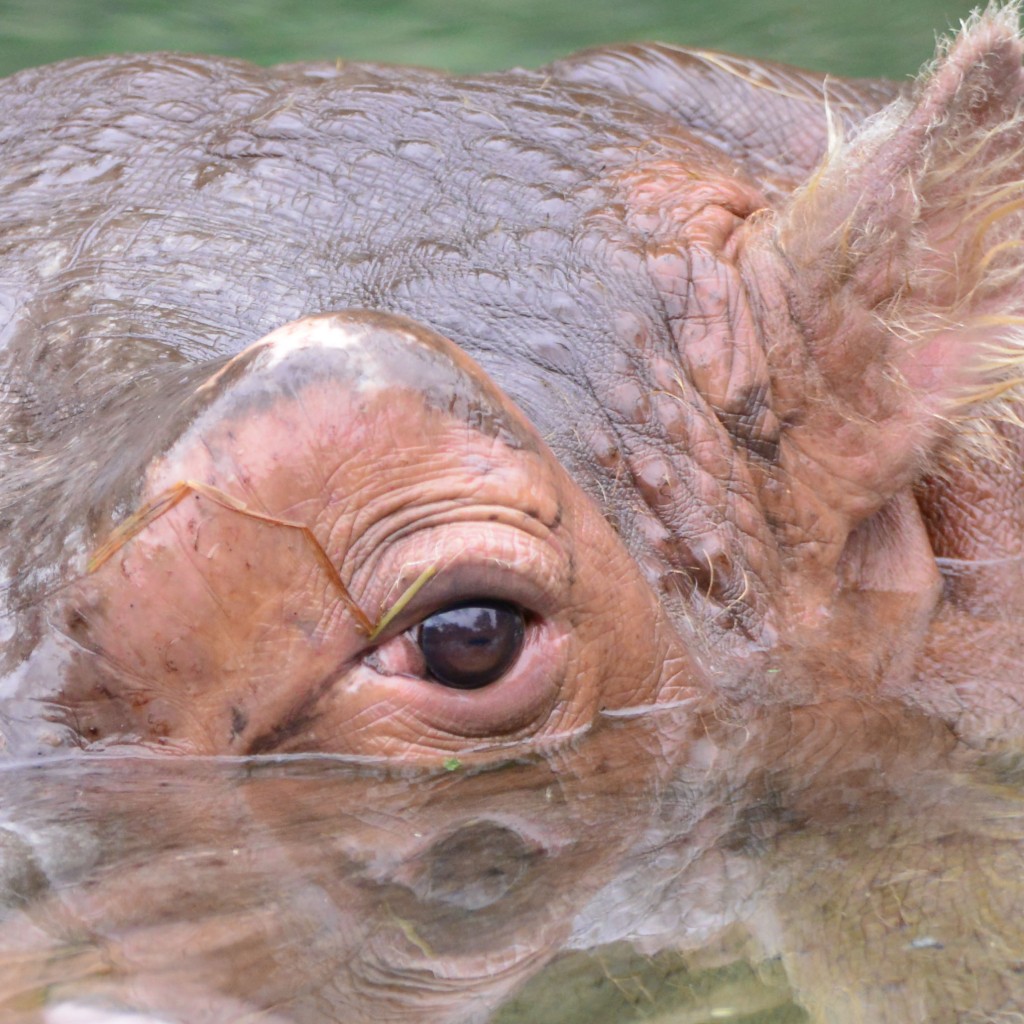
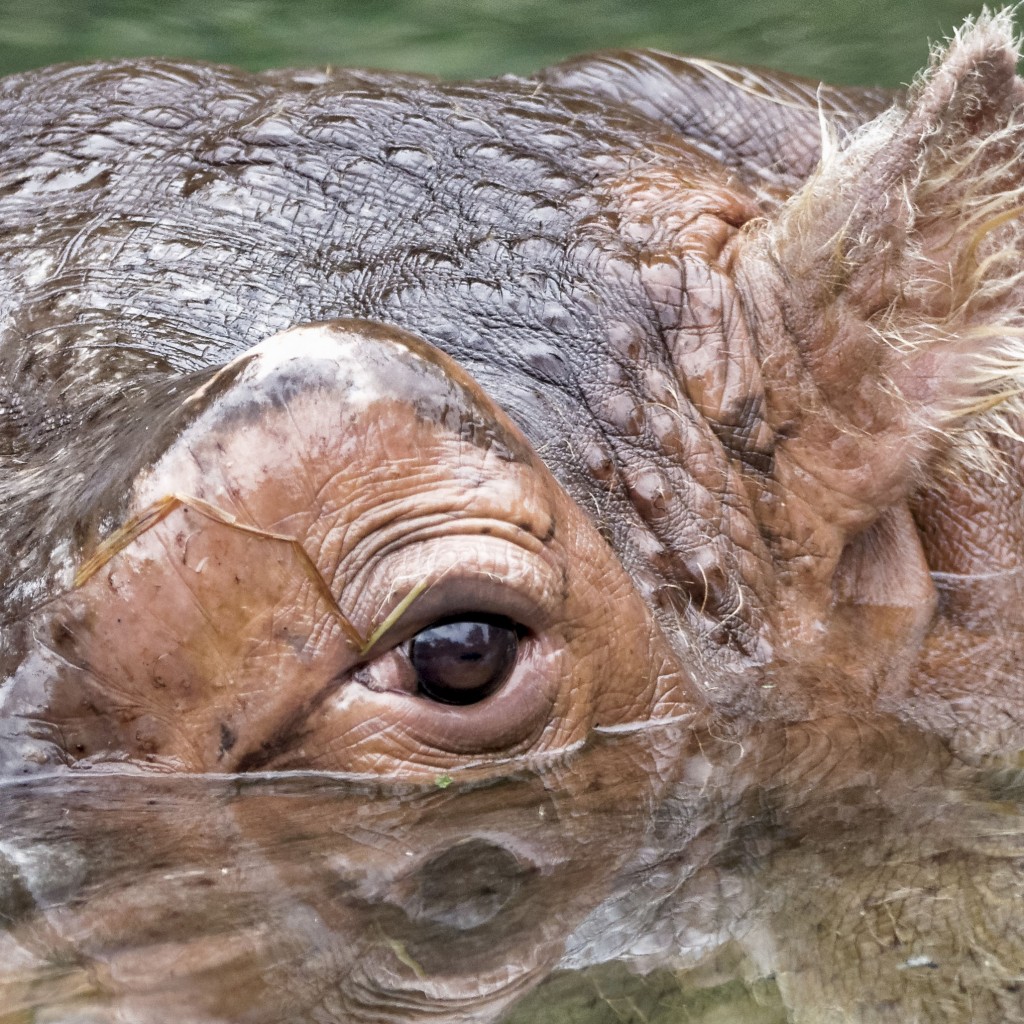
The hippopotamus image was taken at f/6, 1/400, ISO-1600, 450mm at a distance of 10.6m.
My intent is to keep this photography blog advertising free. If you enjoyed this article and/or my website and would like to make a modest $10 donation through PayPal to support my work it would be most appreciated. You can use the Donate button below. Larger donations can be made to tom@tomstirr.com through PayPal.
Article and all images Copyright Thomas Stirr. All rights reserved. No use, duplication, copying or adaptation of any kind is allowed without written consent.






Hi again, Tom,
Great summary of your use of features & settings in DxO-OP – – I was interested, in particular, in your use of Lens Softness settings; I’d always assumed this was sufficiently handled by OP’s automatic setting according to its OpticsModule for the specific body+lens combo. I hadn’t thought of tweaking this further myself ! (I’m sure doing so would better than using Unsharp Mask).
A caution re using new DxO-PhotoLab on RAW files *already* processed with DxO-OpticsPro; I’ve found that some ViewPoint settings previously applied with OP are lost when opened in PL … and, if you don’t notice this then those previous adjustments are lost, ‘cos PL updates & rewrites the sidecar (.dop) file !
I’ve reported this to the DxO support site – and they’re usually very good about responding . In the meanwhile, tho, I’m being very careful NOT to open OP-created dop files with PL.
Regards, John M – Melbourne, Australia
Hi John,
The Lens Softness setting is one of those adjustments that I used with all of my V2 files since I built it in to all of my V2 presets, but not nearly as often with my J5 files. I experimented with ClearView with animal images and played around with that setting quite a bit. I ultimately decided that I did not like using it for this subject matter.
Tom
Tom, I’m back. Lets see if this comment gets to you.
What I wrote before was: as per your suggestion, I downloaded the trial DXO program. However, I’m thinking I can do most of the post with Lightroom and Topaz in a similar manor without having a new learning curve.
Once again I think you produced a wonderful article and great information for those more computer savvy than I.
Hi Mike,
Always great to hear from you!
If LR and Topaz are working for you then there’s no need to change. I think the key is for each of us to find what is comfortable and works for us – then learn to use it as fully as possible. Like you I am really hesitant about embarking on a steep learning curve with new software. I find this with photography related software as well as the programs I use for video production…it can be mind-boggling.
At this point I’ve settled in on DxO OpticsPro as my primary RAW processor, then doing some follow up adjustments in CS6 and Nik. Different choice than you…not better…just different!
Tom