

Pushing handheld macro photography tests the limitations of both ourselves and our camera gear. As regular readers know I’ve always loved experimenting with my camera gear to learn what can be accomplished with it. This article features a good selection of macro images of flowers captured handheld using Handheld Hi Res technology (HHHR).
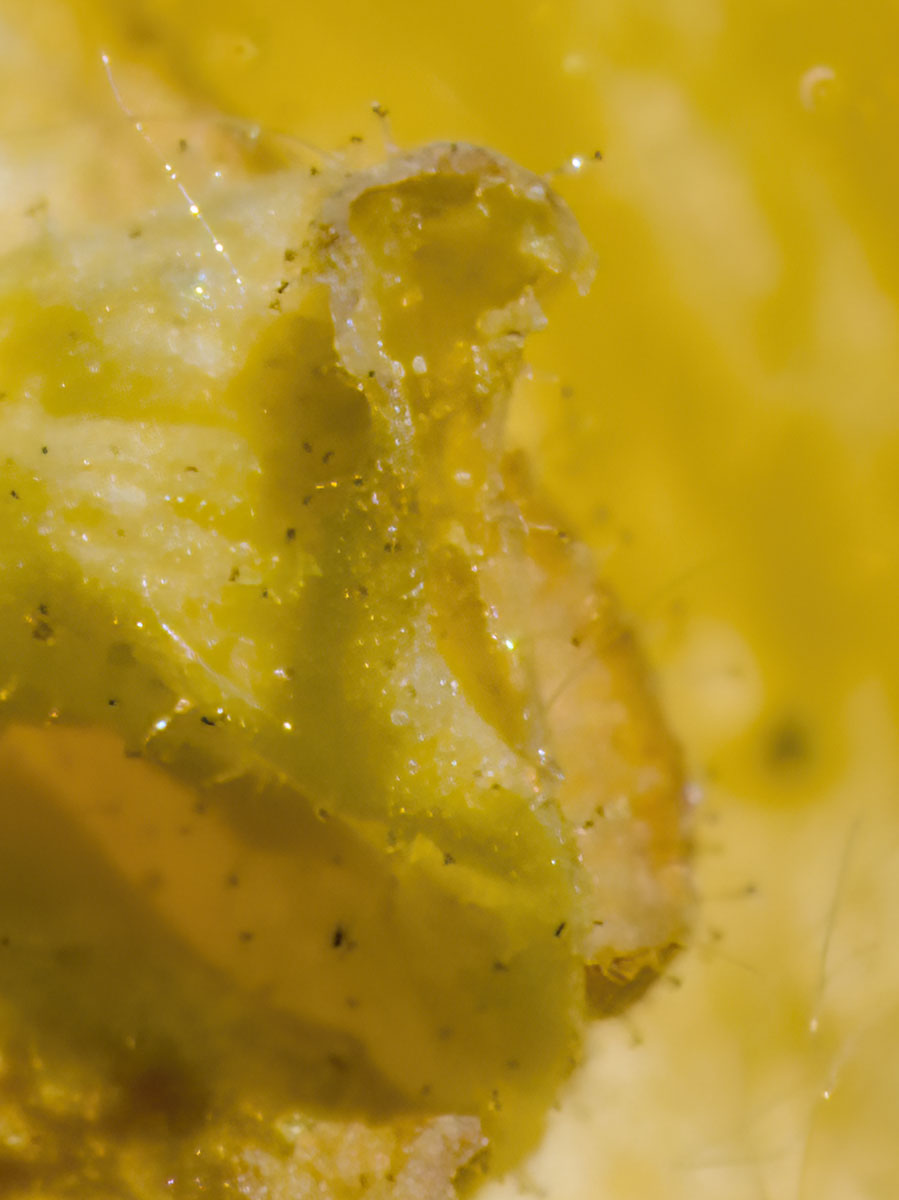
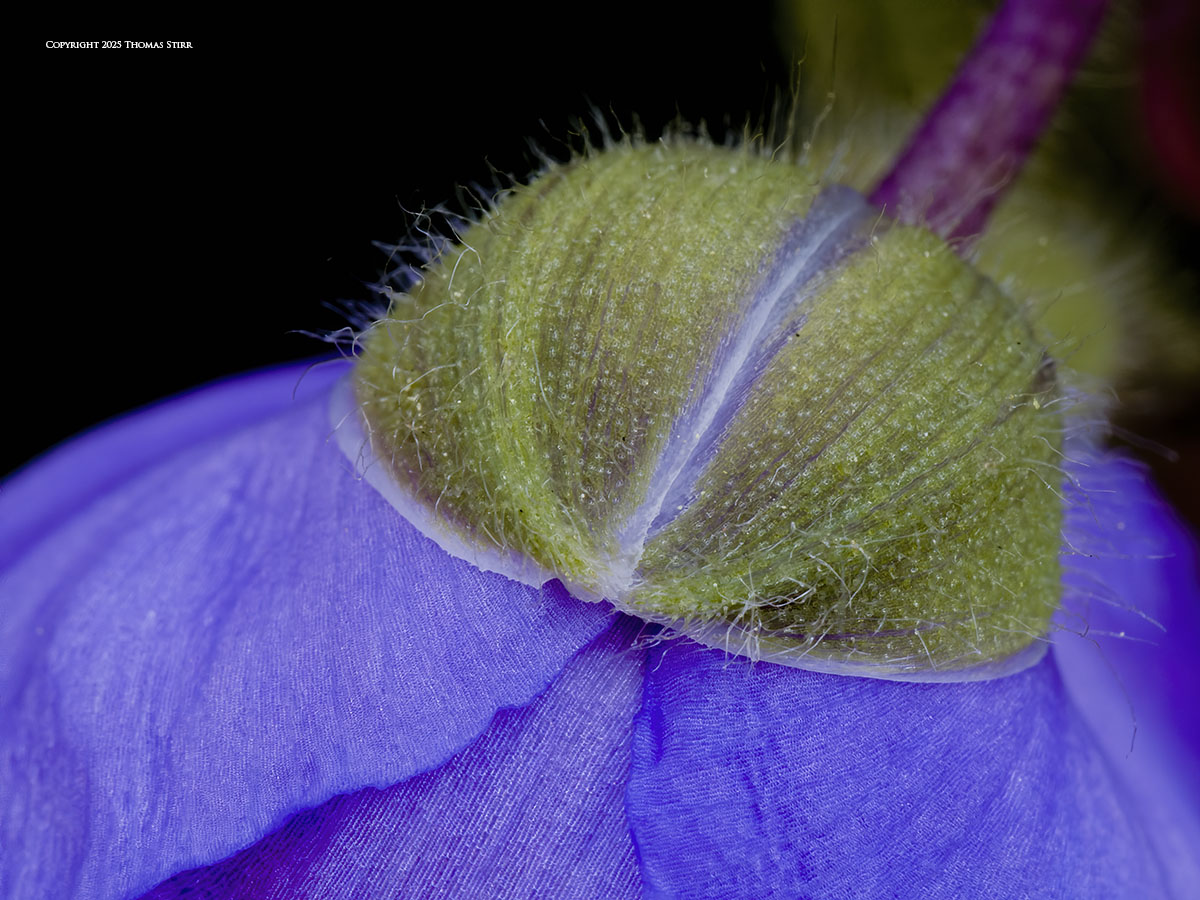
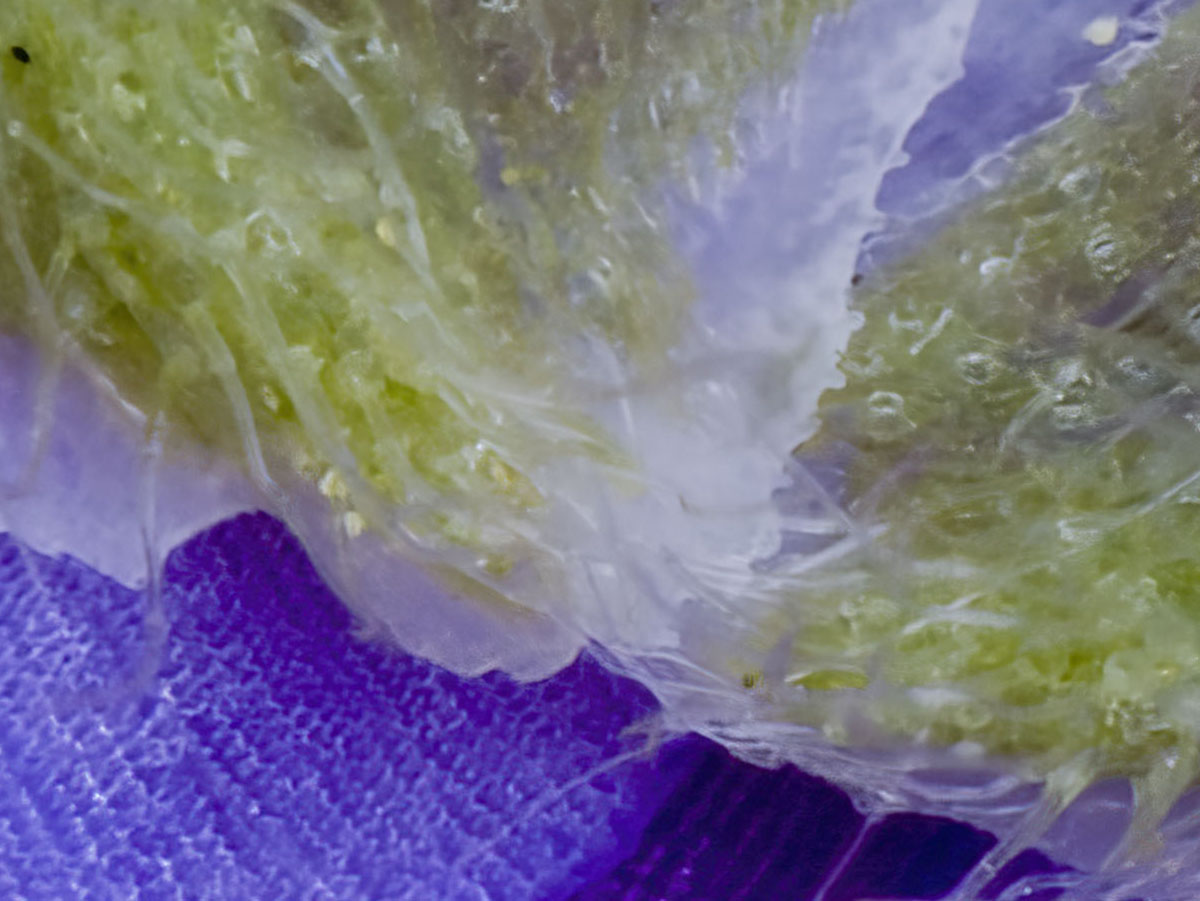
I’m not a pixel peeper by nature as I personally don’t see any value in studying the minutia of my photographs. However, I appreciate that other folks do have an interest in such pursuits. To that end, all of the handheld HHHR macro images featured in this posting illustrate both full frame captures followed by 100% crops.
Owners of Olympus/OM System cameras will know that Handheld Hi Res technology combines up to 16 different images in camera by sensing the handheld movements of a photographer and compensating for them with IBIS.
The standard image resolution of 5184 x 3888 pixels is increased to 8160 x 6120 pixels through this technology. The output from an HHHR image is a high resolution RAW file.
NOTE: Click on images to enlarge. To view this article in a range of other languages click on the Canadian flag in the upper right corner.

If you read the EXIF data you’ll see that I pushed my M.Zuiko 90 mm f/3.5 PRO IS macro lens with it fully stopped down by shooting with an aperture of f/22 for almost all of the images featured in this article.


All of the photographs in this article were captured outdoors in my yard. I adjusted my camera settings as needed to compensate for lighting. Since there was an intermittent, light breeze I had to time my shutter releases accordingly. All images were composed using the articulating rear screen of my E-M1X.

The M.Zuiko 90 mm f/3.5 PRO IS has Sync-IS which works in tandem with the IBIS in my E-M1X. This technology works wonderfully and helped enable the handheld macro photography featured in this article.
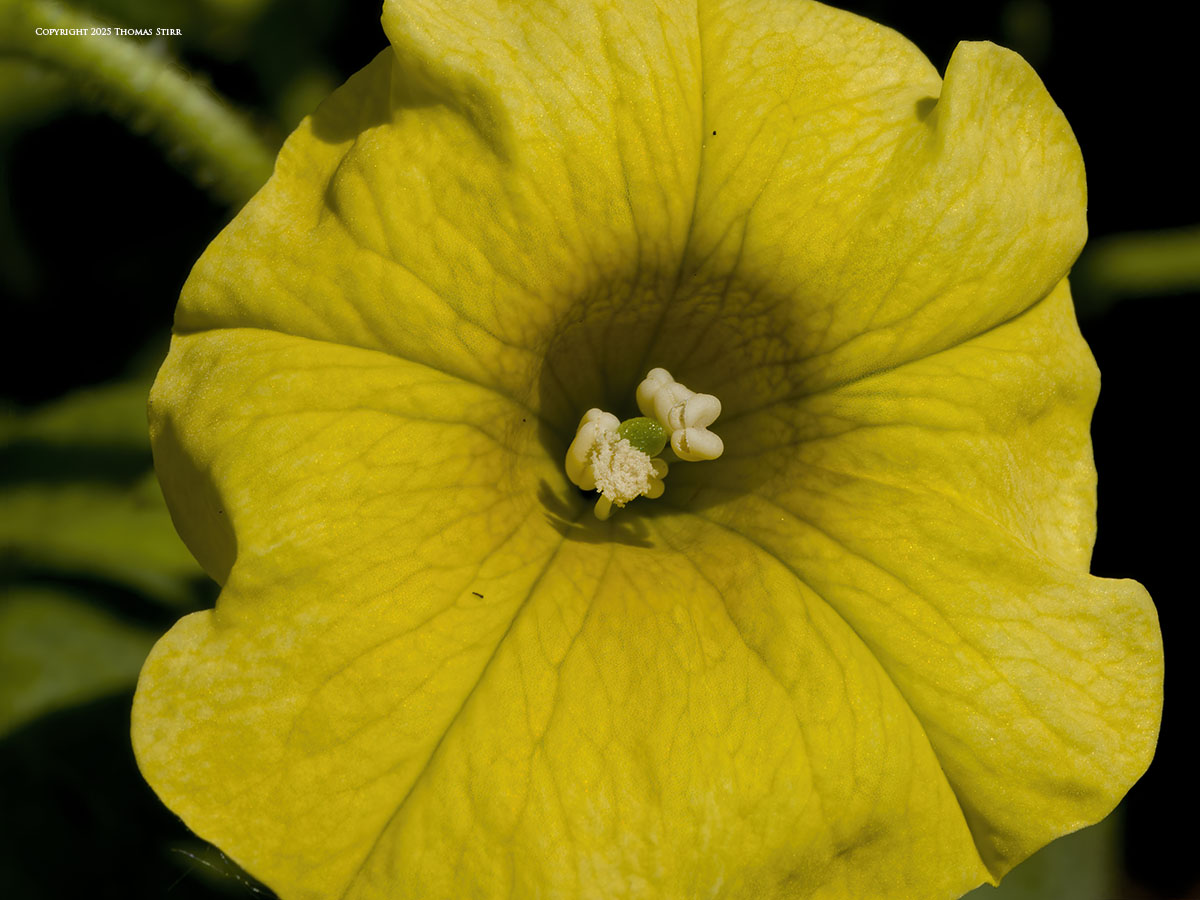
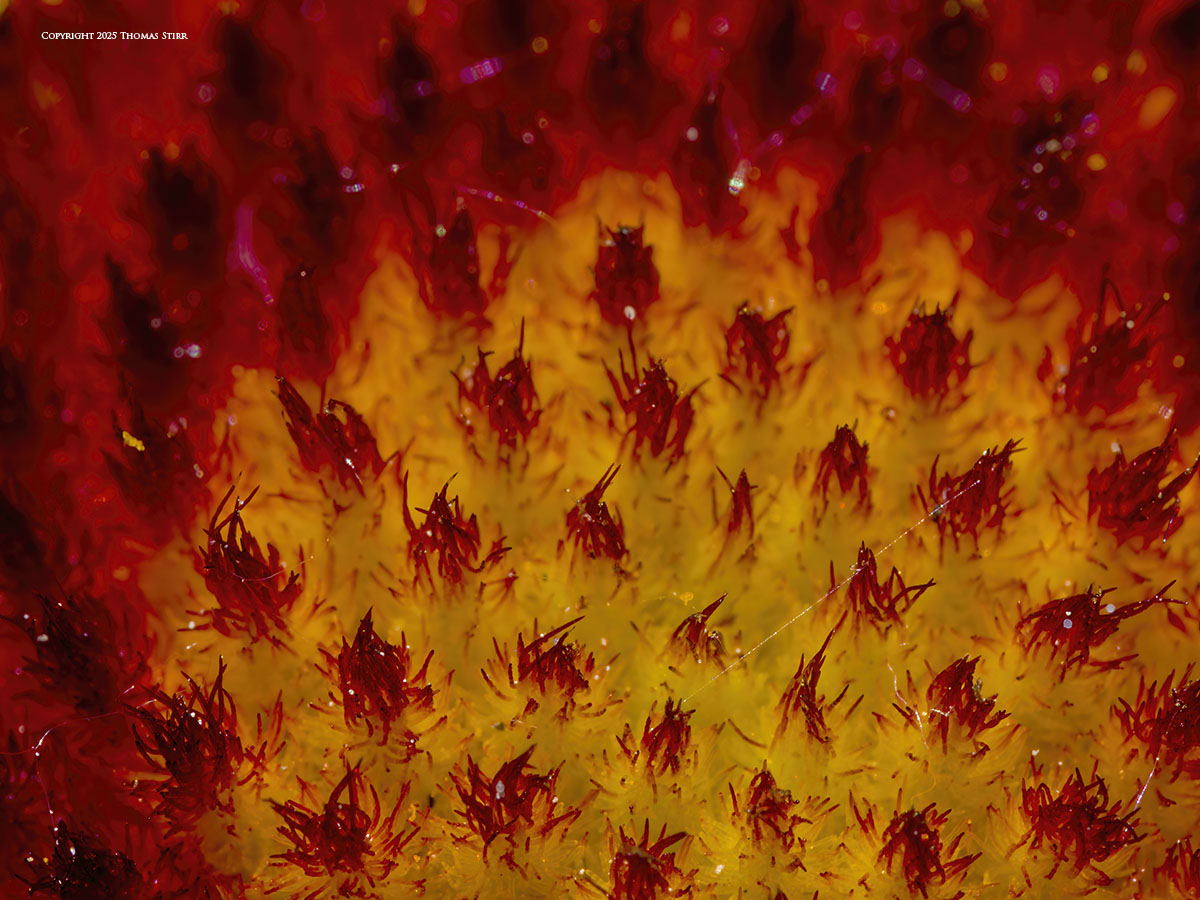
As I wandered around my yard I looked for individual blossoms that attracted my eye. It could have been the colour. The shape. The angle. Or perhaps the level of contrast.
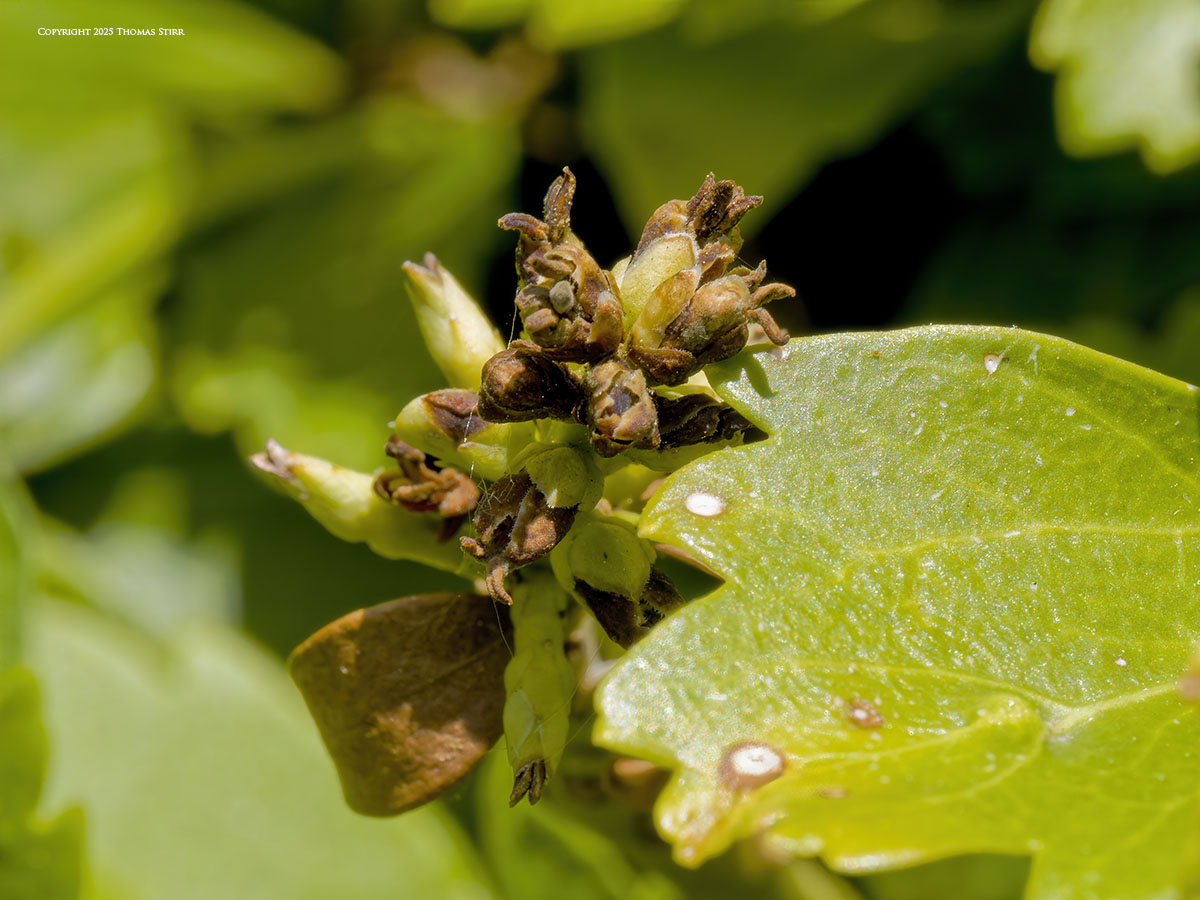

One of the fantastic aspects of handheld macro photography is being able to see and explore the world around me with a sense of freedom.


Back in my full frame days I needed to use a tripod to shoot macro photography. I simply found this too restrictive and cumbersome. The result was that my macro lens collected dust most of the time. Now I use a short stool which provides me with the additional stability I need, while still providing me with a fluid and creative macro photography experience.


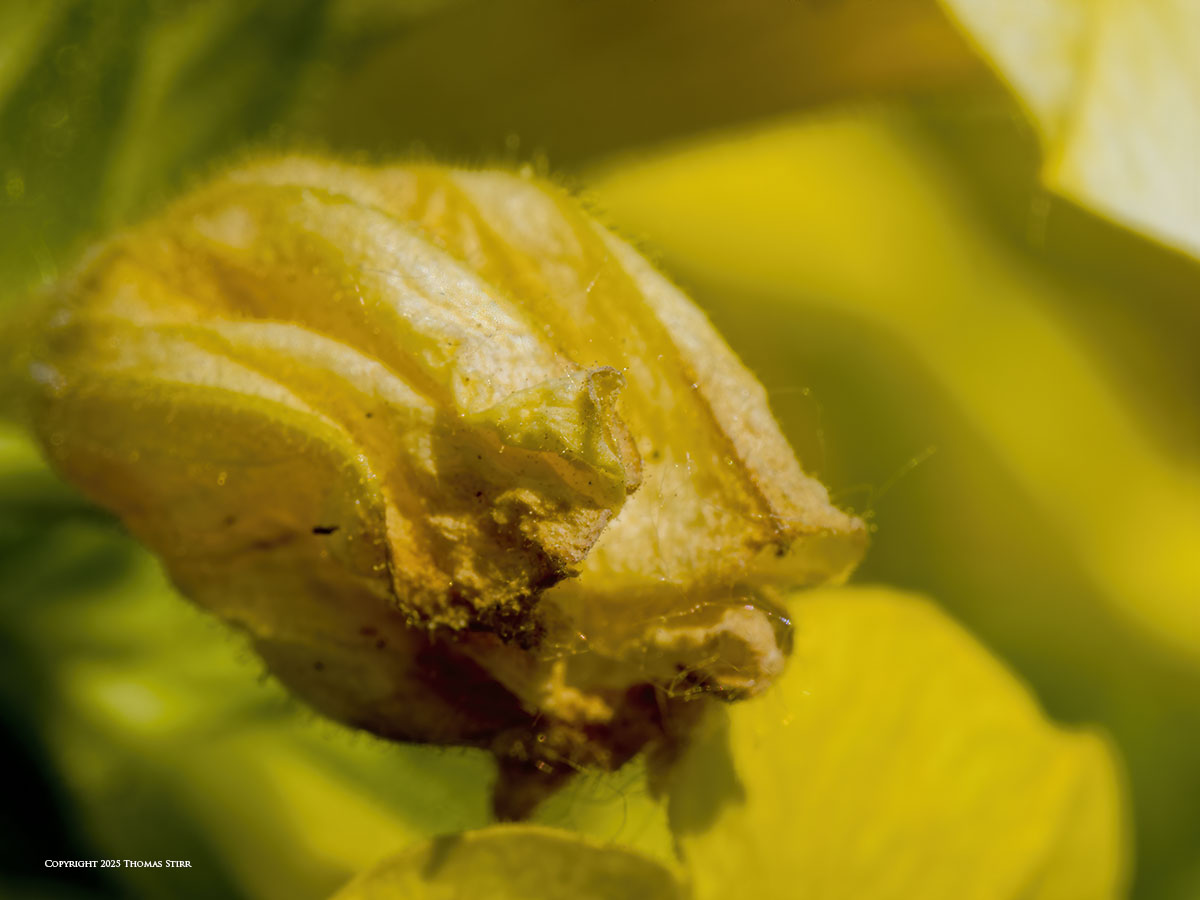
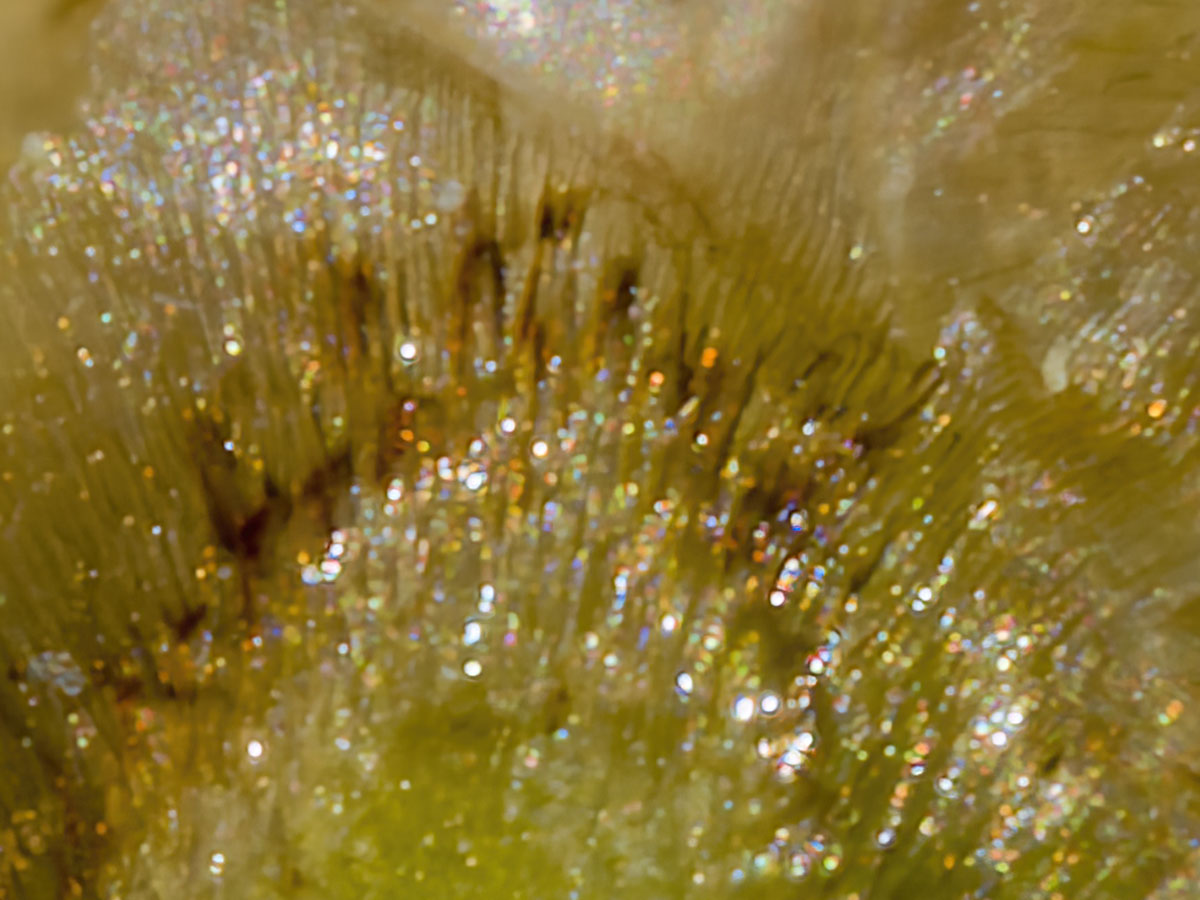
One of the objectives I had set for myself was to better understand and utilize the S-Macro (i.e. Super Macro) setting on my M.Zuiko 90 mm f/3.5 PRO IS macro lens. This feature enables a photographer to shoot at 2X magnification, rather than being limited to a typical 1X magnification found in other macro lenses.
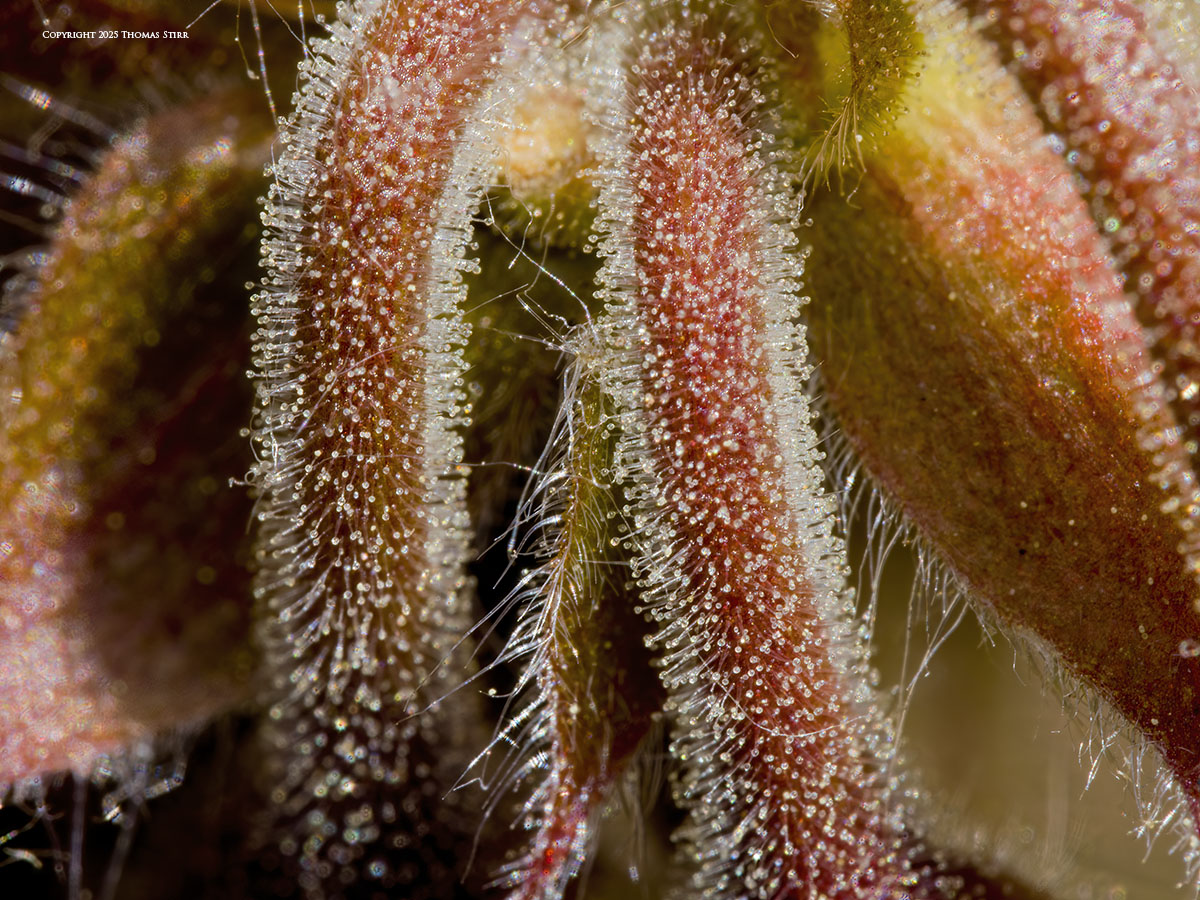

The regular minimum focusing distance with the M.Zuiko 90 mm f/3.5 PRO IS macro lens is 250 mm. To use the S-Macro setting and achieve a 2X magnification a photographer needs to get inside that minimum focusing distance of 250 mm.
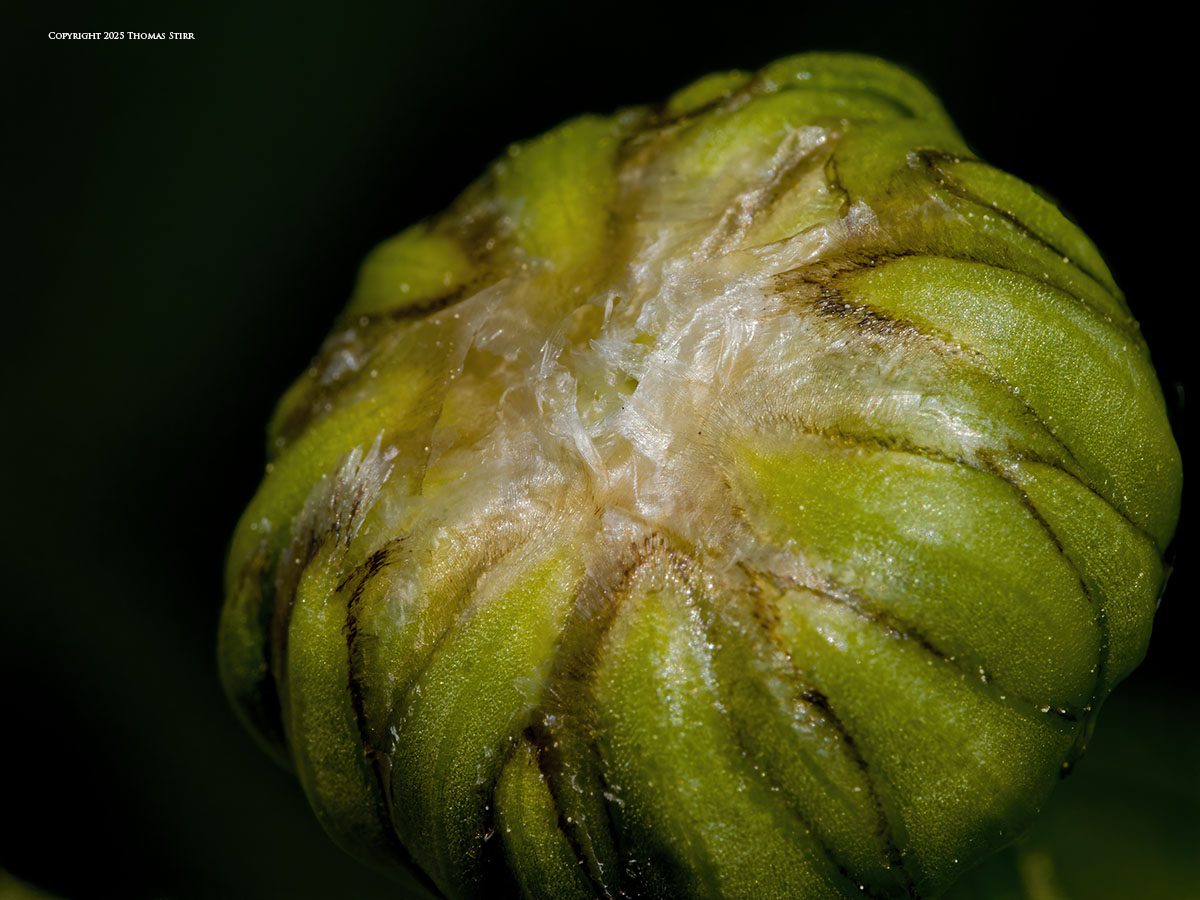
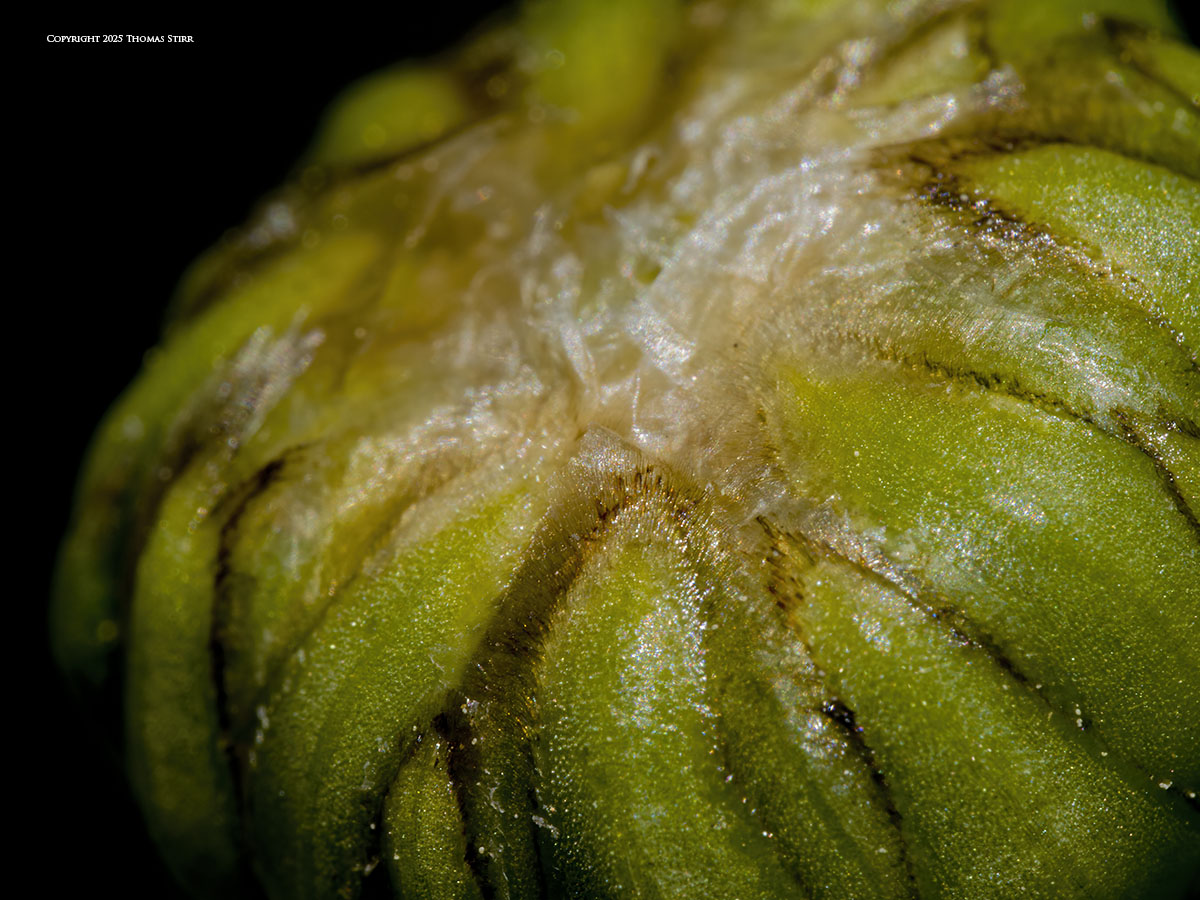
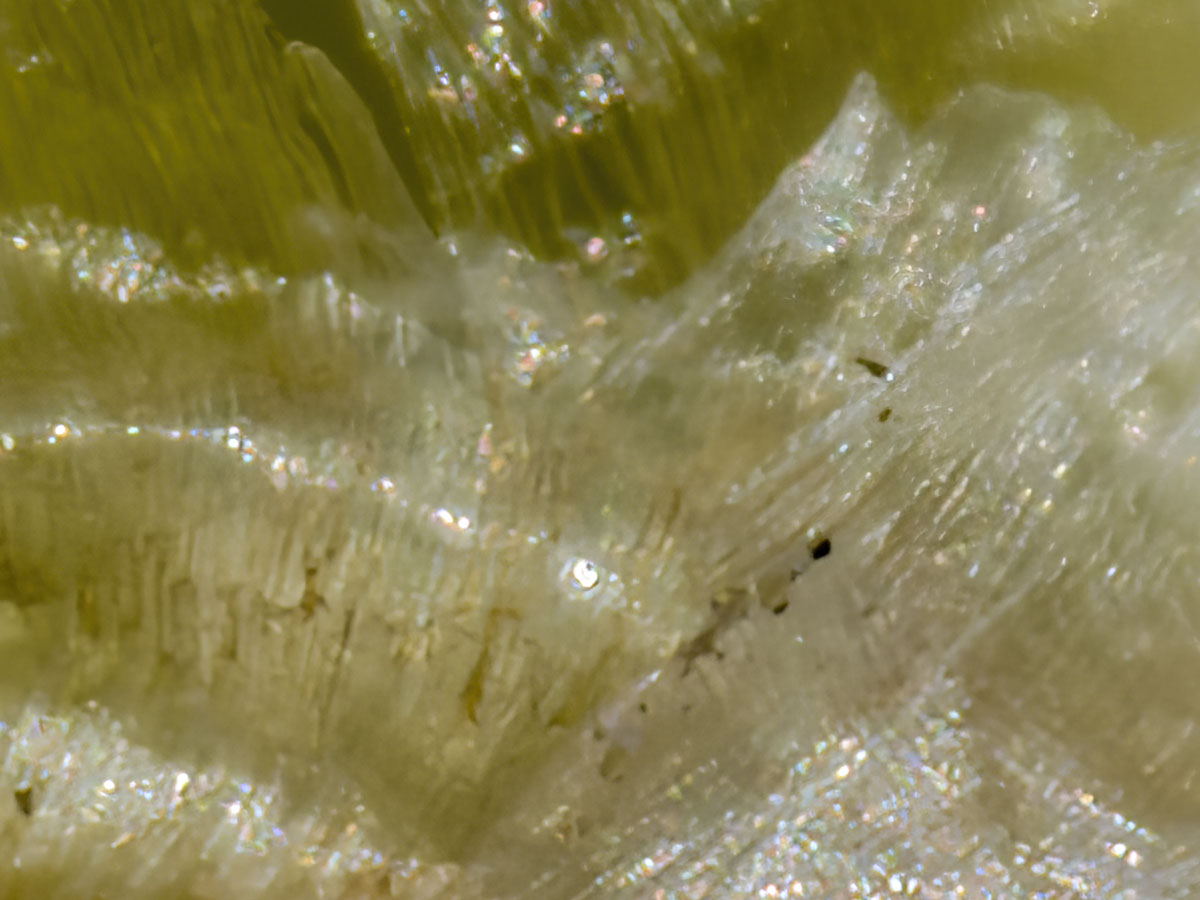
If you look at the image above you can see that it was shot at a subject distance of 225 mm rather than 260 mm as was the case with the image the precedes it. You can clearly see the dramatic increase in magnification between the two images of the same plant. Considering the 2X magnification with S-Macro, the efov increases to 360 mm. Being able to shoot handheld with HHHR with this efov is simply amazing.

I needed to develop an easy-to-use technique to be able to confidently know I was shooting in S-Macro mode. Just setting my M.Zuiko 90 mm macro lens to S-Macro was not enough. At this setting the lens will still focus at efov distances greater than 250 mm, making it somewhat difficult to discern If I was actually shooting with a 2X magnification.
So, when I first started to compose a macro image I would use the standard macro 1X setting. I would slowly move in closer and closer to the subject until my lens was unable to auto focus. This signalled that I was inside the 250 mm minimum focusing distance.
Then, I would use my left thumb on the barrel of the M.Zuiko 90 mm macro lens to engage the S-Macro setting… and try to refocus using the auto-focusing on my E-M1X. My camera would immediately achieve auto focus while concurrently doubling the magnification in the image. This was an ‘ah-ha’ moment for me!


I practiced this technique with a number of other blossoms to help cement this approach into my old, porous brain.

Doing handheld macro photography using S-Macro in conjunction with HHHR does boggle one’s mind in terms of what technology now enables us to do with our camera gear.

When the M.Zuiko 90 mm f/3.5 PRO IS macro lens was first introduced I really did not give it a second look. This was mainly due to the fact that the initial reviews of the lens stressed the need to use a tripod with it in order to take advantage of features like S-Macro.

A year after the introduction of the M.Zuiko 90 mm f/3.5 PRO IS the opinions of this lens shifted in terms of what was possible with this lens when shooting handheld macro photography.


When my wife started to increase her interest in handheld macro photography our M.Zuiko 60 mm f/2.8 macro… a stellar lens in its own right… found its way into her camera bag. I purchased the M.Zuiko 90 mm f/3.5 PRO IS with the objective of expanding my handheld macro photography potential.
I’m still only scratching the surface of what is possible with this lens and the other technologies built into my E-M1X. Suffice to say that I am very excited about what the future holds for my handheld macro photography adventure!
Technical Note
Photographs were captured handheld using camera equipment noted in the EXIF data. All images were created from RAW files using Handheld Hi Res technology. I used a single, small auto-focus point and composed all images using the articulating rear screen of my E-M1X. This is the 1,468 article published on this website since its original inception in 2015.
How you can keep this website advertising free
My intent is to keep this photography blog advertising free. If you enjoyed this article and/or my website and would like to support my work, you can purchase an eBook, or make a donation through PayPal (see Donate box below). Both are most appreciated.

You may enjoy bird photography, and if so our 188 page eBook Handheld Bird Photography may be of interest. It is available for download for an investment of $14.99 CDN. The best viewing experience of this eBook will be at 100% using Adobe Acrobat Reader.
Sometimes all we need as photographers is a bit of inspiration. We hope you can find some of that inside Finding Visual Expression II.

Finding Visual Expression II is available for download for an investment of $11.99 CDN. The best viewing experience of this eBook will be at 100% using Adobe Acrobat Reader.
You may be interested in all of the 30 concepts covered in both of these related eBooks. If so, you may want to also consider Finding Visual Expression.

Finding Visual Expression is available for download for an investment of $11.99 Cdn. The best viewing experience of this eBook will be at 100% using Adobe Acrobat Reader.
Our other eBooks include Images of Ireland, New Zealand Tip-to-Tip, Nikon 1: The Little Camera That Could, Desert & Mountain Memories, Images of Greece, Nova Scotia Photography Tour, and a business leadership parable… Balancing Eggs.
If you click on the Donate button below you will find that there are three donation options: $7.50, $10.00 and $20.00. All are in Canadian funds. Plus, you can choose a different amount if you want. You can also increase your donation amount to help offset our costs associated with accepting your donation through PayPal. An ongoing, monthly contribution to support our work can also be done through the PayPal Donate button below.
You can make your donation through your PayPal account, or by using a number of credit card options.
Word of mouth is the best form of endorsement. If you like our website please let your friends and associates know about our work. Linking to this site or to specific articles is allowed with proper acknowledgement. Reproducing articles, or any of the images contained in them, on another website or in any social media posting is a Copyright infringement.
Article and images are Copyright 2025 Thomas Stirr. All rights reserved. No use, duplication or adaptation of any kind is allowed without written consent. If you see this article reproduced anywhere else it is an unauthorized and illegal use. Posting comments on offending websites and calling out individuals who steal intellectual property is always appreciated!
Hi Tom,
Great article and thank you for undoubtedly saving me a whole bunch of time experimenting. Time to pull out my 90 macro and seeing what I can accomplish.
Thanks, Jon
Glad you enjoyed the article Jon!
Tom
Tom, these are incredible images using the 90mm lens. I would never have thought of pushing the f stop to 22, as too worried about diffraction.
These images show that is unnecessary a concern.
Thank you so much as always for showing what the OM kit is capable of, my 90mm is sitting on a shelf at home as we are away in Mexico for a family holiday, but on my return is shall be off into my garden and seeing what I can create inspired by yourself.
Thanks for the tip on a small stool and hand held rather than a tripod for ease and fluidity in shooting. I bought a little three legged camping stool for just that purpose when using a mini tripod last year.
Have you experimented with a flash and diffuser with the 90mm? As in the uk light levels can be low, but you let the iso float and have shown there is little noise on the sensor, the OM1 should be better with its stacked sensor.
Thanks again for an inspiring post, can’t wait to get home and play
Hi Andrew,
Thank you for your supportive comment… much appreciated!
Apart from creating a high resolution RAW file, one of the additional benefits of using HHHR is an increase in dynamic range (as noted by Photonstophotos website). This technology also helps to reduce noise in the RAW file. I’ve used a ‘double barrelled’ approach for noise reduction for many years now. I use DxO PhotoLab as my primary RAW processor and apply PRIME noise reduction with all of my files… with a maximum setting of 15. If additional noise reduction is needed I use Topaz Denoise AI or Topaz Sharpen AI as necessary.
As far as using a flash/diffuser set-up for macro, this is something that I don’t use. I much prefer to shoot in natural light. Many of my insect images tend to be with subjects I find somewhat buried in foliage so I don’t find a large flash/diffuser set-up to be very practical for my style of shooting. I do use flash on occasion… and use the Olympus STF-8 Dual Macro Flash when needed. I find this set-up is much smaller and easier to get into cramped spaces.
Tom
It would be interesting to compare macro focus bracketing to this HHHR shooting. My instinct would be that focus bracketing would give you deeper DOF. Although the HHHR images are nice, the lack of DOF does not appeal to me.
Hi Charles,
I agree that focus bracketing or stacking would likely deliver deeper depth of field than HHHR. Like you, I usually prefer more depth-of-field with my macro photography.
Tom
Belated apologies. I just realized I missed your post on the 10th re focus stacking.
No apologies necessary Charles! Your previous comment raised an important issue about how various technologies result in different outcomes.
Tom