

Using a single AF point is something that I’ve done for many years with my photography regardless of the brand, make or model of camera I’ve owned. Of course this is just a personal preference. Other photographers may use various configurations or clusters of AF points with very good results.
NOTE: Click on images to enlarge. To view this article in a range of other languages click on the Canadian flag in the upper right corner.

It also should be noted that my E-M1X camera has a 121 point all cross-type phase detection AF system. This is also the case with my wife’s E-M1 Mark III.
If I was using a newer generation body like an OM-1 or OM-1 Mark II I have no way of knowing what I would choose to do with a camera that has 1,053 cross-type AF points. I suspect it might be a very small cluster of AF points.
I like the precision of using a single AF point…. just like I prefer to always shoot in Manual mode. When it comes to my photography… I guess I’m just a control freak.
Using a single AF point, whether in single auto-focus or continuous auto-focus, makes me think more about what I’m doing with my camera.

It also makes me concentrate more on my subject, trying to anticipate what it is going to do. This is especially true when photographing birds taking flight using Pro Capture H. This function locks exposure and focus on the first frame of an image run. Anticipating a bird’s likely flight path is critical.

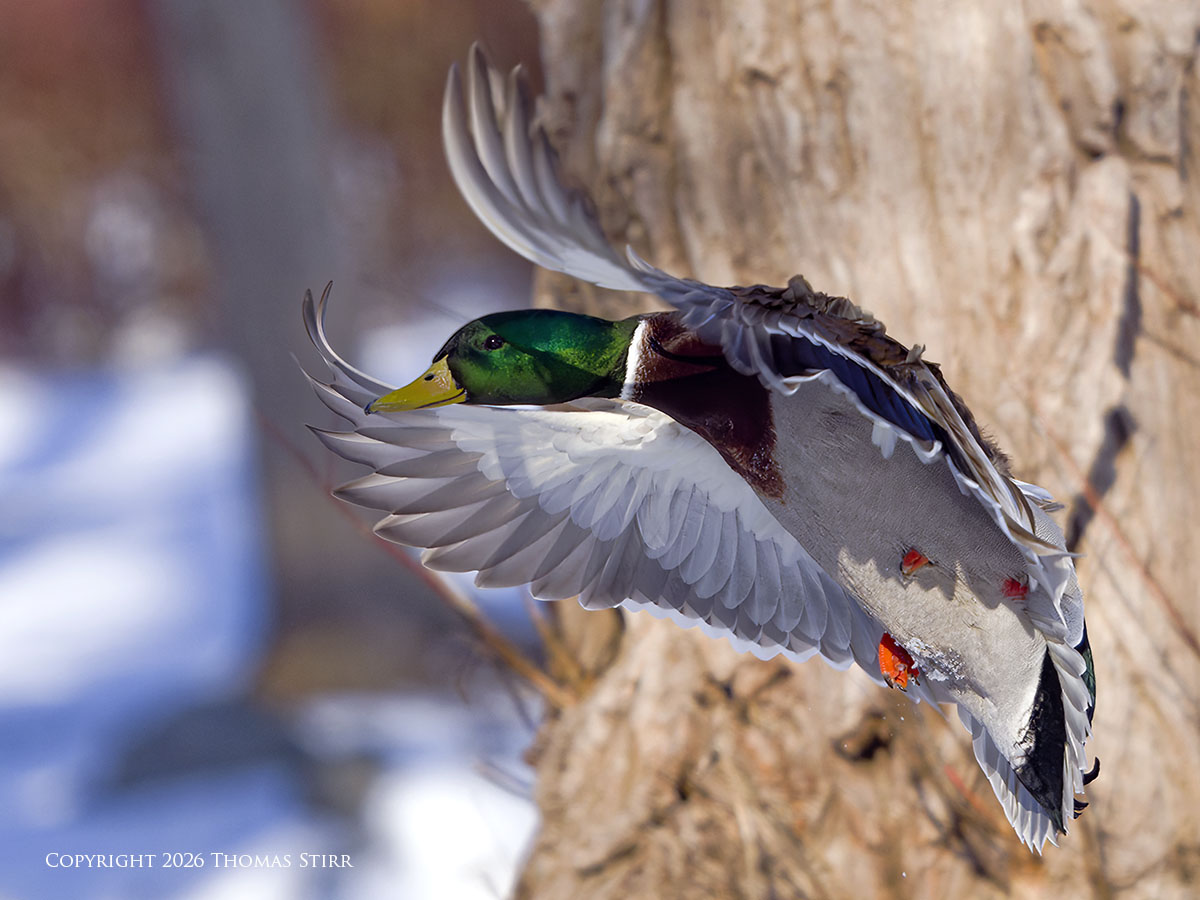
I like having as many frames-per-second as I can when photographing birds taking flight. Or, in the case of the image above, birds coming in to land. Anticipating an approaching bird’s flight path is obviously a critical consideration when using Pro Capture H.

I suppose if I owned a newer generation camera like an OM-1 Mark II, I’d be capturing a lot of my images using 120 frames-per-second, with the first frame locking exposure and focus.

When Bird Detection AI Subject Tracking was first introduced on my E-M1X I spent a huge amount of time experimenting in the field with my AF settings.

My first month in the field was challenging. Engaging all AF points was somewhat erratic and unpredictable. This was especially true when multiple birds were in the vicinity. I tried various groupings of AF points. At the end of the day, using a single AF point with a combination of Bird Recognition AI Subject Tracking and Pro Capture L worked like a charm.

It didn’t take long before all of my photographs of birds in free flight were captured using a single AF point with a combination of Bird Detection AI Subject Tracking and Pro Capture L at 18 frames-per-second. At first it was counter intuitive to fully depress my shutter release after the desired behaviour had occurred… but this soon became second nature.

Pro Capture L at 18 frames-per-second with a single AF point became my ‘go to’ approach when photographing other subjects in motion. I loved the reliable control and results this combination delivered.

I use Pro Capture H at 60 frames-per-second with a single AF point so often now, that I don’t even think about using any other settings. If a subject is perched and going to launch into flight that’s simply what I always use.

Capturing some very challenging images… like a fly launching into flight are made possible with Pro Capture H using a single AF point.

My standard approach with Pro Capture H is to set my Pre-Shutter Frames and my Frame Limiter both to 15. That means I’m continually spooling 15 images into temporary memory until I fully depress my shutter release.

Then those images in temporary memory are written to my memory card. I purposely do not want any images after I fully depress my shutter release. This helps reduce my work in post sorting through a myriad of photographs.

I use the same Pro Capture H approach with butterflies, bees and wasps taking flight.

Using a single AF point with Pro Capture H makes capturing images of dragonflies coming in to land almost foolproof… as long as my shutter release timing is accurate.

Dragonflies are very much creatures of habit. They will perch… launch into flight… then return to that same perch numerous times before they move on. They will use the same flight path time after time.

Capturing a dragonfly landing is a simple proposition. We begin by placing our single AF point on the perched dragonfly and begin spooling images into temporary memory using Pro Capture H. This locks exposure and focus with the first frame.

When the dragonfly takes flight we keep on spooling images into temporary memory even though the dragonfly is gone. Then, when the dragonfly returns and is just about lands back on its perch… we fully depress our shutter release and write those images in temporary memory to our card.

This works so well that I routinely capture hundreds of images of dragonflies in flight within a hour or two in the field. Most of them get deleted as I have far more keepers than I need for the purpose at hand.

I regularly use a single AF point with Pro Capture H at 60 frames-per-second to photograph small birds taking flight when they are in amongst branches. I never have to worry about my continuous auto-focus re-acquiring focus on a branch or leaf.

Shooting at 60 frames-per-second with my Pre-Shutter Frames and Frame Limiter both set to 15 gives me 1/4 second of shutter response time. I’ve found this suits my current physical reaction time capability very well.

Using a single AF point with Bird Detection AI and Pro Capture L can work well when trying to track small birds flying in restricted areas.

Good eye/hand coordination, and a lot of practice is required. The resulting images can make the effort and time commitment worthwhile.
At the end of the day how each of us choses to use our camera gear is a personal decision. My approach may not be suitable for other folks.

From my perspective I love the accuracy of using a single AF point, regardless of the subject matter and technology that I may be using.

Regardless of the camera gear that we may own, the key point is to take the time to experiment with it so we can learn how to best use it out in the field. Developing our own style and approach is far more powerful than simply slavishly following what someone else does.
Technical Note
Photographs were captured handheld using camera gear as noted in the EXIF data. All images were created from out-of-camera jpegs or RAW files using my standard process in post. This is the 1,512 article published on this website since its original inception in 2015.
How you can keep this website advertising free
My intent is to keep this photography blog advertising free. If you enjoyed this article and/or my website and would like to support my work, you can purchase an eBook, or make a donation through PayPal (see Donate box below). Both are most appreciated.![]()
You may enjoy bird photography, and if so our 188 page eBook Handheld Bird Photography may be of interest. It is available for download for an investment of $14.99 CDN. The best viewing experience of this eBook will be at 100% using Adobe Acrobat Reader.
Sometimes all we need as photographers is a bit of inspiration. We hope you can find some of that inside Finding Visual Expression II.

Finding Visual Expression II is available for download for an investment of $11.99 CDN. The best viewing experience of this eBook will be at 100% using Adobe Acrobat Reader.
You may be interested in all of the 30 concepts covered in both of these related eBooks. If so, you may want to also consider Finding Visual Expression.

Finding Visual Expression is available for download for an investment of $11.99 Cdn. The best viewing experience of this eBook will be at 100% using Adobe Acrobat Reader.
Our other eBooks include Images of Ireland, New Zealand Tip-to-Tip, Nikon 1: The Little Camera That Could, Desert & Mountain Memories, Images of Greece, Nova Scotia Photography Tour, and a business leadership parable… Balancing Eggs.
If you click on the Donate button below you will find that there are three donation options: $7.50, $10.00 and $20.00. All are in Canadian funds. Plus, you can choose a different amount if you want. You can also increase your donation amount to help offset our costs associated with accepting your donation through PayPal. An ongoing, monthly contribution to support our work can also be done through the PayPal Donate button below.
You can make your donation through your PayPal account, or by using a number of credit card options.
Word of mouth is the best form of endorsement. If you like our website please let your friends and associates know about our work. Linking to this site or to specific articles is allowed with proper acknowledgement. Reproducing articles, or any of the images contained in them, on another website or in any social media posting is a Copyright infringement.
Article is Copyright 2026. Images are Thomas Stirr 2021-2026. All rights reserved. No use, duplication or adaptation of any kind is allowed without written consent. If you see this article reproduced anywhere else it is an unauthorized and illegal use. Posting comments on offending websites and calling out individuals who steal intellectual property is always appreciated!
Hi Thomas, I am happy to have found your site. I purchased one of your e-books. I am going on a family trip to Costa Rica this summer and although it is not a photography only trip I wanted to learn and practice some bird photography. I’ve now set up my camera (OM-5 original) with settings saved to use the Pro Capture L & H with single point AF. I will get out and do some practice! Thanks for all of the content. Cheers, Lyndsay
Hi Lyndsay,
I would encourage you to use a range of different settings and experiment with your OM-5 before you head off on your family trip to Costa Rica. You may find that the settings that I use for bird photography work well for you… but those settings may not be the best for you. It is important for you to experiment with your camera gear to determine what works best for you and your specific shooting style.
Thank you for your support by purchasing a copy of Handheld Bird Photography! We hope you enjoy the eBook and find it useful.
Tom
I am an old nut that refuses to change and swear by using one single auto focus point. This has worked for me ever since my first autofocus slr Minolta. I honestly believe that many people are missing out on how easy it is to get the shot and assure that your main subject is in focus using one focus point and 1/2 press focus lock. They are letting their camera chase all over the frame and constantly refocusing in an attempt to do what it thinks is needed to keep you happy.
Hi Bob,
Thanks for sharing your experiences using a single AF point… I’m obviously an “old nut” too.
Tom
Hi Thomas,
Excellent work as usual…
Have you tried the in-built teleconverter in place of either the 1.4 or the 2x physical units?
I would not have considered an in-built teleconverter in the past, but I’ve found (at least in the OM-1 mk1) it to be superb.
Perhaps my copy is not perfect, but I continue to find softness when using the physical teleconverters, whereas that is never the case with the in-built option.
Regards from Australia,
Bill Chambers
Hi Bill,
Yes, I have used the digital teleconverter in my E-M1X. I find that it works best when I fill the frame with my subject. The subject details seem to hold up quite well. I’ve also used the digital teleconverter with some of my macro work with some success. I’ve even used the digital teleconverter in combination with the MC-14 and MC-20 and have gotten useable results.
Tom
Another great piece Tom.
The single point is my preferred method of focus too, this comes as a hangover from my Canon 5D days at weddings.
With my Em1-x I do sometimes use a very small cluster too on birds perched.
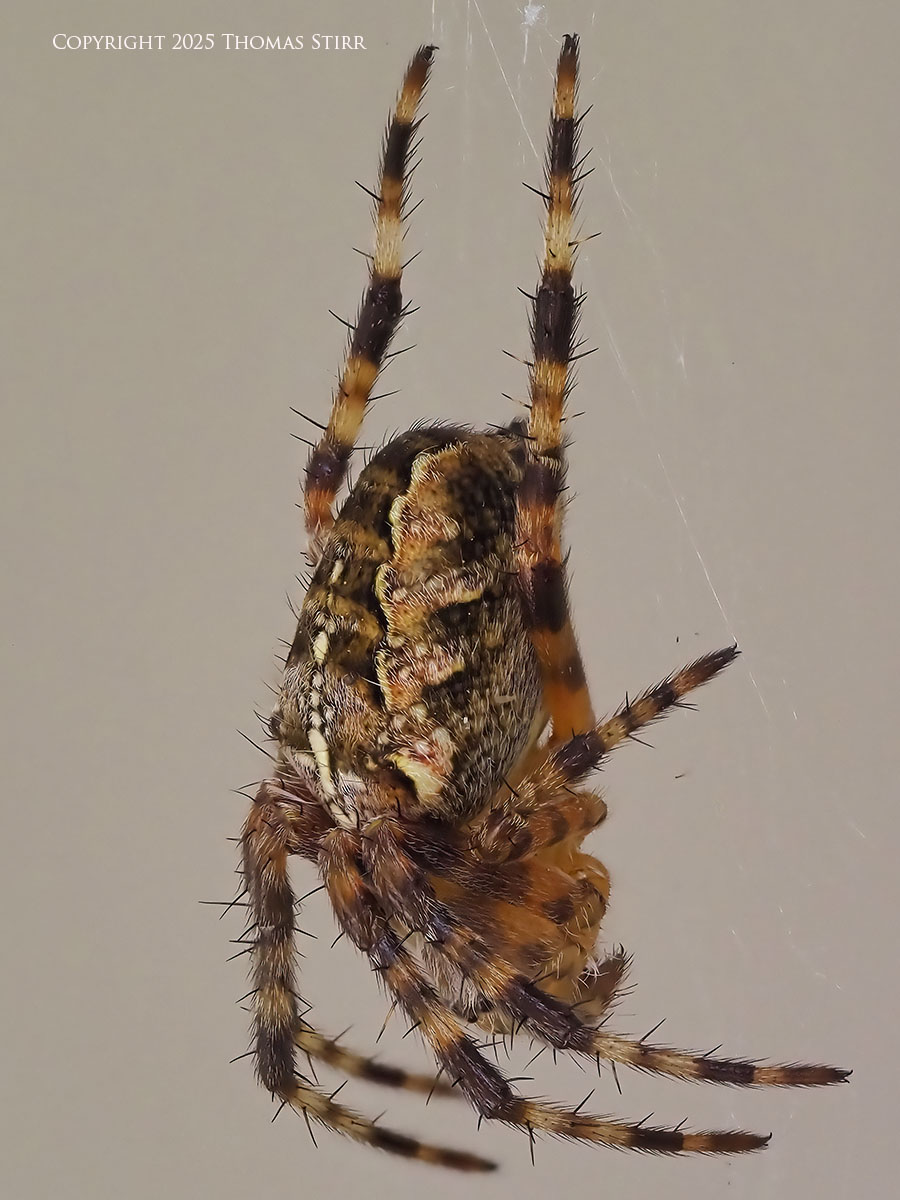
My macro work is always single points
Wishing you all the best Mark
Thanks for sharing your approach Mark…
Tom